Showing posts with label Distress Spritz. Show all posts

Tuesday, January 13, 2026

Go with your Heart Panel

Hello friends,

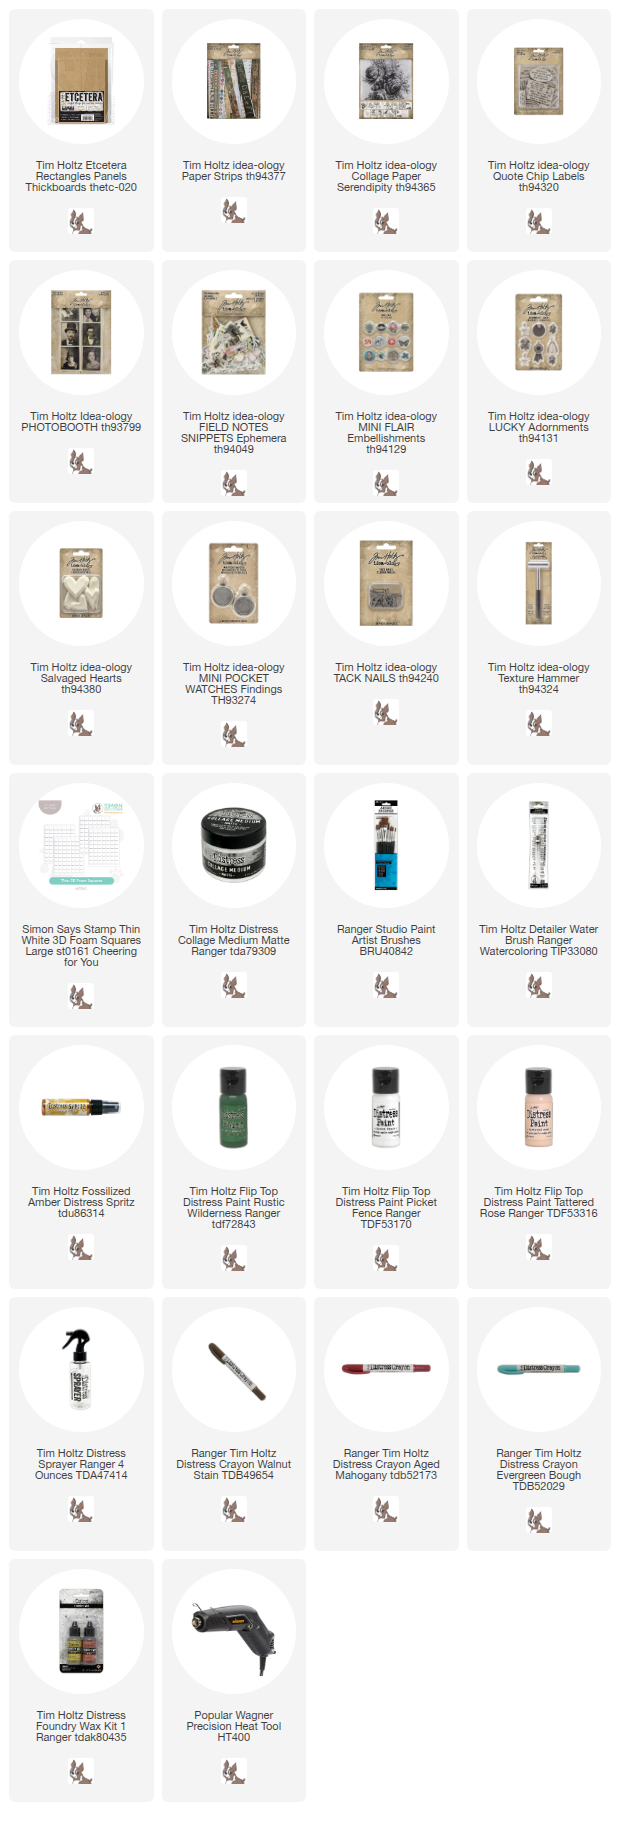
I’m so excited to share my very first project of 2026 with you all! To kick off the year, I decided to work on a small Etcetera Panel layered with a collage of idea-ology Paper Strips.

One of the things I love most about Paper Strips is their versatility—whether you’re covering a rigid panel or the cover of a junk journal, they create such an effortless vintage surface. For this piece, I let the sentiment "My dearest" lead the way. The idea of featuring the "My dearest" strip as a focal point in the design led me to my other choices of a Mini Pocket Watch, pieces from the Lucky Adornments pack and the Salvaged Heart. All were chosen to reinforce the "My dearest" Paper Strip.

Want to see how it all came together? I’ve posted the full tutorial, including step-by-step images, over on the Simon Says Stamp blog. I’d love for you to stop by and check it out!


Click here for the link to the TUTORIAL.
Now carry on,
Paula

Thursday, May 29, 2025

Precious Things

Hello friends,

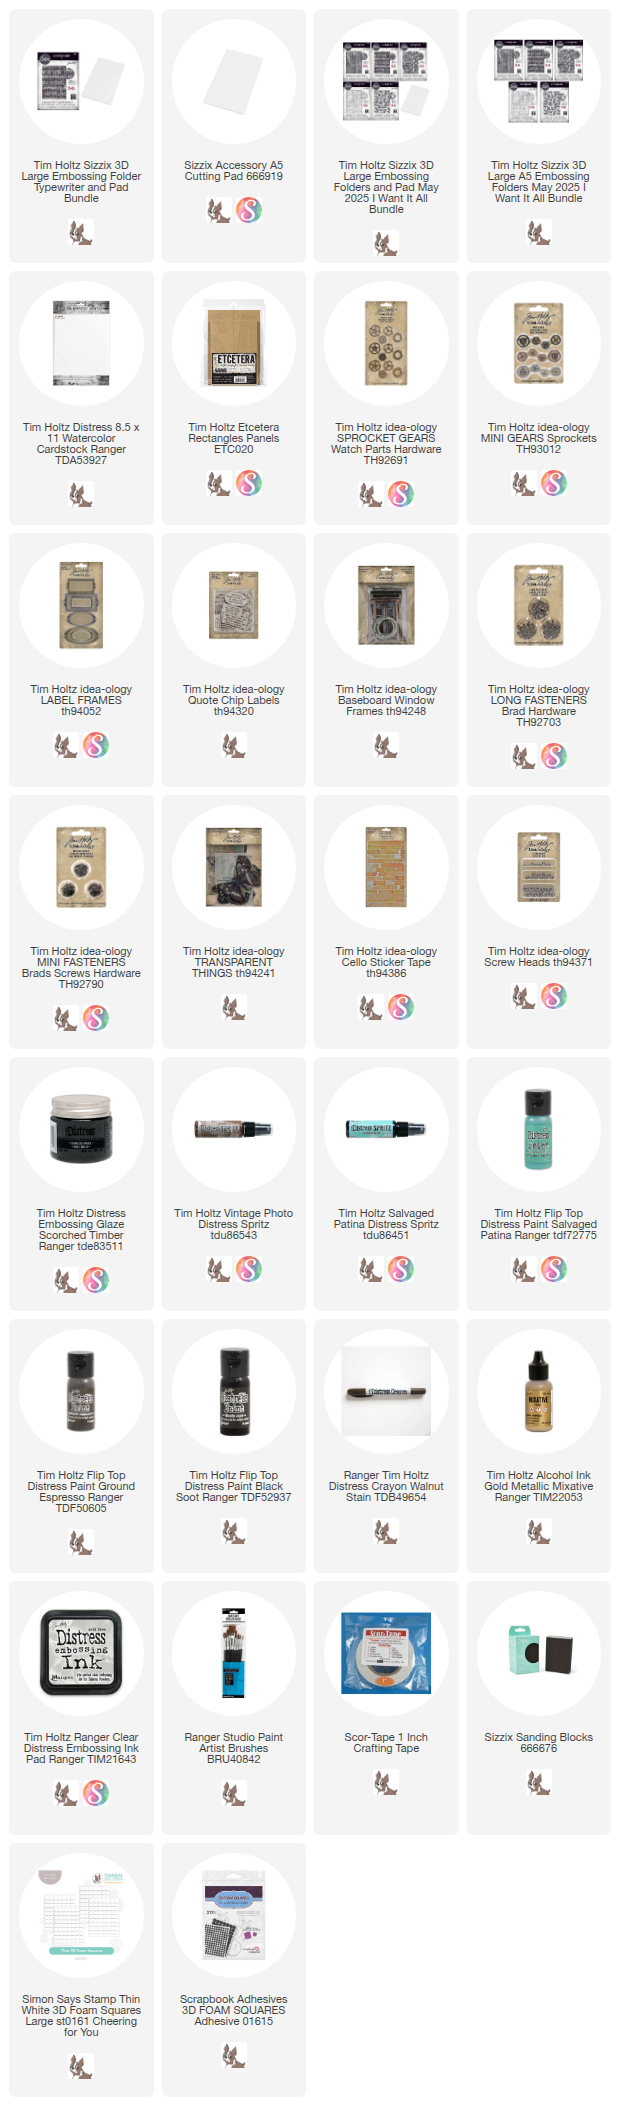
With the introduction of the New Large 3D Texture Fades from Tim Holtz and Sizzix, I knew it was time to get to work to see what all the hullabaloo was about! The new size is awesome - something I have dreamed of for a long time. It opens so many possibilities for larger projects or more than one card front from one pass. Today I used a 6 x 8 1/2" Etcetera Panel and it fits perfectly! 
There are 5 new large folders that fit a piece of 6 x 8 1/2" paper. 
Foundry
Botanical
Lumber 
Typewriter 
Entangled 
I used Distress Watercolor Cardstock to emboss three of the folders before choosing to go with Typewriter for today's project.
*Please note that an A5 Cutting Pad is required for use with these large-format embossing folders so the machine can grab onto the cutting pad.
Paint the entire surface with Salvaged Patina Distress Paint.
Once dry, lightly rub over the surface with Distress Embossing Ink. I did not squish the pad onto the surface, I just went over the raised texture best I could.
I sprinkled (with my fingers) Scorched Timber Distress Embossing Glaze over the surface. Then embossed it with an embossing gun. Distress Embossing Glaze melts quickly so be sure to watch it as you are melting...you don't want to melt away the texture!
Next, just paint over the surface (I did one half at a time) then wipe most of it away with a wet wipe. The paint will get into all the recessed areas and really bring out the letters. *Compare the last photo with this one to see the difference!
This is what it looked like when I was done. I LOVE IT! Nice and grungy! The Distress Watercolor Cardstock is really holding up to all these layers!
Okay, just one more thing...I took Distress Spritz Vintage Photo and shook it up. Then opened the bottle and used the plastic tube to drip Spritz into the lines between the letters. If you get too much, just pounce over the top. And if you need more, just add more!
Now go back two photos to see the before and now the after! The Spritz added not only another color, but some shine to the texture. It just keeps getting better! 
The new folders are 6 x 8 1/2" - the exact same size as the larger Etcetera Panel. It's like they were meant to go together! I painted the entire back with Ground Espresso (for a finished look), then turned it over to paint the edges and up onto the front. The cardstock will cover the entire front, but I want to make sure there is a bit of brown just in case I get it on there crooked!
Use multiple strips of wide Scor-tape to add the cardstock to the panel. 
For the embellishments, I pulled three windows from the Baseboard Windows pack.
Because they were all so different, I decided to make them the same using Distress Paint and a Distress Crayon. You can also use acrylic paint if you have that on hand. All the painting is done very rough, don't worry if the colors show through. It's the layers that matter.
Step 1: Paint windows with Salvaged Patina Distress Paint.
Step 2: Once dry, paint with Black Soot Distress Paint
Step 3: Once dry, sand with a sanding block to reveal the color under the black.
Step 4: Scribble heavily with a Walnut Stain Crayon so the window is totally covered. Rub with your fingertip to smooth it out, then pounce over the top with a wet wipe to reveal the colors underneath.
This shot might be better to show the finished result. A little Salvaged Patina showing through the black paint and a little brown crayon to soften the black.
Use a combination of 3D Foam Squares and THIN 3D Foam Squares + Collage Medium to adhere the windows to the panel.
For a centerpiece, I chose a large butterfly from the Transparent Things pack. I turned it over and pounced Gold Mixative on the BACK to create the metallic gold border around the butterfly.
I also sprayed Salvaged Patina Distress Spritz over the butterfly. Distress Spritz will dry on plastic (and other slick surfaces) unlike most Distress products (like Spray Stain or ink). I did use a heat tool to dry the Spritz, I just kept the tool at a distance so the butterfly would not melt. The transparencies are tough!
Once the Distress Spritz was dry, I used 3D Foam Squares to add the butterfly to the panel. 
I added Screw Heads to the corners of the windows, then worked on the gears. You could add as many or just a few. Totally up to your taste.  I focused on adding Long Fasteners and Mini Fasteners to a few Mini Gears and Sprocket Gears. Then just moved them around till I got the configuration I liked. NOTE: The solid gear that looks like the sun is from the Sprocket Gears pack...the rest are from the Mini Gears pack.
Again, here is the same combination of gears on the left side of the panel. You can see where I have pounded the Long Fastener in the center of the Sprocket Gear with my Texture Hammer. I love that the pebbled side of the Texture Hammer will smash a Long Fastener like this! I also sanded the edges of the Sprocket Gear so the gold came through on the edges of the sunburst.
I chose a quote from the Quote Chip Labels and added it to the Label frame. Then it was adhered to the window frame with Collage Medium. I also added a string bow on the left side with Collage Medium. 
And that's a wrap!

Tim hosted a Live all about the new folders. The techniques he shares are quite amazing so if you missed the live I would suggest watching it now. It is absolutely inspiring!! Here is the link to his BLOG.

Now carry on,
paula
Thursday, May 15, 2025

Distress Spritz Tags

Hello Friends,

Inspired by Tim's LIVE demonstration last Saturday, I decided to experiment with applying Distress Spritz over Distress Crayons tags. Creating these tags is so fun because each one is uniquely beautiful, thanks to the varying color combinations and layering techniques. The addition of Distress Spritz, along with another secret sparkly touch, gives them a wonderful glow!
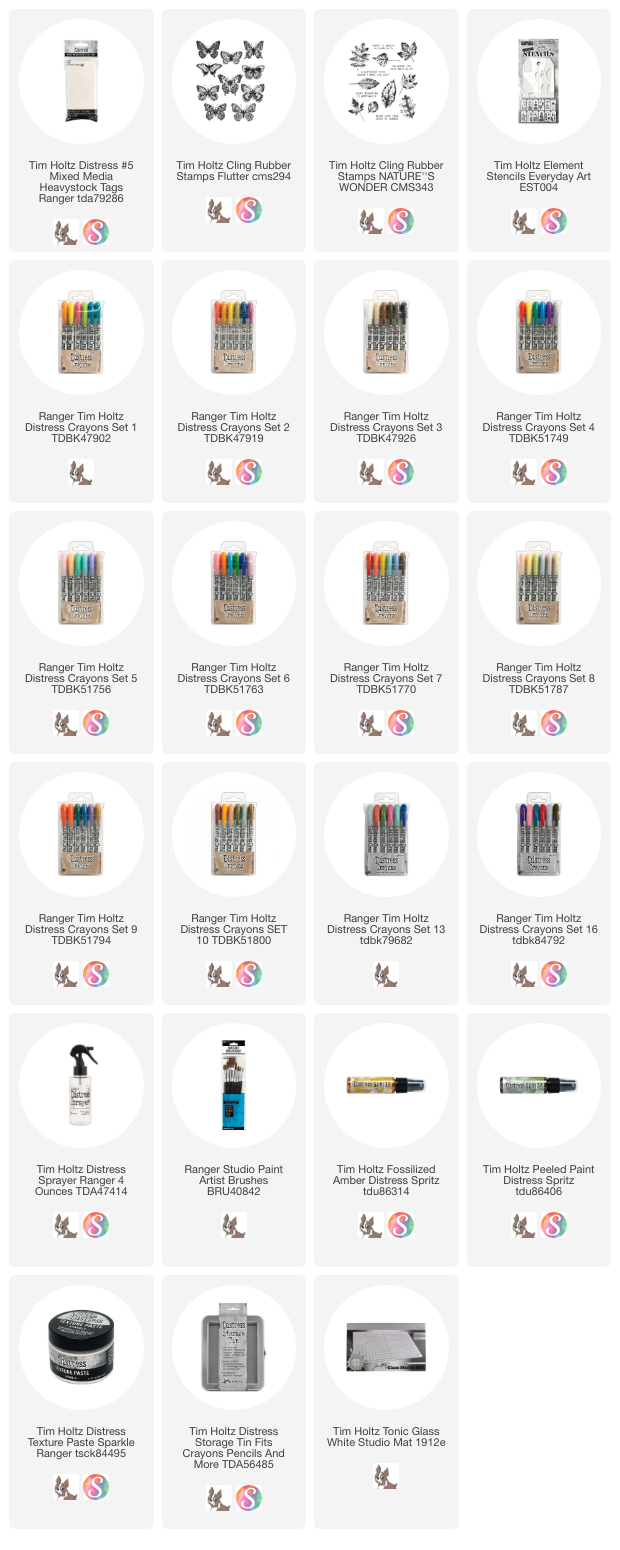
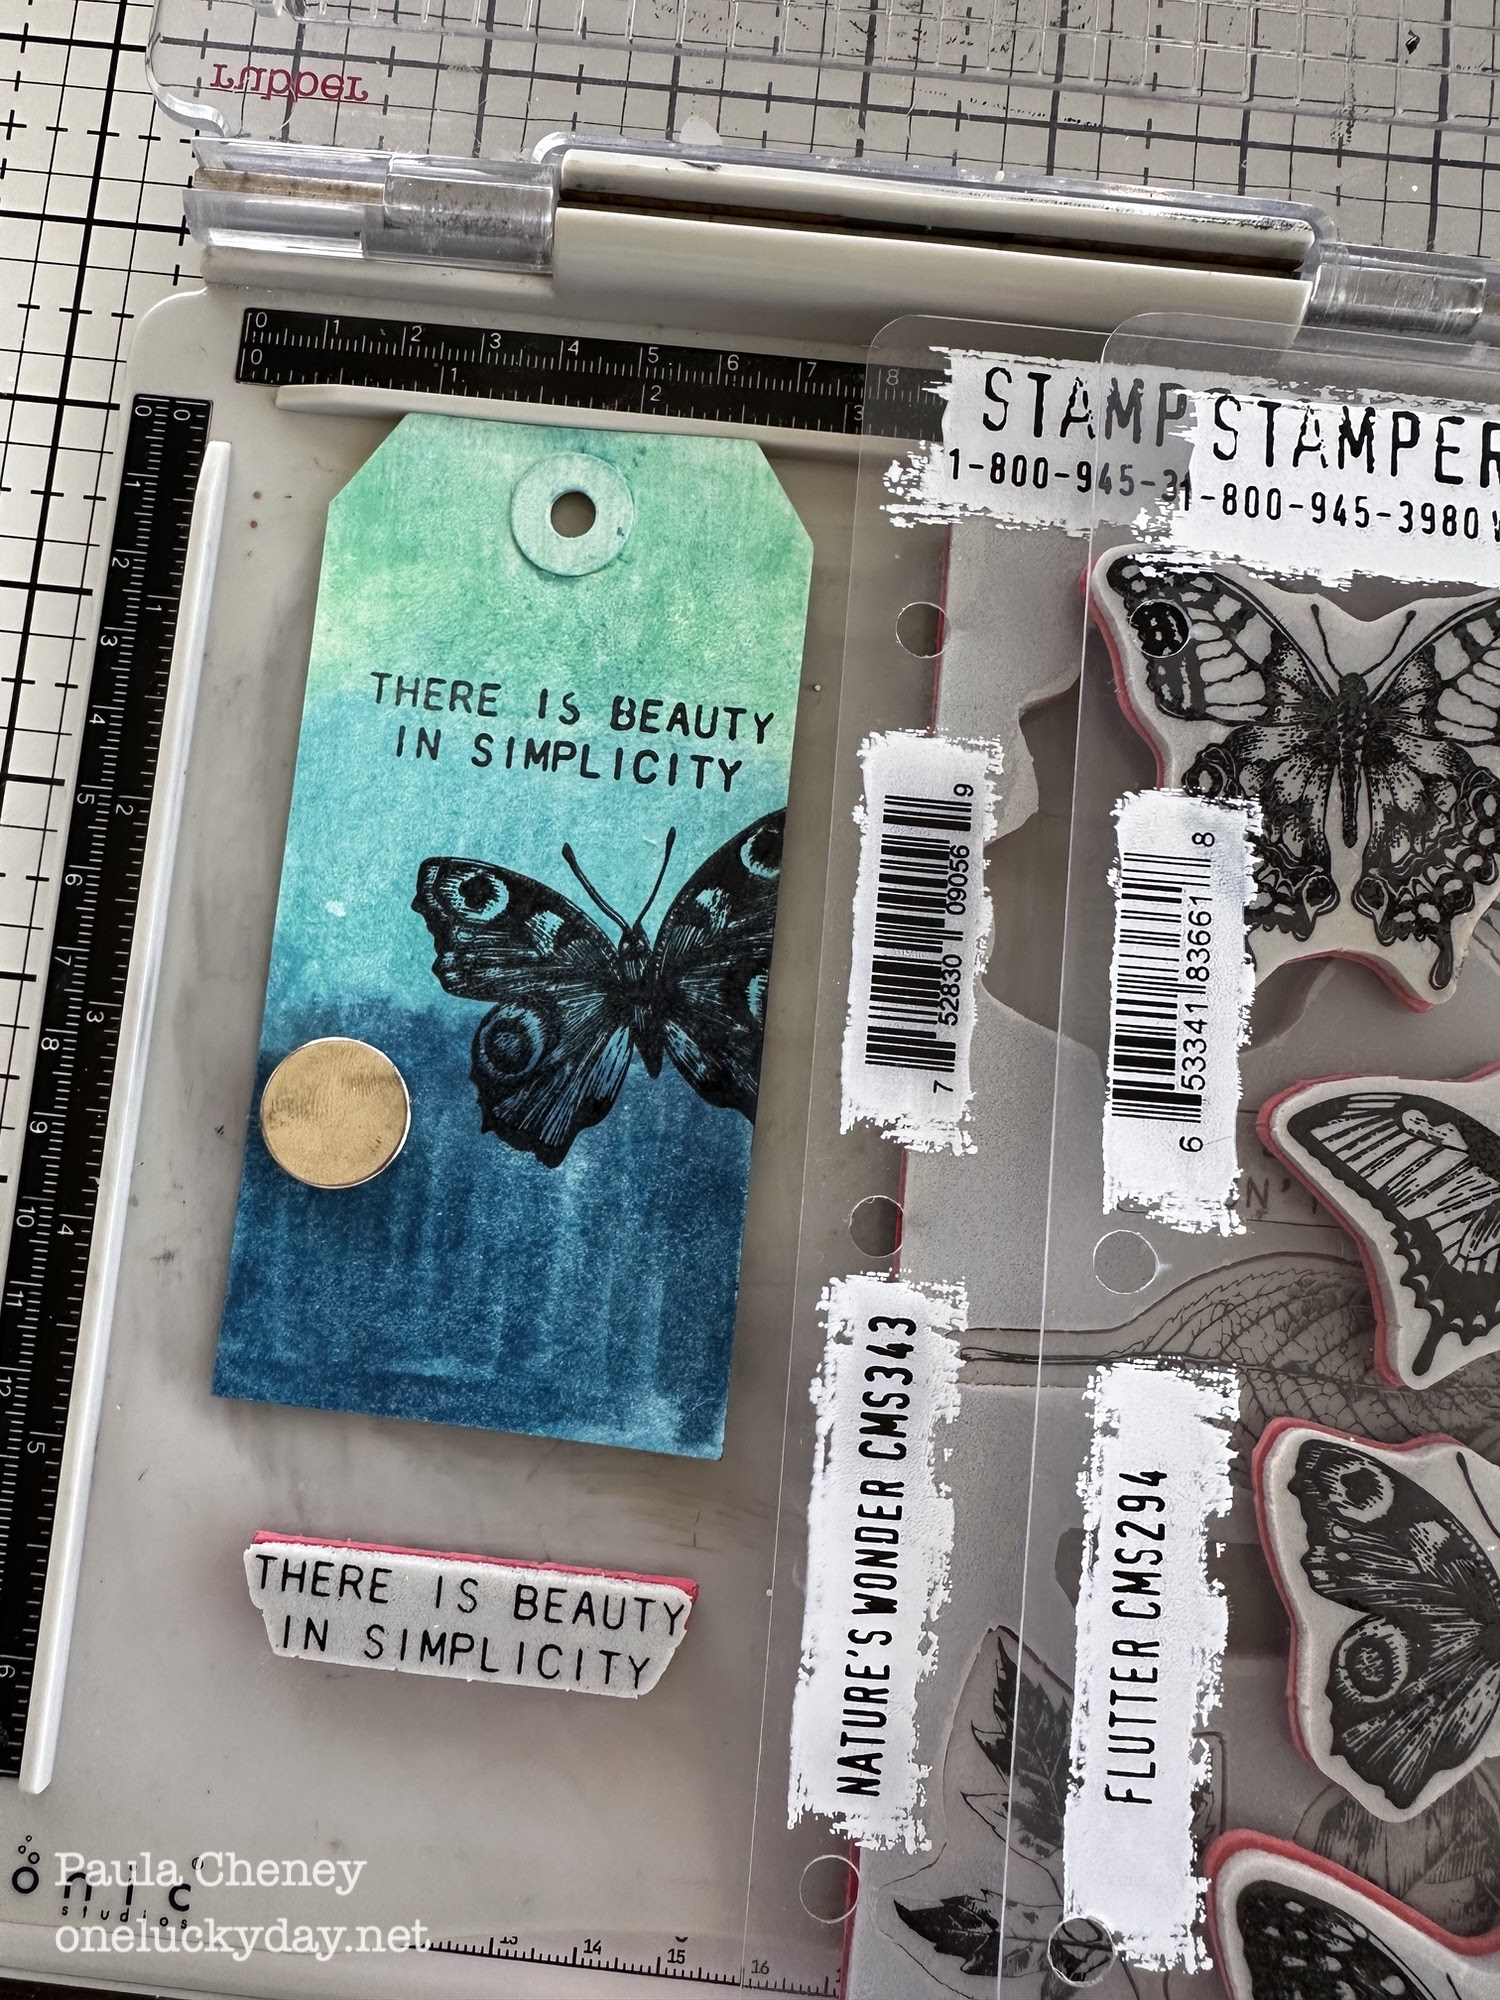
To get started, grab a few Distress Mixed Media tags. These are #5 tags (4 3/4 x 2 3/8") which makes them the perfect size for using on a gift. These coated tags are the best for wet techniques with lots of layers. There are so many color combos but I'm going to share just three that I came up with. This one is Salvaged Patina, Cracked Pistachio and Uncharted Mariner. 

Now let me walk you through the easy steps:
1.  Spray tag with water (Remember, I am using Distress Mixed Media Tags which are made with a coated paper - that is very important in this technique).

2.  Working quickly, scribble crayon over tag.
3.  Use a paintbrush to move the crayon around, blending between the colors. You may need to add more water or use a wet wipe to pounce over crayon.
4. Dry with a heat tool then repeat steps 2 and 3 (add more crayon and blend again).
NOTE: When using a paintbrush, you must rinse the brush between colors or use more than one brush.
5. Add more crayon and repeat the process. Remember, this tag will have other layers so it does not need to be perfect.
Once the tag is dry, stamp with Archival Ink. I used both Nature's Wonder and the Flutter stamp sets on the three tags.
I added Sparkle Texture Paste (which is translucent when dry) through one of the "Everyday Art" stencils to add the stem. Set aside to dry.
Once the Texture Paste was dry, I sprayed with Distress Spritz Fossilized Amber over the tag. I also opened the bottle and used the end of the plastic tubing to drip a larger amount of Spritz directly around the edges of the stem.
Lets change colors to Picked Raspberry, Mustard Seed and Abandoned Coral. Follow the same steps to get the base color.


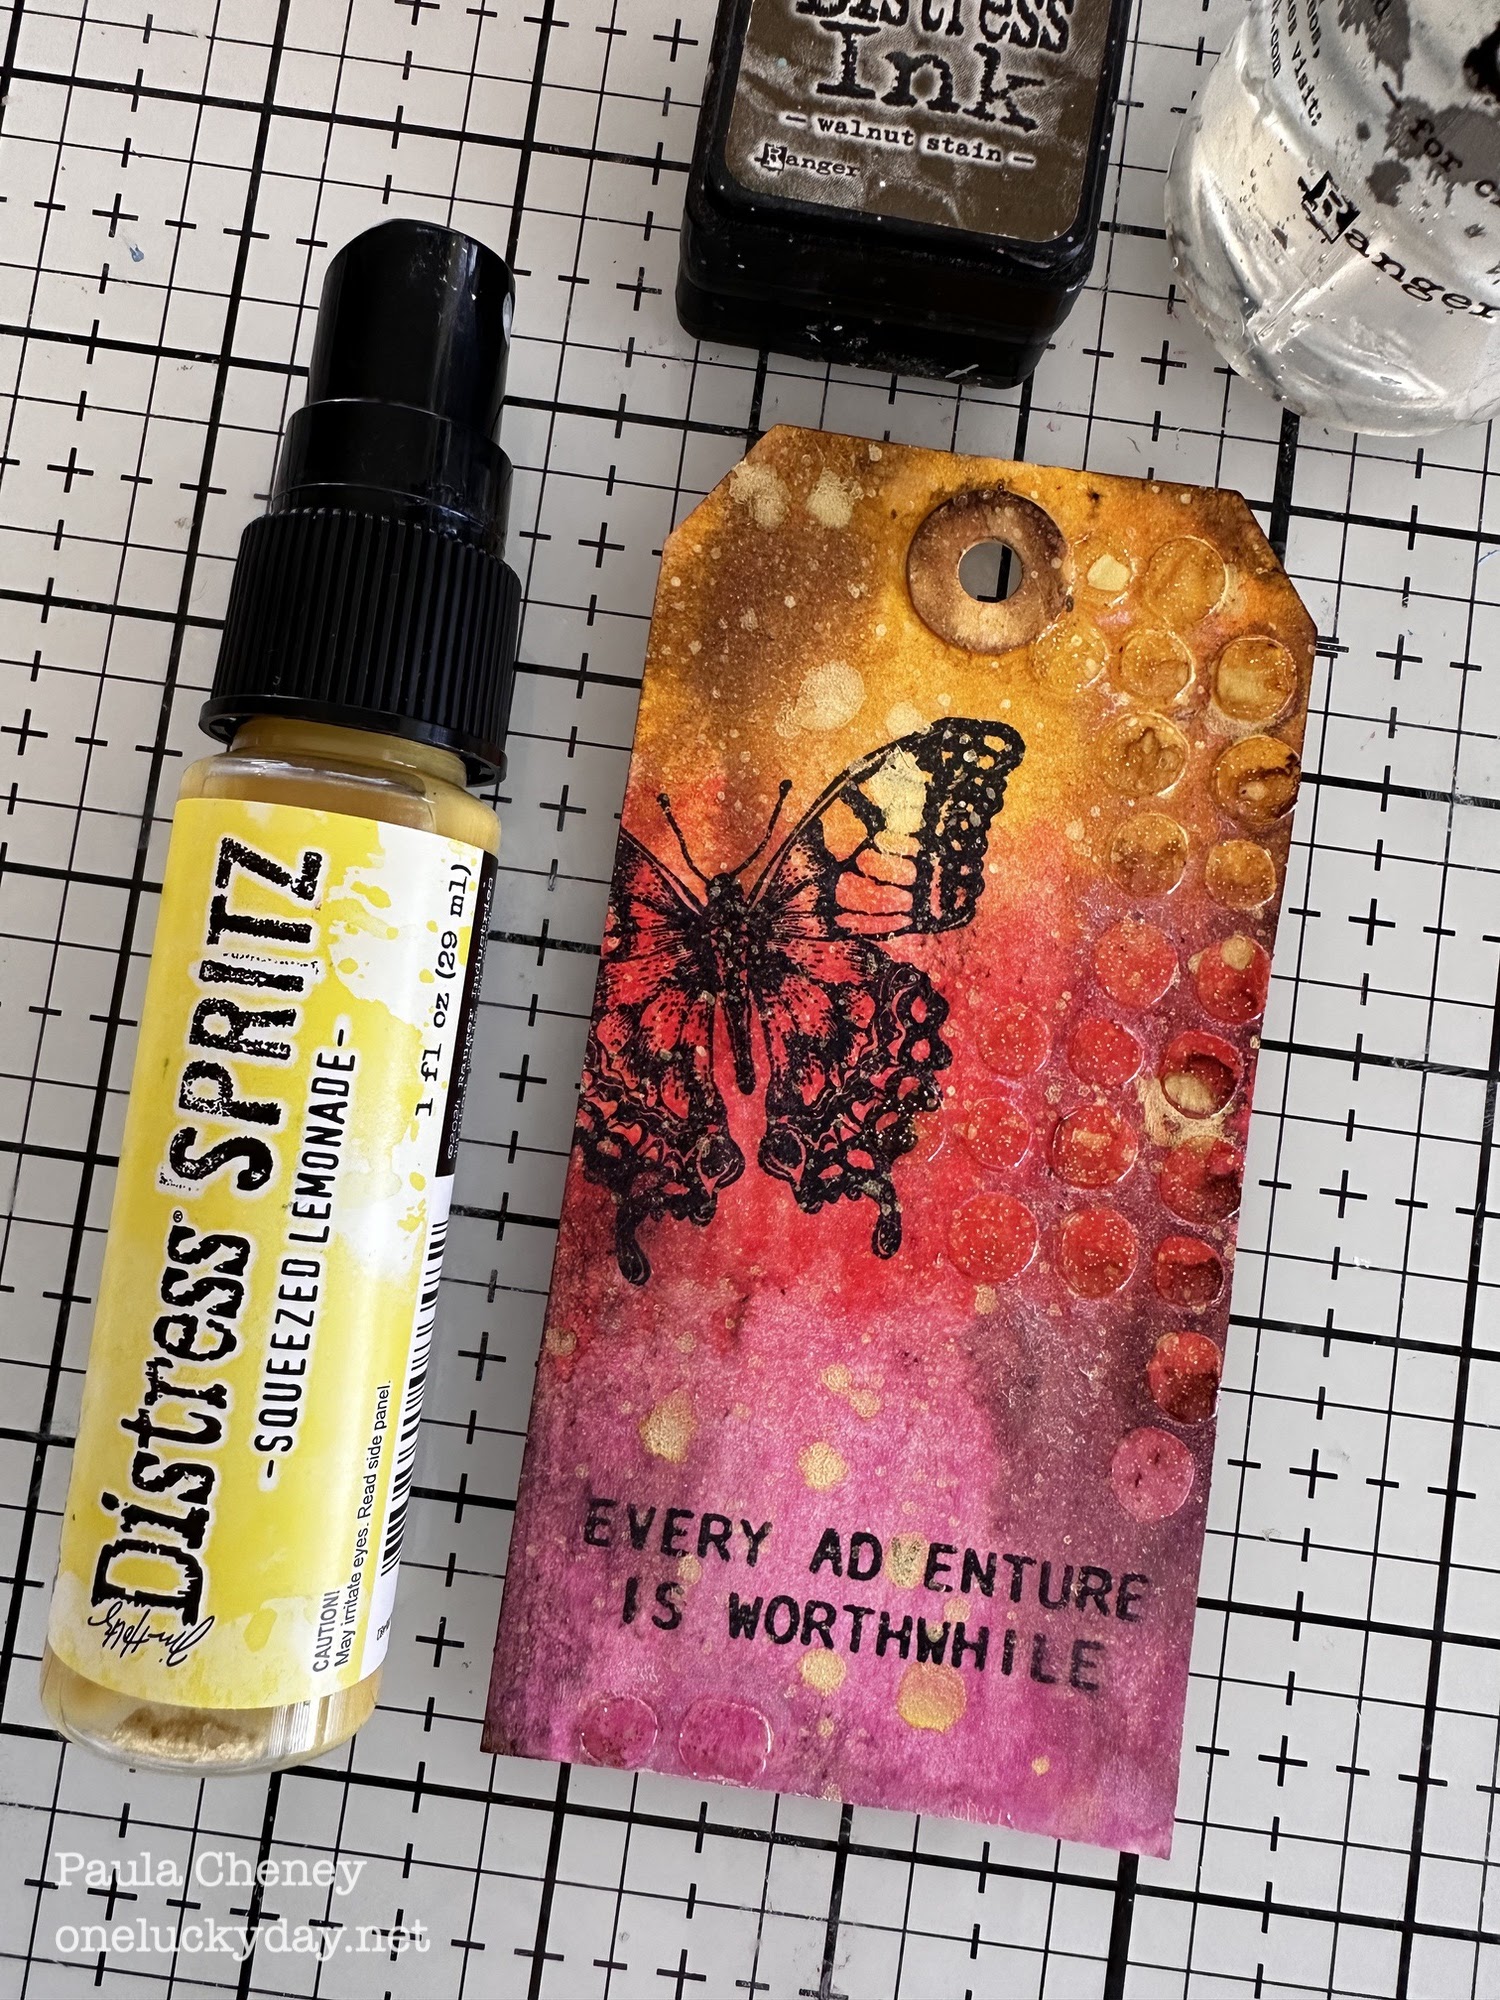
Use a different Everyday Art stencil to create dots over the tag (still using Sparkle Texture Paste).
Once dry, I added Walnut Stain Ink and Squeezed Lemonade Spritz over the top. I wish the Sparkle Texture Paste and the Spritz come through on camera as good as they do in person. It's so sparkly!!
And our last one: Milled Lavender, Shaded Lilac and Crushed Olive.

I loved adding the second layer of colors with more Shaded Lilac and Tumbled Glass.

This is time I used a very small cloud-like stencil from the Everyday Art stencil set...a bit hard to see in this photo but its there! I added ink and Peeled Paint Spritz to the small tag. The Spritz appears as dark dots but in person it is very sparkly.
I hope you will give these little tags a go. The Distress Spritz along with Sparkle Texture Paste really make these tags fun. And with so many color combinations of Distress Crayons - well, sky's the limit on color!
I have two other posts of Distress Crayon Tags that can be found HERE (all the basic of coloring with Distress Crayons on tags) and HERE (adding embossed embellishments).

Here's to some fun creating time this weekend!
Now carry on,
paula