Hello friends,
There has been so much going on behind the scenes around here lately! Between life in general and wrapping up the end of the school year with my husband, finding dedicated time at my desk has been a bit of a challenge. I finally decided that I just needed to set aside a few hours to play, be creative, and make something entirely for fun.
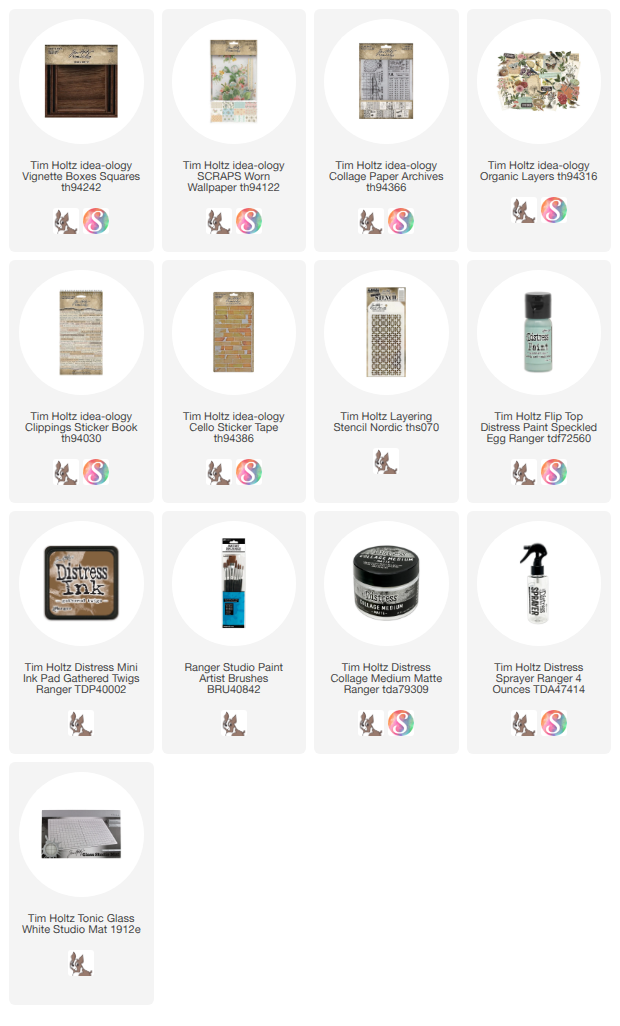
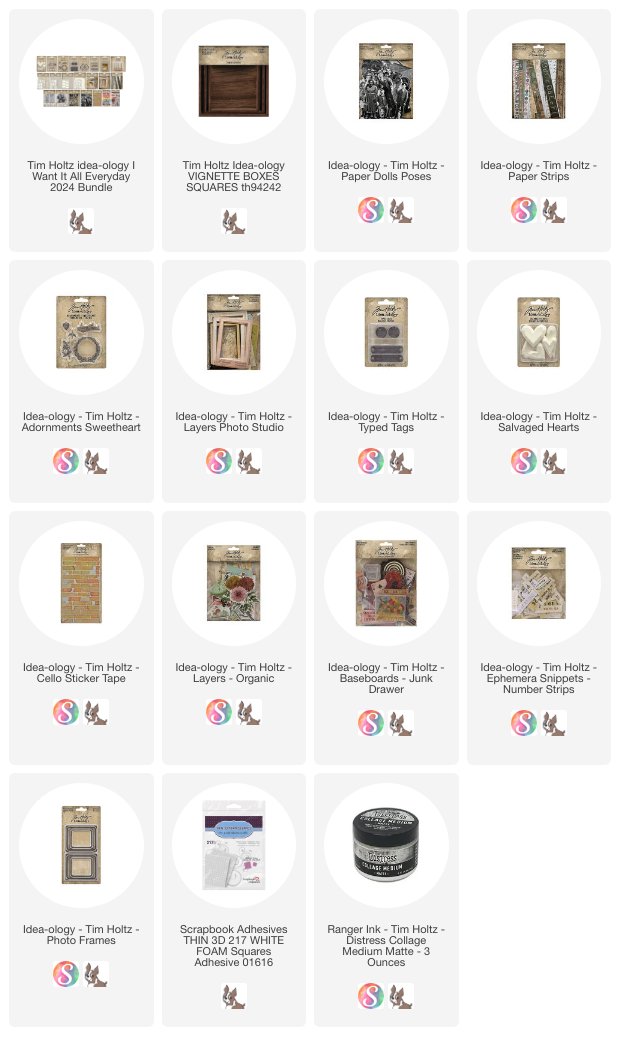
That’s exactly how this Square Vignette came about. I’ve always loved the Worn Wallpaper Scraps pack but realized I hadn't reached for them in a while because I've been so focused on the Palette papers. Well, not today! I went a little old-school with a tape transfer, lots of Collage Paper, and Cello Tape. Follow along and I’ll show you the easy steps to recreate this project using some favorite idea-ology products.
Lets get started with the Vignette. This is the largest of the square boxes but you could use any of the three sizes using these same techniques. I used Collage Medium to add a sheet from the Worn Wallpaper Scraps pack + a scrap paper from Backdrops (
I always save my scraps!).
I love a good tape transfer! So easy to add packing tape over one of the Portraits. Just remember to burnish!
I was easily able to peel off one layer of paper backing before I even took it to the sink to submerge it. That means less work for me!
I left the Portrait in water for 2-3 minutes, then rubbed off all the paper on the back till the image was transparent.
Wipe off any remaining water and let it dry for a few minutes. I used Collage Medium to add it to the Vignette. I love how the pattern in the paper comes through the image!
Next up a a little bit of Collage Paper was added to the right side. I always have a puddle of Gathered Twigs ink to work with. Adding the ink with your fingertip over the wet glue helps the Collage Paper to be even more transparent over the surface. It's a fun trick.
Now more small pieces of Collage Paper on the left side.
I made ANOTHER tape transfer of leaves from the Layers Organic pack and added them to the surface with Collage Medium. Once dry, I added Cello Tape Stickers to a few places.
I created a short sentiment using Clippings stickers.
And in a last step, I used a Tim Holtz stencil (Nordic 070) and Speckled Egg Distress Paint to add some pattern in a few places. I like to use foam on the end of a Blending Tool, but VERY LITTLE paint on the foam so the paint comes out almost sheer and the pattern below shows through. I do not pounce (as you normally would with a stencil). Instead I make quick circles over the stencil - with VERY little paint.
Just the right amount of blue over the neutral!
Now carry on,
Paula