Showing posts with label collage. Show all posts

Wednesday, June 3, 2026

Still Climbing Heavenward

Hello friends,

There has been so much going on behind the scenes around here lately! Between life in general and wrapping up the end of the school year with my husband, finding dedicated time at my desk has been a bit of a challenge. I finally decided that I just needed to set aside a few hours to play, be creative, and make something entirely for fun.

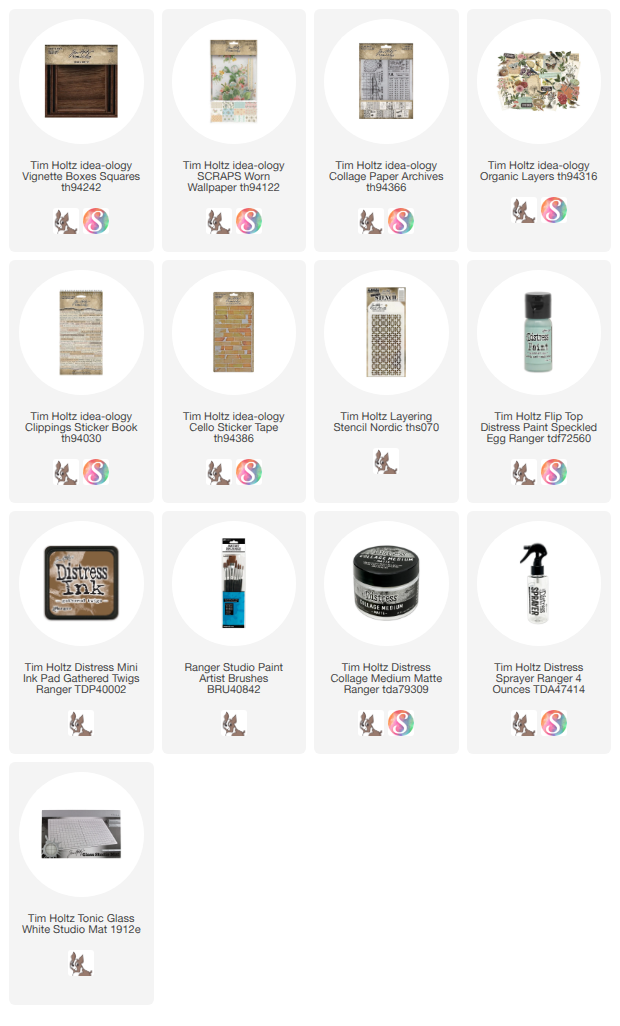
That’s exactly how this Square Vignette came about. I’ve always loved the Worn Wallpaper Scraps pack but realized I hadn't reached for them in a while because I've been so focused on the Palette papers. Well, not today! I went a little old-school with a tape transfer, lots of Collage Paper, and Cello Tape. Follow along and I’ll show you the easy steps to recreate this project using some favorite idea-ology products.
Lets get started with the Vignette. This is the largest of the square boxes but you could use any of the three sizes using these same techniques. I used Collage Medium to add a sheet from the Worn Wallpaper Scraps pack + a scrap paper from Backdrops (I always save my scraps!).
I love a good tape transfer! So easy to add packing tape over one of the Portraits. Just remember to burnish!
I was easily able to peel off one layer of paper backing before I even took it to the sink to submerge it. That means less work for me!
I left the Portrait in water for 2-3 minutes, then rubbed off all the paper on the back till the image was transparent.
Wipe off any remaining water and let it dry for a few minutes. I used Collage Medium to add it to the Vignette. I love how the pattern in the paper comes through the image!
Next up a a little bit of Collage Paper was added to the right side. I always have a puddle of Gathered Twigs ink to work with. Adding the ink with your fingertip over the wet glue helps the Collage Paper to be even more transparent over the surface. It's a fun trick.
Now more small pieces of Collage Paper on the left side.
I made ANOTHER tape transfer of leaves from the Layers Organic pack and added them to the surface with Collage Medium. Once dry, I added Cello Tape Stickers to a few places.
I created a short sentiment using Clippings stickers. 
And in a last step, I used a Tim Holtz stencil (Nordic 070) and Speckled Egg Distress Paint to add some pattern in a few places. I like to use foam on the end of a Blending Tool, but VERY LITTLE paint on the foam so the paint comes out almost sheer and the pattern below shows through. I do not pounce (as you normally would with a stencil). Instead I make quick circles over the stencil - with VERY little paint.
Just the right amount of blue over the neutral!

Now carry on,
Paula

Tuesday, June 10, 2025

Forget-me-not

Hello friends,

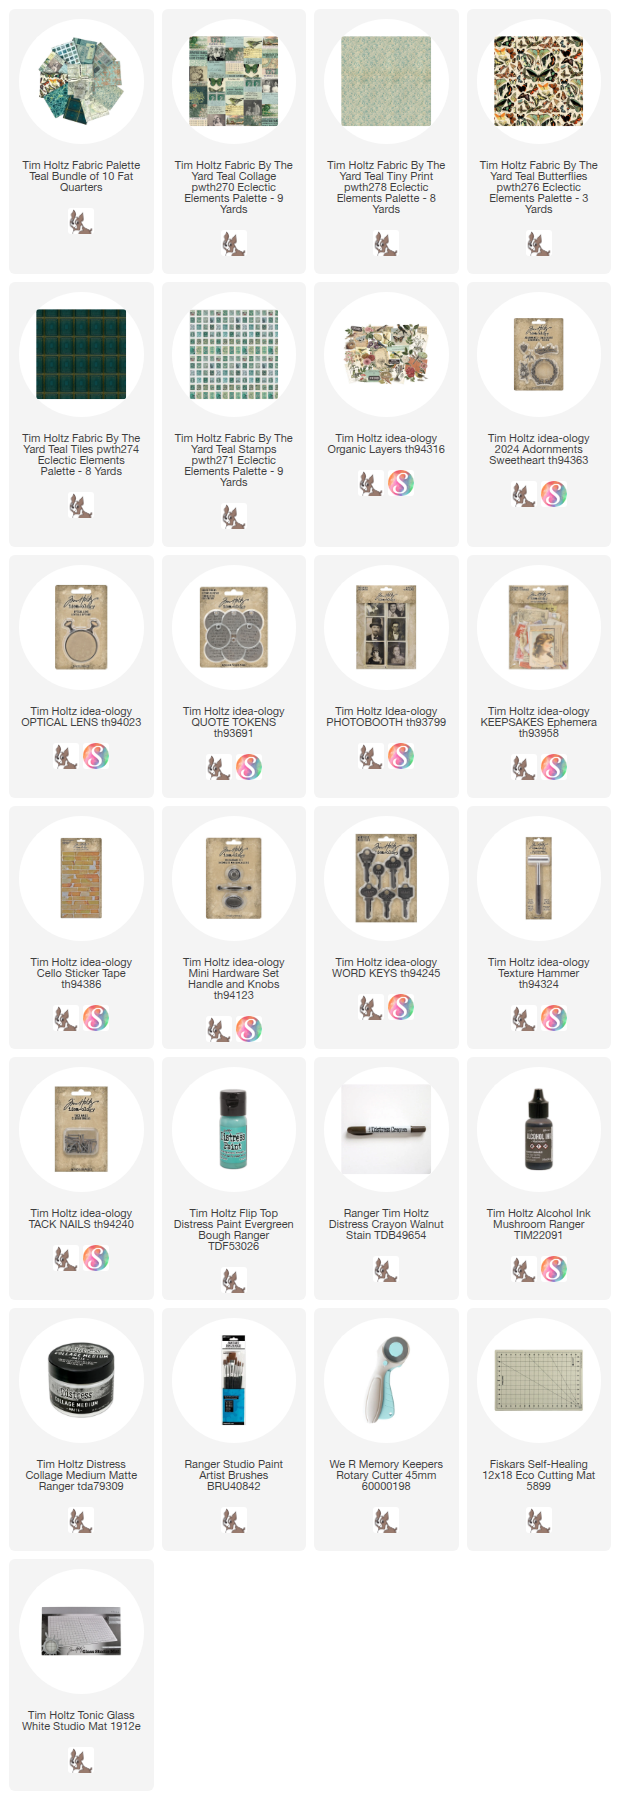
Today, I'm excited to share a project featuring Tim Holtz Palette Teal fabric from FreeSpirit. Teal is a personal favorite, and this collection did not disappoint — each fabric is absolutely gorgeous. The majority of the 10 Palette Teal designs exude a serene tranquility, but then you have 'Palette Teal Butterflies,' 'Tiles,' and 'Marble' which introduce more saturated tones. I blended both the calm and bold, incorporating pops of color from idea-ology ephemera to tie everything together. You might not immediately think orange pairs with teal, but it works perfectly here, right down to the vintage button stitched with red/orange thread. So enough talking, lets get started making!

I used 5 of the 10 Palette Teal fabrics for this project. 
Teal Collage
Teal Tiny Print
Teal Stamps
Teal Tiles
Teal Butterflies
Teal Wallpaper
Teal Marble
Teal Ephemera
Teal Tickets
Teal Map


Paint the 9 x 9 Display Panel with Evergreen Bough Distress Paint. I wanted a more sheer coverage so I painted it on, then wiped off some of the paint. When the paint was dry, I sanded it with a large sanding block to reveal more of the wood. 
While the paint was drying (before sanding), I set work on the fabric background. I chose Teal Tiny Print for the background since it's subtle and it will work perfectly with all the other fabrics and ephemera. I cut a 9 x 9" square of both the Tiny Print and cotton batting.
Then stitched them together with a random pattern of straight stitches. Once the sewing was done, I cut the piece to fit the inside of the Display Panel.
So the panel and the fabric backing are ready to go!
I just added Collage Medium to the back of the Display Panel, then added the fabric into the back. 
TIP: cover the entire back of the tray with Collage Medium so the quilted fabric will be completely secured to the panel. You will be adding metals to the fabric and you do not want the backing to flop forward once the metal is glued in place (that would not be easy to fix).
Cut a piece of the Tiles fabric large enough so you can fold the sides under and iron flat. I colored a Photobooth image for the top and added it once I cut a "frame" into the fabric. Meaning, I cut a hole in the top tile so you could see the image like a frame. At first I didn't color the image, but I took it out and colored it with Distress Crayons to reinforce the teal and orange color scheme and it was so much better. Distress Crayons are magic!
I took the whole piece to the sewing machine and stitched around the outside. To get the clump of messy thread, I pull some thread from the machine, wad it up and stitch over it a few times. I use my fingertip to add watered down brown ink to color the thread before drying iwth my heat tool.
Next up is the metals. Each of these pieces was painted with white paint (either Distress or acrylic will work), then wiped away. Once dry, I added either more paint (like the blue on the key and blue and yellow on the flower). 
I also added Walnut Stain Distress Crayon to the Sweetheart Adornment and the flower (also from the Sweetheart pack).
For the Quote Token, I chose to keep it simple and just added Picket Fence Distress Crayon.
Add the Sweetheart adornment to the tile with Collage Medium. The Quote Token has two THIN 3D Foam Squares on the back. These will keep the Quote Token in place until it can be nailed to the wood panel.
Next up is the stamps. I stitched cotton batting and a block of stamps together. The fabric has a white background so I spritzed it with Antique Linen Spray Stain to give it an aged feel. I just spritzed and dried it with my heat tool.
Each of the three stamps were cut from the block, leaving the stitching only at the top. 
I spotted this piece of ephemera from the Keepsakes Ephemera pack that worked perfectly with the color scheme. I trimmed off the edges since there is a lot going on, I didn't need more distraction. I added a scene from the Collage Fabric to a piece of Watercolor Cardstock (because it's sturdy), then added it to the frame with Scor-tape.
For the ephemera on the bottom left, I created another stitched fabric piece with the Teal Collage fabric and cotton batting. I added more Watercolor Cardstock to the back of the ephemera piece (Keepsakes) then added it to the fabric with Collage Medium. This piece is long, so it's best to put something heavy on top while it dries so the ends don't turn up like a potato chip. Just saying...
Our last piece is the Optical Lens. I used the lens as a pattern to cut the circle of fabric from the fabulous Butterflies fabric. This was easy to do because I had painted the area I wanted to cut out with Collage Medium and let it dry before cutting. It makes the fabric just stiff enough to make the cutting easier.
I added a layer of Collage Medium over the top of the fabric and added it to the glass of the Optical Lens. 
Then I adhered the painted flower to the Lens with Collage Medium. Add enough glue to let the flower sit in it. Once dry, it will be super secure and ready to add to the Display Panel.
Putting it together -
After deciding on the placement, adhere each piece with Collage Medium.
I used the Texture Hammer to add a Tack Nail to the top of the Quote Token.
Once one side is complete, add the pieces to the right side. You can choose to use 3D foam Squares behind the Souvenir Views ephemera if you want it to be raised from the background like I did. The card with the bird is from the Layers Organic ephemera pack. I glued it with Collage Medium then added Cello Tape to the edges. The small key was added with Collage Medium. If you wish, you can choose to add another Tack Nail at the top of the key.
The buttons are all vintage. I collect buttons that have the thread left in, so all I had to do was glue these down with Collage Medium. Obviously, any buttons could be used and you could either stitch them right to the fabric backing or add faux stitching and glue them on like I did.
Once that section is complete, add the stitched piece to the left side. Again, I placed something heavy on top to make sure I got complete connection to the fabric below. Once secure, I added the vintage piece of ribbon and a tiny vintage button at the top. 

Finish off with more Cello Tape. That looks so good to me!
And the last piece is the Optical Lens. Again, use Collage Medium to secure it to the background.


I decided to add a handle to the top of the Display Panel. So I added a couple Screw Heads I had previously painted with white paint to the holes at each end of the handle. Once the glue had dried I just dripped one drop of Mushroom Alcohol Ink over the top. I also used a Walnut Stain Distress Crayon over the handle itself to add some aging.
I used Collage Medium to add the handle to the top of the Panel (of course I did that with the panel standing up).
And there you go. Done deal!
I couldn't be happier with this project. I love things collected - especially things that you might not think go together. I also know you could make this with with any of the Palette colors, but Teal just has a soft spot in my heart and maybe that's why this is so special to me.

Now carry on,
paula

Tuesday, April 14, 2020

Something Good is about to Happen

Hello friends,

Hope you all had a wonderful Easter weekend.  Ours was peaceful and even included a drive up the coast because the weather was so beautiful and the hills were so green from all the rain last week.  One thing about the mountains and the ocean, you can still enjoy the beauty just driving by.

I didn't have a specific idea for a project to work on so I chose to prep a few different substrates and see if any ideas flowed from there.  I ended up painting a Vignette Tray, two flat canvas panels and one thick canvas panel, which is the one I used for today project.   I had all the substrates in my art room, which made them not only easily accessible, but also a fun way to challenge myself.

I didn't take many step-out photos since this is more of a "gut instinct" project (meaning you work quickly without thinking too much) but I have a few just so you can get the basic progression.  Follow along and I'll show you what I did...
The wood frame stretched canvas is 8 x 10 x 1 3/8".  I used Collage Medium to adhere vintage paper to the surface and then added coat over the top to seal.  You can see that there are a few bubbles and creases but you will never see them in the end so don't worry about that.  Vintage paper is usually thin and can be very unforgiving compared to using todays patterned paper, but it's absolutely worth it to create the perfect base.
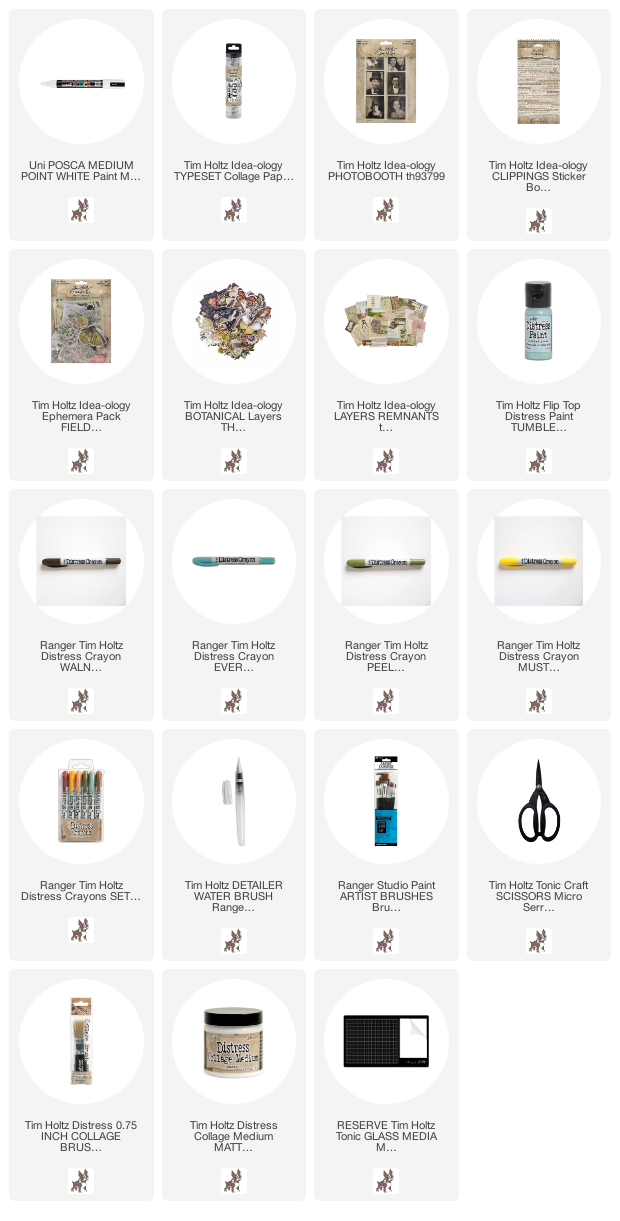
I added a postcard from the Layers Remnants pack.  I picked this one because I thought it looked so peaceful and I love the color green against the vintage paper.
So here is a big jump!  Let me explain what I did:
1.  I cut random sized strips of patterned paper with my rotary cutter then used Collage Medium to adhere them to the surface, criss-crossing on the left side.
2. I cut out the girl from a Photobooth picture and glued her into place.  The small flower is from the Layers Botanical pack.
3. One everything was dry, I scribbled Walnut Stain Distress Crayon over the surface and rubbed it in with a damp finger, making sure I built it up at seam lines and corners.
4. With a 1/2" paint brush I brushed on some Tumbled Glass Distress Paint.  The Distress Paint is thin compared to acrylic, so it lets the vintage paper shows through.  Don't think about the paint too much.  Just paint it on to balance the surface space and let the paint dry.
5. I wanted to add black circles but I was not sure what to use...I had just thrown away an empty jar of Collage Medium so I dug it out of the garbage and used the lid as a stamp tool.  I just spread the black paint on my glass mat and pressed the lid into the paint and onto the canvas.
6. A few phrases from the new Clipping Sticker book (seriously where would I be without it?) we're chosen.  I found enough to go together that I decided to separate them into two word blocks.  Remember to adhere the strips close together so they read like poetry.  I painted Collage Medium over the stickers to secure to the canvas.
When I was painting with the Tumbled Glass Distress paint I had some leftover on the small brush.  This allowed me to paint around the girl and make her stand away from the surface of the postcard.  Almost like her shadow behind her.  I did use a Detailer Water Brush to tint the girl with Distress Crayons.
Cheeks: Aged Mahogany (remember...tap, tap, tap for cheeks)
Scarf: Mustard Seed and Aged Mahogany
Coat: Walnut Stain
Now to balance out some of the empty spaces...I added the butterfly and the flower dictionary cutout, both from the same Field Notes Ephemera pack.  A layer of Collage Medium was added over the top of each so I could use Crayon to color (as in the case of the dictionary flower).
Large numbers from Typeset Collage Paper were added.  I used the Detailer Water brush to cut away numbers from the roll then used Collage Medium to add them to the surface.  You will see in the final piece that I ended up adding more numbers at the top and to the right.  I love that with the right application, Collage Paper becomes translucent over the printed background (that is key).  Such a great product no matter the pattern.
Peeled Paint and Walnut Stain Distress Crayon was rubbed onto the Tumbled Glass paint.  This really added depth to the circles.
White marks were added with a Posca pen.  Once dry, I sanded over the marks with steel wool and rubbed more crayon over the top.

And that does it.
I love the additions of the Collage Paper numbers, the Peeled Paint crayon over the blue paint and the Posca pen marks.  This was a fun project to create in a short time.  I think creating the canvas with the vintage paper one day and making the collage the next was key for me.  Somehow walking to the art room with a substrate ready to go made everything seem easier and more fluid.  Now to make something with the three other substrates!
Oh, and by the way...did you notice that all the creases and bubbles in the vintage paper have disappeared?

Thanks for stopping by,
Now carry on,
paula