I am absolutely in love with this Pocket Folio project! It gave me the perfect excuse to dive into the Palette Indigo paper pack, which honestly contains some of my favorite designs of the entire Palette series.
To bring this piece to life, I layered in several idea-ology staples, including Portraits, Collage Frames, and Memoir Ephemera. At first glance, you might notice the "sewn" details throughout the journal—but here is the best part: this is a completely no-sew project. I didn’t touch a sewing machine or a needle for a single page! Proof that you can get that beautiful tailored look by picking the right products!

Here is a Pocket Folio in the package. You can see how the Folio unfolds so the "pockets" are at the bottom. Because the covers are independent from the center zig-zag, I'm going to turn it upside down (compared to the image on the cover). So instead of having pockets, I'll have flaps.
Now lets get started!

I'm using the 8 x 8" Indigo paper pack for this project since the scale is perfect for a journal of this size. I've cut multiple papers to cover the inside of the Folio...and of course used Collage Medium to adhere the paper. I don't think it matters what paper goes where, but I will show you the papers I've chosen. Again, notice the flaps are at the TOP.
Section 1 and 2

Section 3 and 4

Section 5 and 6


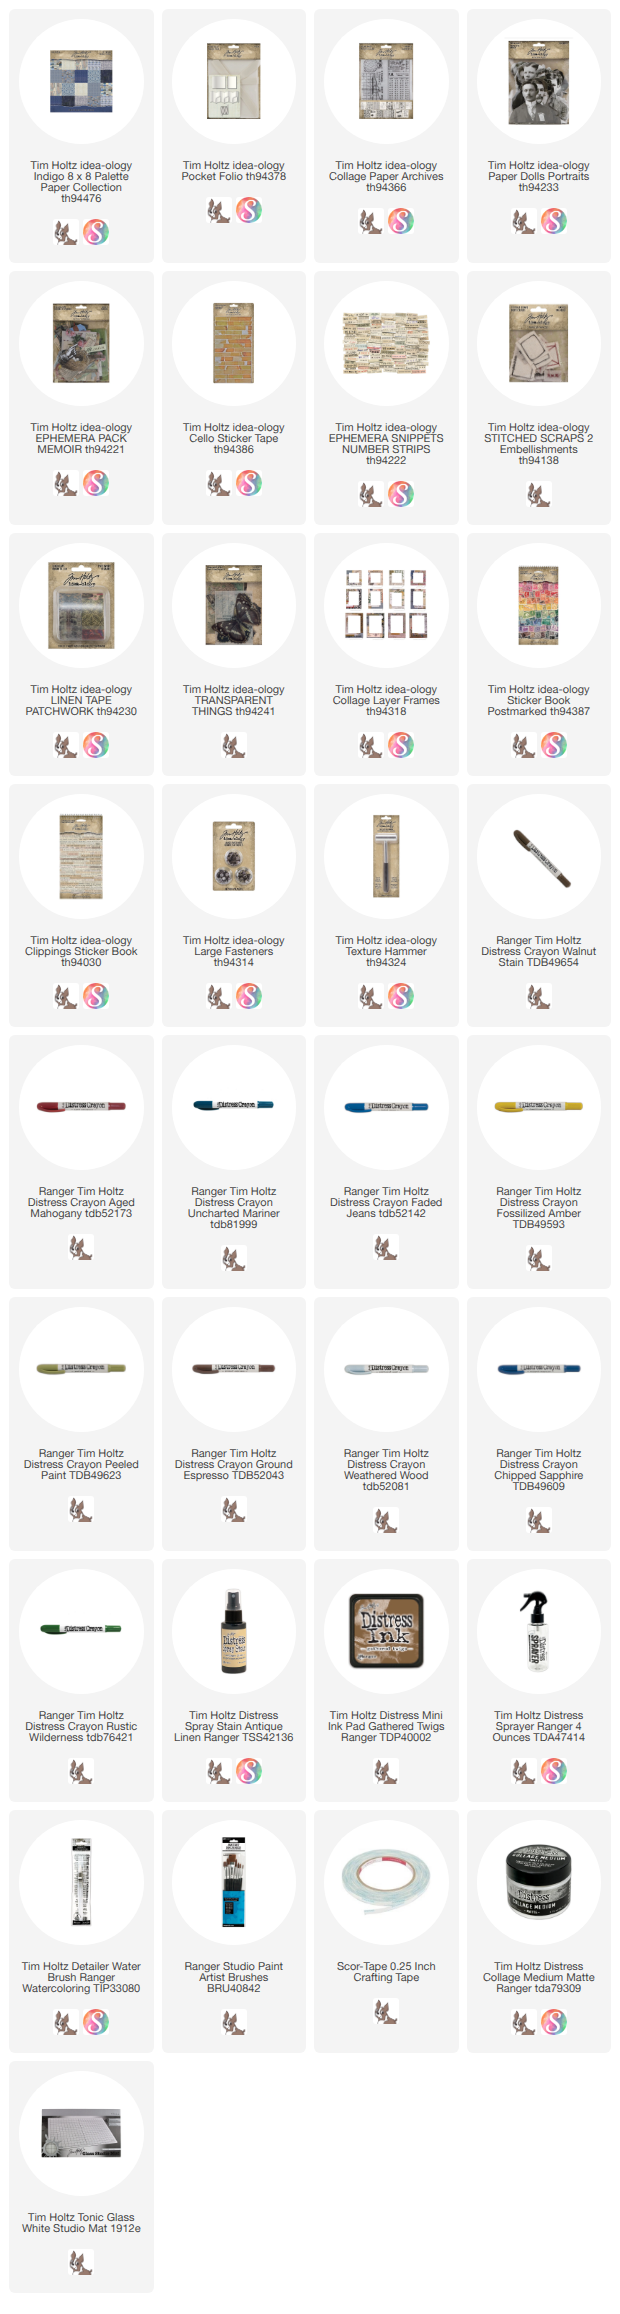
While the flaps are drying, I started to gather a few products I thought might work in this journal. I've chosen Collage Frames, Paper Doll Portraits, and three transparencies from the Transparent Things pack.
NOTE: I had two packs of the Collage Frames so I used a total of 6 large frames from this project (one Collage Frames pack has 4 large frames).

So about the Paper Doll Portraits...they were tinted by me with Distress Crayons. Since these are going into a journal, I sprayed them with a Fixative once they were tinted. This keeps the crayon secure (when the pages rub together). You can find a can of Fixative in the Fine Art department of most craft stores - near the pastels.
Set one for the Collage Fames

And another set of three for the inside of the folio.


Now add two more of the Portraits to Collage Frames.
This one will be added to section 3

And this one will go on section 5.

Section 2

Section 3

Section 4


I LOVE how you can build up the crayon on and around the Cello Tape!


 Outside of the front and back cover. I picked my favorite Indigo floral for the cover, then use 4 different scraps on the back cover.
 Inside of the two covers. Front on the left, back on the right.


So lets swing back to the underside of the flaps!
I have added Collage Paper to cover the blank side of the flap. Here are the steps to do it:
1. Cut or rip a piece to fit flap.
2. Cover flap with Collage Medium.
3. Lay the cut piece into the glue and smooth out with brush.
4. Add another layer of Collage Medium over the top.
5. Let dry, then sand away the excess paper and add crayon to the edges.

I decided to add more Ephemera from the Memoir pack + Clippings, Postmarked stamps and Cello Sticker Tape under each flap. Of course if you want to use crayon later like I did, you must seal the paper with Collage Medium before doing so.
The three Portraits were added with Thin 3D Foam Squares on the top half, then glued at the bottom with Collage Medium.
Inside of Section 1

Inside of Section 3

Inside of Section 5


Notice that the back cover on the right has a flap? This book has a reversible cover - if you want the flap on the front, you can do that. I'm keeping it on the back and will make it a pocket.


 Once dry, you can wrap the Pocket Folio with the twill and add any embellishments. I added vintage buttons and a Snippets Number Strip with Collage Medium.

I added Large Fasteners to the corners of the flap and smashed them with the Texture Hammer. The flap was ten secured with Scor-tape at the top and bottom to make the pocket. This gave the appearance the Fasteners were securing the flap, when in fact it was just double-sided tape that was doing the job.

I added Crayon to the cover to give it an aged appearance. I also inked the twill that comes with the Pocket Folio by making a puddle of gathered Twigs ink and a bit of Antique Linen (plus water) on the glass mat. I sprayed the twill with water, then dipped it into the ink puddle soaking up the ink. Once satisfied, I dried the twill with a heat tool.

The only piece I added to the cover itself was the black strip from the Memoir pack.
 Here are photos of the finished Pocket Folio:


Hoping you like this project as much as I do. Grateful for Tim and his idea to bring the Palette fabric series to life as paper! It has brought so much enjoyment reminiscing about all the great designs!
Now carry on,
paula