Showing posts with label Memoir ephemera. Show all posts

Friday, May 15, 2026

Palette Indigo Pocket Folio

Hello friends,

I am absolutely in love with this Pocket Folio project! It gave me the perfect excuse to dive into the Palette Indigo paper pack, which honestly contains some of my favorite designs of the entire Palette series.
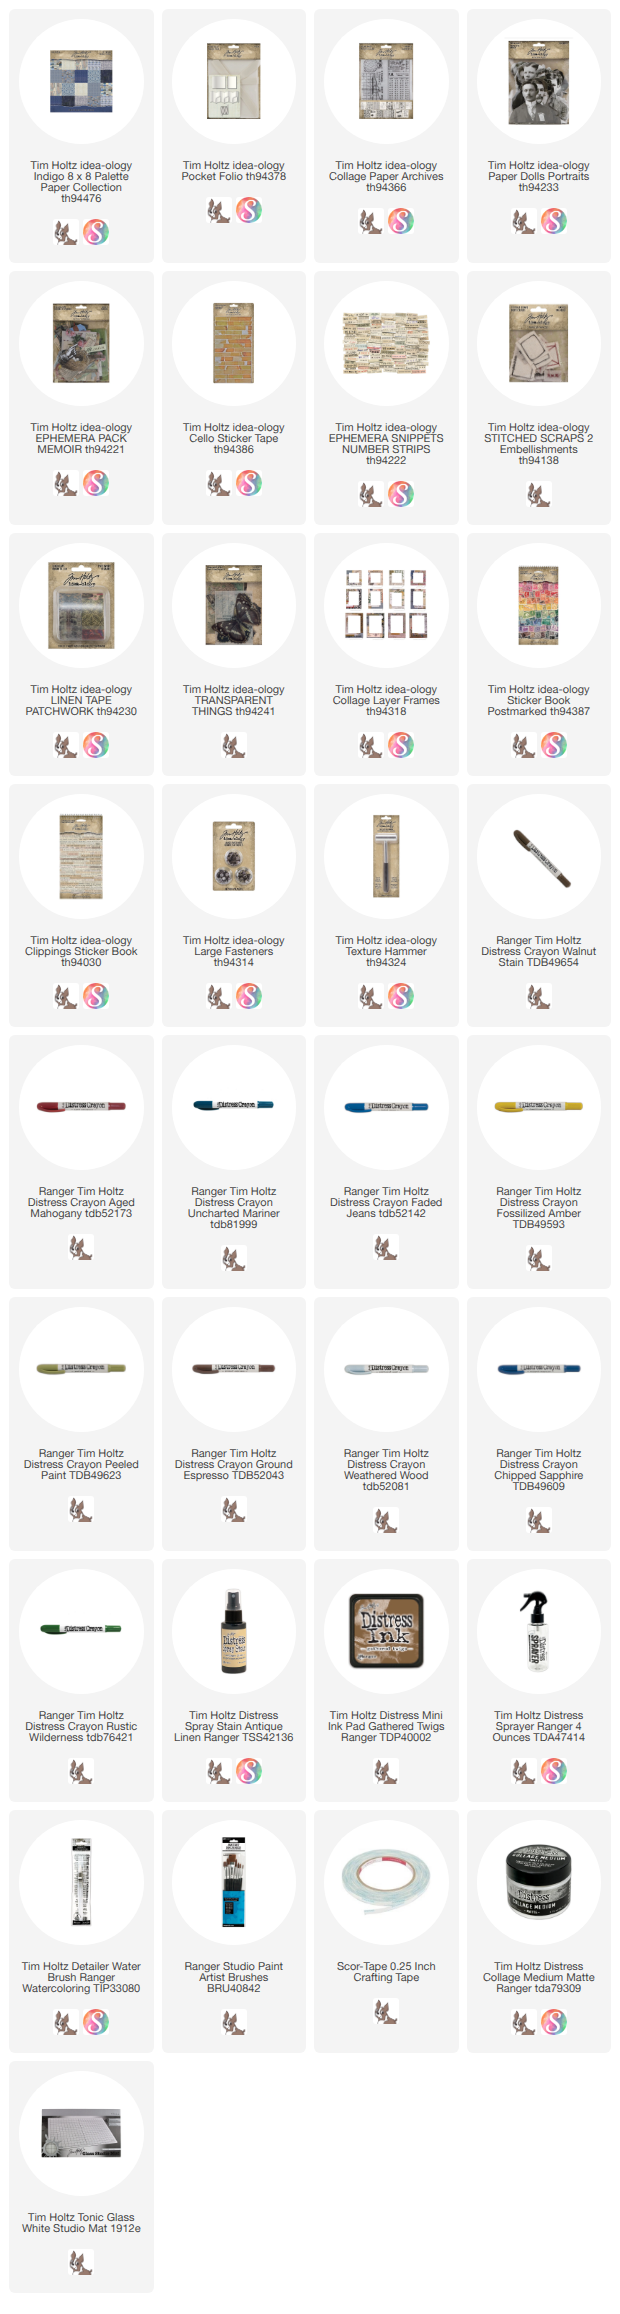
To bring this piece to life, I layered in several idea-ology staples, including Portraits, Collage Frames, and Memoir Ephemera. At first glance, you might notice the "sewn" details throughout the journal—but here is the best part: this is a completely no-sew project. I didn’t touch a sewing machine or a needle for a single page! Proof that you can get that beautiful tailored look by picking the right products!

Here is a Pocket Folio in the package. You can see how the Folio unfolds so the "pockets" are at the bottom. Because the covers are independent from the center zig-zag, I'm going to turn it upside down (compared to the image on the cover). So instead of having pockets, I'll have flaps. 
Now lets get started!
I'm using the 8 x 8" Indigo paper pack for this project since the scale is perfect for a journal of this size. I've cut multiple papers to cover the inside of the Folio...and of course used Collage Medium to adhere the paper. I don't think it matters what paper goes where, but I will show you the papers I've chosen. Again, notice the flaps are at the TOP.
Section 1 and 2
Section 3 and 4
Section 5 and 6
I added the very important layer of Collage Medium over the flap paper to seal it, so I could add Walnut Stain Distress Crayon once it is dry. I like the crayon color and texture, which I think adds to the overall look of the journal.
While the flaps are drying, I started to gather a few products I thought might work in this journal. I've chosen Collage Frames, Paper Doll Portraits, and three transparencies from the Transparent Things pack.
NOTE: I had two packs of the Collage Frames so I used a total of 6 large frames from this project (one Collage Frames pack has 4 large frames).
So about the Paper Doll Portraits...they were tinted by me with Distress Crayons. Since these are going into a journal, I sprayed them with a Fixative once they were tinted. This keeps the crayon secure (when the pages rub together). You can find a can of Fixative in the Fine Art department of most craft stores - near the pastels.
Set one for the Collage Fames
And another set of three for the inside of the folio.
So now lets add the first set to three Collage Frames. I used a transparency in the background.
Then added more double sided tape to add a second Collage Frame on the back. If you only have 1 pack of frames you could always cut some cardstock to mimic the frame on the back.
Here it is with the second frame attached to the tape.
When the frame is placed on the flap, you can see that you'll need about 2" of tape to add the frame.
It should look just like this. I used the grid on my glass mat as a guide for the tape length.
Now add the frame to the flap. 
Here is the inside of the flap (we'll take care of decorating this area in a minute).
Now add two more of the Portraits to Collage Frames. 
This one will be added to section 3
And this one will go on section 5.
Section 2, 4 and 6 are blank pages (other than paper). Use Collage Medium to add Memoir Ephemera to each of the three sections. Also, it is very important to add a thin layer of Collage Medium over the top of the paper and ephemera to seal.
Section 2
Section 3
Section 4
Once the Collage Medium is completely dry, start adding embellishments like Cello Sticker Tape, vintage trims, vintage buttons and Stitched Scraps (the sewing is already done for you!).
I scribbled the crayon on the glass mat, then picked it up with an old brush. Admittedly, I went back and adding more crayon, scribbling directly on the page.
Here are the three ephemera sections once the Distress Crayon was added:
I LOVE how you can build up the crayon on and around the Cello Tape!


So lets swing back to the underside of the flaps! 
I have added Collage Paper to cover the blank side of the flap. Here are the steps to do it:
1. Cut or rip a piece to fit flap.
2. Cover flap with Collage Medium.
3. Lay the cut piece into the glue and smooth out with brush.
4. Add another layer of Collage Medium over the top.
5. Let dry, then sand away the excess paper and add crayon to the edges.
I decided to add more Ephemera from the Memoir pack + Clippings, Postmarked stamps and Cello Sticker Tape under each flap. Of course if you want to use crayon later like I did, you must seal the paper with Collage Medium before doing so. 
The three Portraits were added with Thin 3D Foam Squares on the top half, then glued at the bottom with Collage Medium.
Inside of Section 1
Inside of Section 3
Inside of Section 5
Outside of the front and back cover. I picked my favorite Indigo floral for the cover, then use 4 different scraps on the back cover.
Inside of the two covers. Front on the left, back on the right.
Notice that the back cover on the right has a flap? This book has a reversible cover - if you want the flap on the front, you can do that. I'm keeping it on the back and will make it a pocket.
I added Large Fasteners to the corners of the flap and smashed them with the Texture Hammer. The flap was ten secured with Scor-tape at the top and bottom to make the pocket. This gave the appearance the Fasteners were securing the flap, when in fact it was just double-sided tape that was doing the job.
I added Crayon to the cover to give it an aged appearance. I also inked the twill that comes with the Pocket Folio by making a puddle of gathered Twigs ink and a bit of Antique Linen (plus water) on the glass mat. I sprayed the twill with water, then dipped it into the ink puddle soaking up the ink. Once satisfied, I dried the twill with a heat tool. 
Once dry, you can wrap the Pocket Folio with the twill and add any embellishments. I added vintage buttons and a Snippets Number Strip with Collage Medium.
The only piece I added to the cover itself was the black strip from the Memoir pack.
Here are photos of the finished Pocket Folio:


Hoping you like this project as much as I do. Grateful for Tim and his idea to bring the Palette fabric series to life as paper! It has brought so much enjoyment reminiscing about all the great designs!

Now carry on,
paula

Saturday, January 31, 2026

Gatherings

Hello friends,

The new Palette Paper series has been a catalyst to my last few projects, and today is no different! What started as a simple exercise in using the 12 x 12" Palette Red evolved into a project that I truly love-a perfect trifecta of paper, fabric, and vintage. If you’ve been looking for a way to bridge the gap between your paper stash and your fabric bin, the Palette series might just be the common thread you've been waiting for.
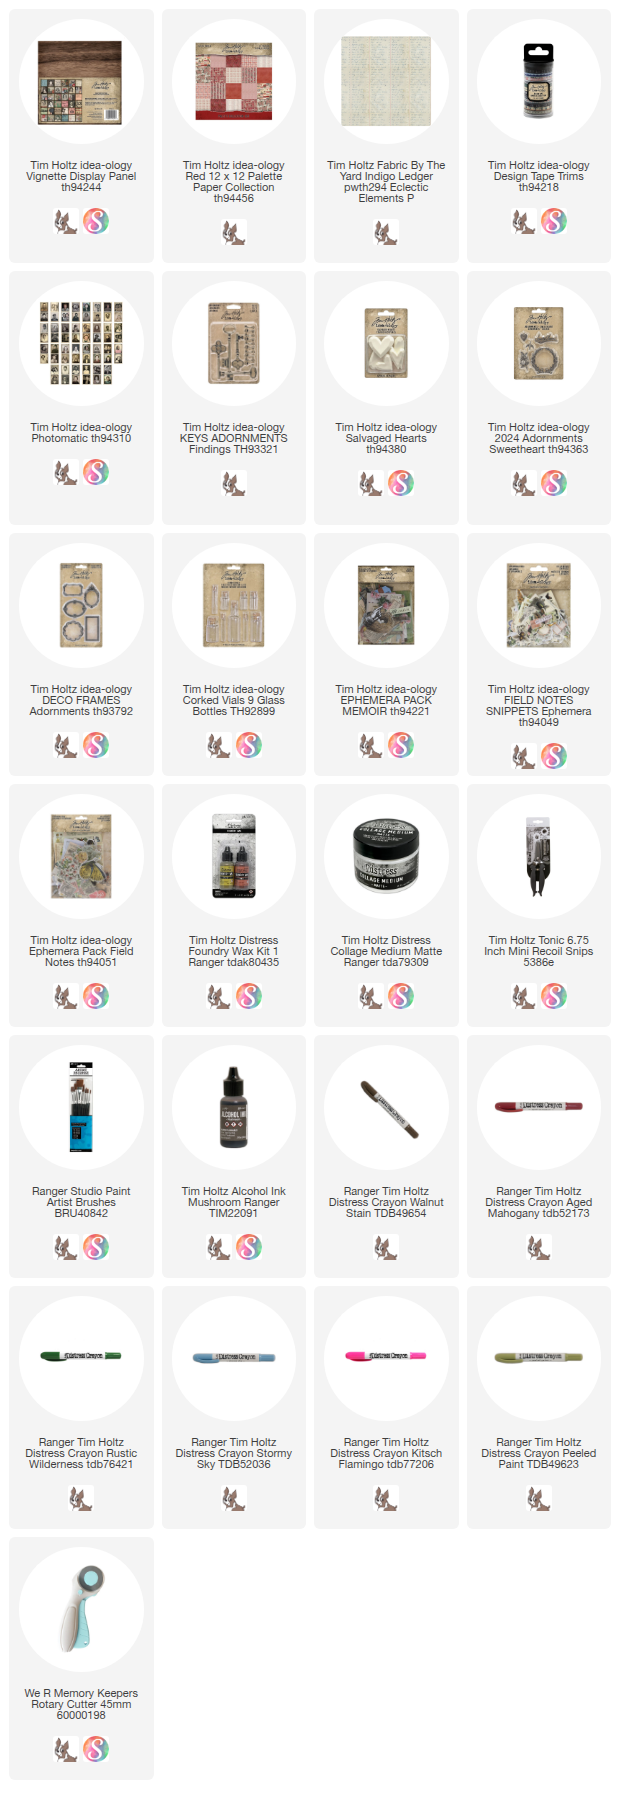
Starting with an idea-ology Display Panel, I used Collage Medium to add Palette Red paper to the inside of the panel. I also added a layer over the top so I can add Walnut Stain Distress Crayon once it is dry. The red stamp paper is so fun here and looks great as the back panel.
That is just what I am doing here. I scribbled the crayon on the sealed paper and with a damp brush I just keep moving it around till I get the effect I want.
The last step is to pounce over the crayon with a wet wipe to get rid of any brush marks or areas that are too dark.
I moved on to the sides of the panel, again cutting the strips from the red Palette paper.
Design Tape Trim was added to the lip edge of the panel. I like to add Collage Medium on the lip edge before added the tape for longevity. And I love the contrast of the black tape!
So lets move on to the inside of the Display Panel.
Cut a 9 1/4 x 9 1/4" piece of fabric (I'm using a favorite fabric-Palette Indigo Ledger) + a matching piece of cotton batting.
Stitch the fabric to the batting, then trim the edges. If you don't have a sewing machine, you could use use Collage Medium to adhere the fabric to the cotton batting.
I also cut a 9 x 9" piece of heavy chipboard. Once the center piece is complete, it will be added to the heavy chipboard with Collage Medium.  I want the center to stand up and away from the red stamped background, so I plan to add bingo chips (or some other kind of riser) to the back of the chipboard before placing into the Display Panel. But for now, I need the fabric panel to be flexible so I can add the sewn elements.
Here is the finished center panel. Well, almost. I added pearls to the large key after I took the photo (there is a photo below of that addition). Everything here was either added with Collage Medium or hand stitched to the panel, except for the vintage French Marking Tape, I used my machine.
Lets talk about the individual pieces.
I colored the little bird from the Adornments Sweetheart pack with Foundry Wax. I squeezed out a dime size portion, then used a small brush to paint the bird (work fast). I heated the Foundry Wax with an embossing gun, then let it cool. The Distress Crayon was added to bring out the details.
I added a Curator Snippets Label to a skinny Corked Vial, along with some faux pearls that I colored with Mushroom Alcohol Ink. This is where the little bird will end up - fastened to the neck of the vial with string.
I also shortened a piece of ephemera from the Memoir ephemera pack. I liked the roses, but the piece was too long for what I needed. I cut the piece in half on the left side of the three roses. Then used that piece to make a new left end.
As for the photo image - this is from the Photomatic pack. You could easily substitute a family photo if you wanted. I tinted my Photomatic with Distress Crayons, using Aged Mahogany for her cheeks, Stormy Sky and a touch of Rustic Wilderness for the background.
I also colored the small flowers from the Field Notes Ephemera pack with crayons (because why not?). Crayons like a slick surface so I painted Collage Medium over the image before adding the crayon. This time I used Detailer Water Brushes to add the tiny brush marks.
Putting it together just meant gathering things from idea-ology and a few vintage items from my collection to make something unique. As you can see I added more ephemera from the Memoir ephemera pack (blue card) and a tiny label (Field Notes Snippets) to the top. I used a needle and thread to stitch the card down. The Photomatic image was added, along with the roses and the word Sweetheart from the same Adornments pack as the bird.
There is a small idea-ology Deco Frame with the flowers I painted and a few vintage buttons and pink tatting lace.
I added the tiny gold bird to the neck of the bottle with some string, then secured the Corked Vial with light blue thread.
On the left, I added the French Marking Tape by stitching on my machine (but it could also be added by hand).
Then a small painted Salvaged Heart was added with Collage Medium. Once dry, I stitched on the three vintage buttons, leaving messy threads for texture.
The large key was colored with the same Foundry Wax as the bird, then rubbed with Distress Crayon to age the gold once it was cool to the touch. I also stitched it to the fabric panel.
I threaded a needle and made a stitch next to the the top of the key. Then I added faux pearls (about 4 or 5) and made another stitch into the fabric. I drew the needle up and added about 4-5 smaller pearls, then made another stitch in the fabric to secure.
I am so happy with the way this project turned out. The Palette Indigo Ledger fabric is the perfect foil to the bold red background. I could have continued to add paper and trinkets to the fabric panel but I decide to let the fabric shine, rather than covering it up. I'm glad I did!
What will you make with the new Palette Papers?

Now carry on,
paula