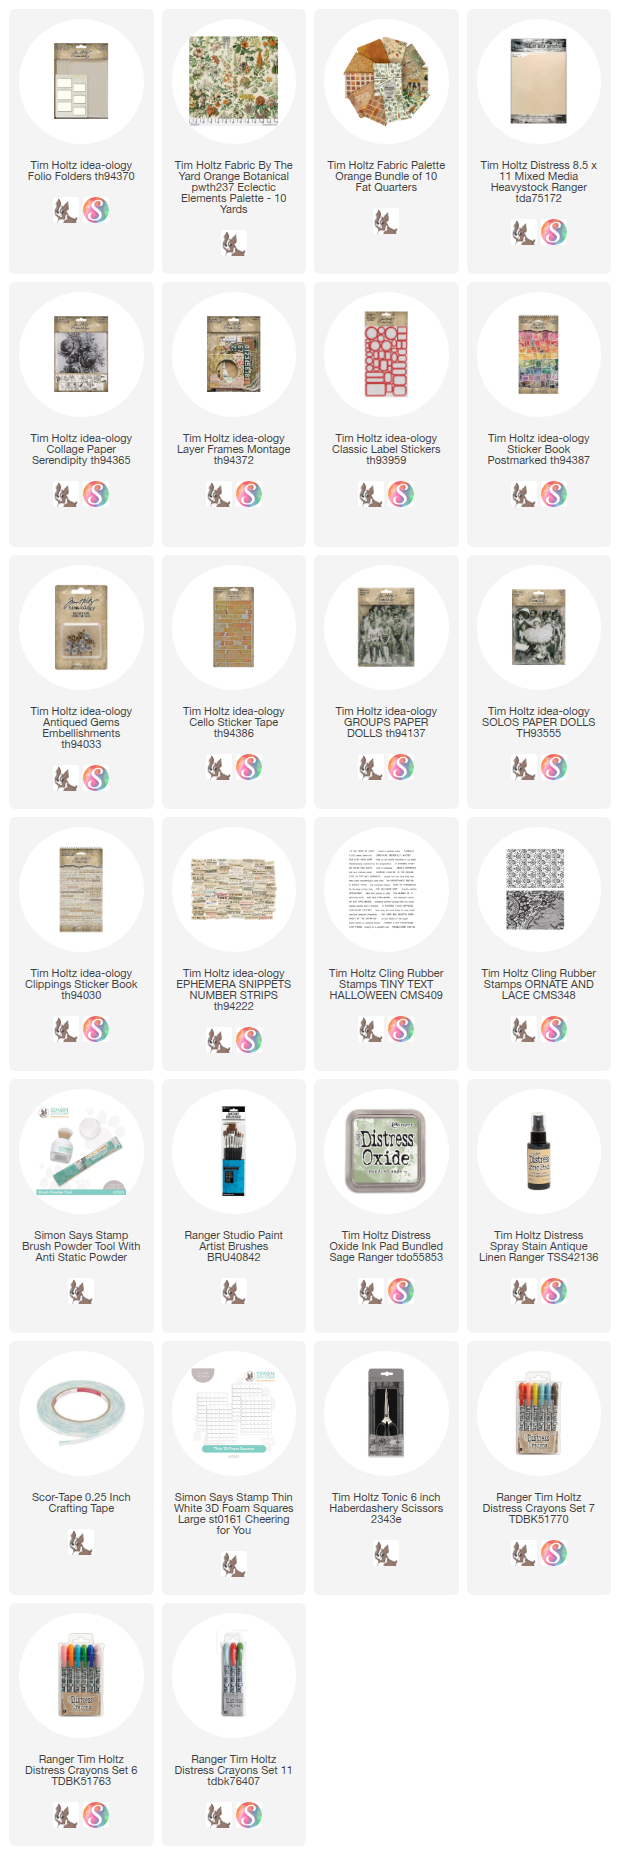
Today marks a special day on the project table as we feature Palette Multi, the highly anticipated final collection in the beloved Palette series!
To celebrate the conclusion of this wonderful journey, I wanted to create a project that truly captured the essence of the series—and what better way than to use multiple fabrics!
Palette Multi is a fantastic group featuring 9 vibrant prints and one essential neutral. What sets this collection apart is that while every Palette fabric can shine solo, Multi's magic is found in the combination of color and pattern. It's not just about one dominant color or scale; it's a dynamic interplay that makes every print work beautifully on its own or together in a wonderful ensemble.
So lets get started!

 While the paint was drying, I worked on the quilted back ground. I used the Multi "Ephemera" fabric + cotton batting + a Frixion pen and my clear ruler to mark the lines (1" apart) for stitching.
 Turn the piece and mark the lines going the other direction, making a diamond pattern.
 Go to the machine and stitch the fabric and batting together. Trim the edges to fit the back of the tray.
 Use Collage Medium to add Design Tape Trim to the edges of the Tray.
 Add Collage Medium to the entire back of the tray and add quilted panel. Press down.
 I glued the wood piece to the stack of Trims with Collage Medium and let it dry for about 15 minutes, before painting it the same color I painted the Vignette Tray.
 Once the paint was dry, I added a piece of Backdrop paper (from the neutral pack) to the top of the shelf.


 I've been using these a lot lately. It's just the Falling Stars die cut from Sparkle Kraft Stock. Because the paper is thick, you might have to pop the stars out with a pair of tweezers.
 I used a thin brush to add Collage Medium to the back of each star and then placed them where I thought they should go, starting with the largest stars. The last stars I added to the edge of my moon, then once dry I cut the excess that was hanging over the edge. This little trick really helps the moon to look like it's rounded.
 Because I added3D foam squares to the back of the moon, I need to add doubled bingo chips and foam squares to the back before placing the paper dolls onto the tray. The goal is just to have the ladies stand up upright over the moon.
 I set them a little off center from the moon and left them to dry for an hour before standing the tray upright.

 I wanted to add some Corked Vials to the tray. I used different sizes of tape to make stripes on the bottles. I pounced over the tape with Gold Mixative and let it dry for a few minutes before removing the tape, leaving the gold stripes on the glass.
 I used Collage Medium to add Clippings to the bottles, then filled them with a combination of shredded Mummy Cloth and pearl beads (from the craft store) colored with Mushroom Alcohol Ink. I love they way they turned out.

 I added the Corked Vials, the Label Frame (using two more bingo chips), and a nest I made in the summer for another project. I made multiple nests from wire and Spanish moss adding a Tiny Egg that has been painted blue and splattered with Scorched Timber.

The mushrooms are from the Field Notes Ephemera pack. Neutral reindeer moss was added to disguise the bottom of the mushrooms, like they are growing right out of the moss.
TOP COMPARTMENT


 If you missed the Palette LIVE with Tim on Monday, November 17th, please take the time to watch the replay. There are so many great fabric projects from both Richele and myself using not only Palette Multi but also Palette Christmas. I promise it will be great inspiration!

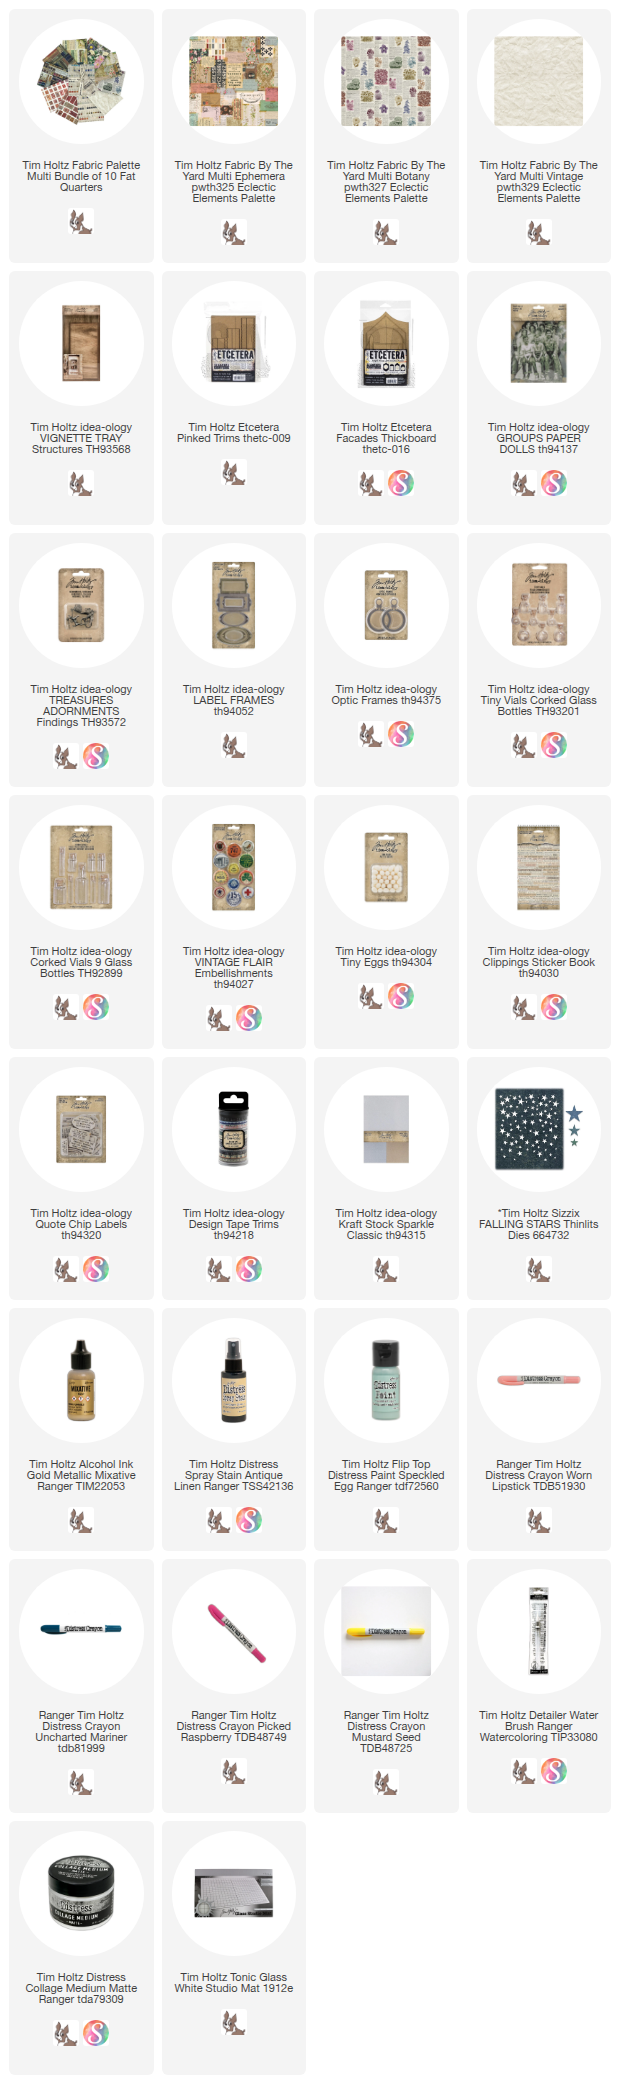

Paint the Vignette Tray with Speckled Egg Distress paint or any other neutral color. When the paint was dry, I sanded the wood and gave it a coat of Collage Medium to seal.


I wanted to add a shelf to my project but I didn't want to wait till my husband got home to cut the wood. SO just got a scrap piece of wood from my stash and cut it to length (the width of the tray). Then I stacked Etcetera Trims - Pinked (I cut these to length individually before glueing the stack together).


I used Collage Medium to add the shelf to the tray, 3 3/4" up from the bottom.

INSIDE
I chose these ladies from Paper Doll Groups pack. They are a favorite from the pack! I colored them with Distress Crayons, mostly coloring directly on the image and then rubbing the color with my fingertip or a cotton swab (FYI: the color will be lighter using a cotton swab). I used a dry Detailer Water Brush to color the stripes on the center dress.


 I added just a small about of Spray Stain over the top BEFORE the Collage Medium was dry (it will not adhere if the CM is dry).
 From there I added Lost Shadow Distress Crayon to the left side to create a shadow (it rolls right on over the sealed surface).
 Then the stars.


I wanted to use the neutral fabric that is part of Palette Multi called "Vintage". As I was trying to figure out how to do that, I had a thought that the fabric looked like the moon texture you might see in a telescope. So I et out to make it look like the moon.
First I punched out the center of one of the Etcetera Facades. Then covered it with Collage Medium and added the fabric. Once dry, I cut out the circle and added a layer of Collage Medium over the top (that helps with the fraying of edges).


BOTTOM COMPARTMENT
To start the bottom compartment, I added a ripped piece of paper to the bottom of the tray (the same paper I used on the shelf).


Next I need a sentiment. I took the easy route and used a Label Frame and Quote Chip - Labels that match up perfectly.I added some white paint to the frame, let it dry and then added the Quote Chip with just some scotch tape on the back.


TOP COMPARTMENT
We ended the top compartment when we added the ladies standing in front of the moon. I didn't want to add much, but it needed something on the left side. I had the idea to make something like a covered button (showing my age there), so I took an idea-ology Vintage Flair button and removed the silver ring from the back with a pair of needle nose pliers (it comes off easily).
I added Collage Medium to the front of the Flair and some on the back edge. I pre-cut a piece of Palette Multi "Botany" fabric (I love this fabric!!) over the top and pushed it around the edge to the back side, just like making a covered button. I love how fabric is flexible so it stretches so easily around the circle.

I added the Vintage Flair button to an Optical Frame (I had already tested it for fit), then added a little bird that I had previously rubbed white paint over. I adhered the bird with Collage Medium and left it to dry for about 30 minutes.

I added the button to the top compartment (it has a wood block behind it to help it stand up), along with a Tiny Vial that again has Gold Mixative on the bottom and is filled with Mummy Cloth and pearls.

You can see that Tiny Vial much better in this close-up.
Details matter.

The last thing I added was more ephemera from Field Notes. A label glued on the top of the Tray with added Cello Tape...

and a label tied with string around the neck of the knob.

This one was a fun one to make, I especially like using the fabric three different ways to enhance this piece. And I might just be covering more Vintage Flair with fabric!
Now carry on,
paula