Showing posts with label Folio Folders. Show all posts

Wednesday, May 27, 2026

Colorful Graduation cards

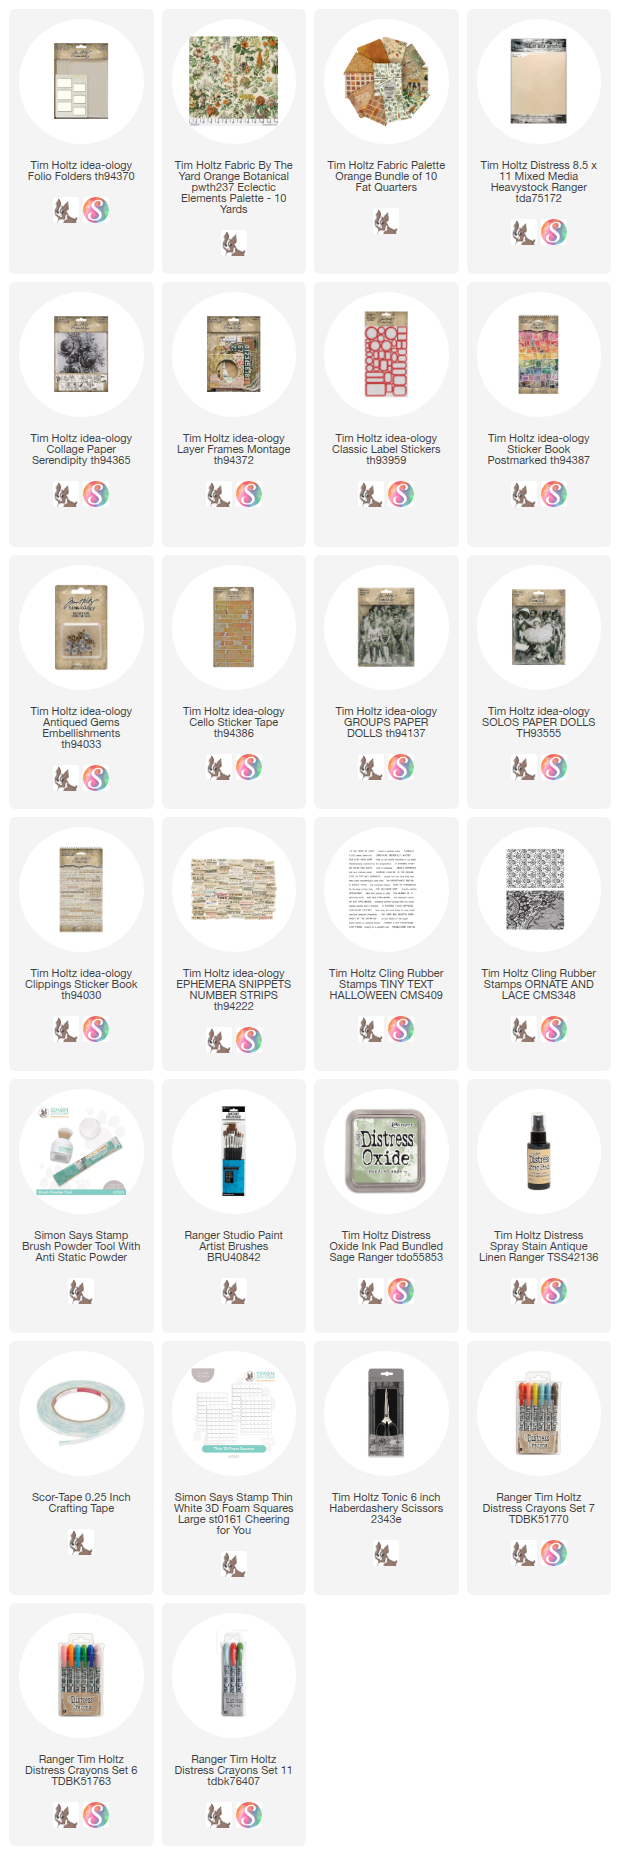
Hello friends! With June just around the corner, graduation season is officially on the horizon, which means it's time to make a few special cards. To get a head start, I decided to use the versatile idea-ology Folio Folders as my base. Combining Distress Paint, Spray Stain, and beautiful Collage Paper made personalizing the covers a breeze. 
I added Palette Paper envelopes to the inside so a gift card or money can be easily added! I hope you'll come along with me today as I show you how just a few simple materials can come together to create truly memorable cards.
I started with three large Folio Folders. There are three more smaller folders in the pack, but I'll be saving them for another time.
I used a Blending Tool with a foam pad to add Lost Shadow Distress Paint to the three folders. It takes very little paint to get a great image through the stencil.  So remember, "Less is more"!

TIP: If you don't want to wipe the paint off the stencil immediately, throw it into a tray of water until you have the time to wash it.
I used three different stencils - Deco Feather, Deco Leaf, and Deco Floral. These are some of my favorite stencils!
Spray a few colors of Distress Spray Stain + enough water to help it bead up. I chose Mustard Seed, Speckled Egg, Saltwater Taffy, but many color combinations from the Distress line will work. NOTE: I also gave the Folio Folder a light spritz of water before dipping into the ink.
Here's my first go - I got a lot more yellow than I anticipated but I still like it. 
Love how the three turned out. Each different and unique! The Lost Shadow Distress Paint is perfect with the bright colors.

I'm going to add a few flowers from Collage Paper over the inked folio. I used a water brush to cut out each flower from the background. 
Super easy to add the Collage Paper to the front of the Folio with Collage Medium. Remember, a layer of Collage Medium, then the Collage Paper, then another layer of Collage Medium over the top.
Here are the three images I chose but any from the Serendipity pack would do.
Next up, use the Distress Splatter Tool to flick Picket Fence Distress Paint over the folders. It might be hard to see all the paint flicks but they really add to the overall look.
While the paint is drying, I'm going to stamp on some Cello Tape. You must use StazOn ink so it will be permanent (Archival ink will not work for this). I'm also using the Stampers Anonymous Tidbits stamp set since the size/scale works perfectly. 
#1 TIP: Make sure you are stamping on the right side of the tape that peels off! You might notice that in the upper left hand corner I stamped on the wrong side and had to turn the tape over to continue stamping!
Another tip...If you spray some Isopropyl Alcohol on to a paper towel you can remove bad stamping. Turn the tape over to stamp a new image (Example 3).
I used Collage Medium to add 8x8" Palette paper to the inside of the folders. I used Palette Teal, Palette Yellow, and Palette Pink. 
When I was working on the outside, some ink managed to make its way onto the inside. I decided to just go with it and instead of covering it up with paper, I stamped each folder using my favorite florals and black soot Archival Ink. I also added a few more splatters just to give it more color.
Now a little Gathered Twigs Distress Ink on the edges of the folders.
Now to finish the outside of the folders:
I used Postmarked stamps, Tiny Text Remnant Rubs, the pre-stamped Cello Tape Stickers to decorate each of the Folio Folders. Don't be afraid to cut up the Remnant Rubs to suit what you want it to say. For instance, I changed "Free to Fly" to "Remember to Fly".
I also added a vintage button to each little collage. Any other small embellishment could be substituted if you don't have a button!
To further decorate the folders, I gathered a few charms to hang from some string. I thought the bird would work well with "Remember to fly". I use Speckled Egg Distress Paint to paint the bird and a Picket Fence Crayon to fill the recessed portion of the idea-ology Word Tags.
Just a bit of twine to tie the charms to the folios!
Since I decided to make these cards for upcoming graduates, I thought I better add a pocket on the inside for a gift card or money. I did that by cutting Palette paper (in Teal, Pink, and Yellow) with the envelope die from the Sizzix Collector Thinlit. The size is perfect.
I used tape to add each envelope to the inside of the folder. They really are mix and match envelopes at this point!
One last idea! 
I wanted to add a note as a closure on the envelope so I looked through my stamps to find Note Quotes. It had the perfect saying, "You got this",
I sprayed a piece of Distress Watercolor paper with Antique Linen Spray Stain.
I stamped the circles and the saying using Archival Ink, then cut them out.
I made a puddle of Speckled Egg ink to hand color the circles to give it more depth and interest. The color combo looks so good in person. I wish the photo could do it justice.
I added the circles to the envelope with tape but left the bottom portion open so I could add the gift card or money.
There is enough room to slip a note inside too!
Now carry on,
paula
Wednesday, June 4, 2025

Be Your Beautiful Self

Hello friends,

Can you believe it is June already? I know I can't! Time marches on whether we like it or not! With our sweet niece Ellie graduating from high school in just a few days, it seem's like a real end of an era for us. All 4 nieces and nephew will soon be in collage and far away from home. Sunday dinners will never be the same! We can't do anything about the pace of life except support and enjoy on the sidelines.

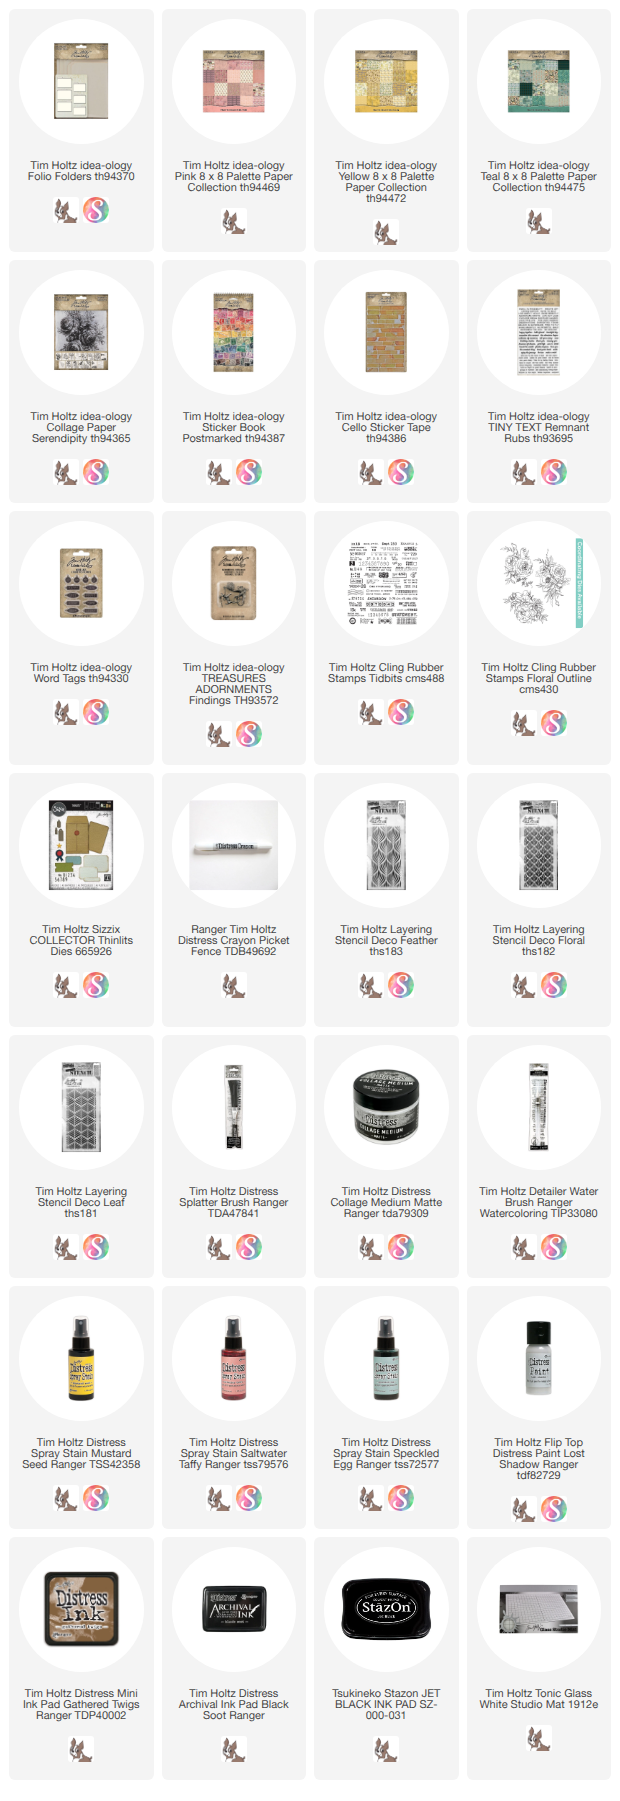
Well enough about the goings on around here, lets move on and talk about todays project! This is a sweet little book made with Folio Folders, then covered with fabric from Palette Orange (Botanical). It is truly one of my favorite fabric of the Palette Collection because of both design and the colors. Right in my wheelhouse. Botanical just goes with everything, including this little book I made. So lets get started and I'll show you how I put it together (including that cover).
I am using 3 large Folio Folders for this project (1 package). But the fun thing about this project is that you can add on as many folders as you like. So if you had two packages of Folio Folders, it could be twice as thick. Totally up to you.
I started as I always do, by spraying the folders with Antique Linen Spray Stain, then wiping it off. I sprayed both sides of each folder, drying with a heat tool between sides.
I used Distress Oxide Bundled Sage and the Ornate stamp from Stampers Anonymous to create a pattern along the inside of each folder. To get the fading top edge, add the ink to the stamp then use a wet wipe to feather the edge before stamping. Give it a spritz with water and stamp! You can practice on another piece of scrap paper before stamping the folder if you want. And remember, you only need to stamp on the inside of each folder, not the outside.
NOTE: Feathering creates a much more random, worn look that will fade away, rather than giving you a hard edge right in the middle of your page.
Choose three images from the Collage Paper pack Serendipity. Add Collage Medium to one side of the folder, then lay the Collage sheet into the glue. Press down (with clean hands), then add another layer of Collage Medium over the paper.
Create a puddle of ink to the side (gathered Twigs and water). Immediately use your finger to randomly add the ink over the glue. Once satisfied, use a paint brush to flick more ink over the glue before it dries. You can set it aside while you work on the other two or dry with a heat tool before moving on.
Add a Layer Frame from the Montage pack to the blank side of the folder. These frames have been pre-stitched so it looks like you have stitched it down but that step has been done for you! I used Scor-tape to add the frames.
I could leave the Collage Paper images alone, but I thought I would use Distress Crayons like watercolors and paint the scenes. To do this I chose a limited palette; Rustic Wilderness, Salvaged Patina, Abandoned Coral, Lumberjack Plaid, and Mustard Seed. I scribbled the crayon onto the glass Studio Mat and picked it up with a small damp paint brush.
I colored each of the Collage Paper images as well as some of the background with the Distress Crayons. I didn't want too much color but wanted to give some life to the images. This coloring was so relaxing!
Once the basic inside of each folder was complete, I lined up the folders in the order I wanted, then marked the outside so I would remember after adding the tape.
I added 1/4" Scor-tape to one side, then peeled the tape to adhere one folder to the next, while creating a pocket between the two folders. That means, don't add tape on one side edge, because that will be the opening for one of the two pockets.
When the two folders are taped together, you should be able to add a card (any kind of card) to the pocket you just created. I cut my cards from Distress Mixed Media Heavystock and repeated the stamp pattern.
So lets now start at the beginning of the book and you will be able to see the order. 
I will label each section folder 1, folder 2, and folder 3.

Folder 1
Paper Doll (Distress Crayons - Salvaged Patina, Mustard Seed and Aged Mahogany), Classic Label Stickers, Clippings, Collage Paper, Cello Sticker Tape and Postmarked stamps.

I used Thin Foam Squares under the paper doll and the black label sticker.
Clippings, Cello Sticker Tape and Number Strip.

Folder 2
Paper Doll (groups) with crayons - Mustard Seed and Salvaged Patina. Classic Label Stickers, Cello Sticker Tape and Postmarked added with a Tiny Attacher.

Here you can see the first pocket with a card in it on the left.
Clipping Stickers, Stabilo Pencil, Antiqued Gems + eyelet.
Antiqued Gem with Mushroom Alcohol Ink 
Folder 3
Number Strip and Cello Sticker Tape
Second pocket on the left with added Classic Sticker.
Paper Doll (Distress Crayon Mustard Seed and Aged Mahogany), Classic Label Stickers, Clippings, Collage Paper, Cello Sticker Tape and Postmarked stamp. Gold Mixative used for the dots in her hair.

I used Thin Foam Squares under the paper doll and the black label sticker.
Once the folders are complete, open the book so only the cover is showing. 
Cut one piece of Pallet Orange fabric - Botanical approximately 6.5 x 11" (I like a piece larger than the book so I can cut away the excess later)
Use Collage Medium to add the fabric to the cover. I did it one side at a time so the Collage Medium does not dry on you. It dries so fast!
Once fully covered, press down making sure it is adhered well to the paper below (especially along the spine).
Cut away any excess fabric with sharp scissors (Tonic Haberdashery Scissors are sharp to the tip).
Once I had everything secured - I went back and added more Collage Medium from the edge to 1/2" in (you could cover the entire cover if you wish) to stop any fraying. 
I folded the book back and forth and added more Collage Medium along the spine and let that dry.
Once the cover was secure, I wrapped a beautiful ribbon around the cover. I found this silky, satiny...and kind of grungy ribbon in my stash and I have no idea where it even came from! But I'm glad it come out of hiding today because it is just perfect!
To finish off the cover, I added more Classic Labels (that have had a dip into the ink puddle). I stamped the label in Peeled Paint Archival Ink using a phrase from the Tiny Text stamp set. WHat do you do when your phrase is too long for one sticker? stamp two stickers!
I wanted to sew the labels onto the cover but I couldn't do that at this point so I thought the next best thing is to do some faux stitching. I used my Simon Says Stamp powder tool to take away the sticky back of each sticker so I could run them through my sewing machine.
Once stitched, I added the labels to the cover with Collage Medium...and seriously, no one would ever know I didn't stitch them on!
I love this cover so much! It has my heart!
Just some extra shots of the inside!


I hope you'll give this easy folder book a go! And remember, you can add as many folders together as you wish! It's all up to you and your imagination!
Now carry on,
Paula