Showing posts with label media marks 2. Show all posts

Monday, March 14, 2022

"My Heart" with Saltwater Taffy

Hello friends!

Nice to be here today sharing another Saltwater Taffy project.  This is a really easy mixed Media project that any one can do.  I used a 9 x 9" wood Panel which to me is just the perfect size for this project. I used a sewing machine but that is absolutely optional if you do not have one. 
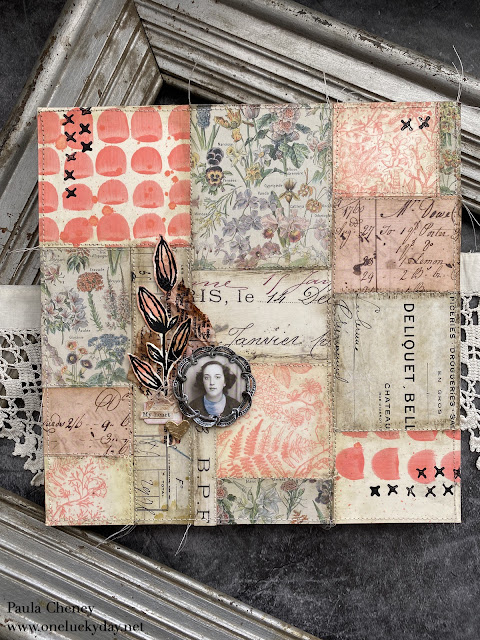
I started by creating a few stamped and painted pieces using Saltwater Taffy over Mixed Media Heavystock.  I created one or two cards of each so I could use as is or cut them into pieces.

Painted cards - I used Distress Paint in Saltwater Taffy to freehand paint the splotches on the Heavystock paper.  I used a paintbrush that had a rounded shape so I could get the unique pattern.  I literally just painted the shapes on the card and dried it with a heat tool.  I went back and added a few splatters after the fact.  This card was larger so I cut it on half and used on the bottom left as well.

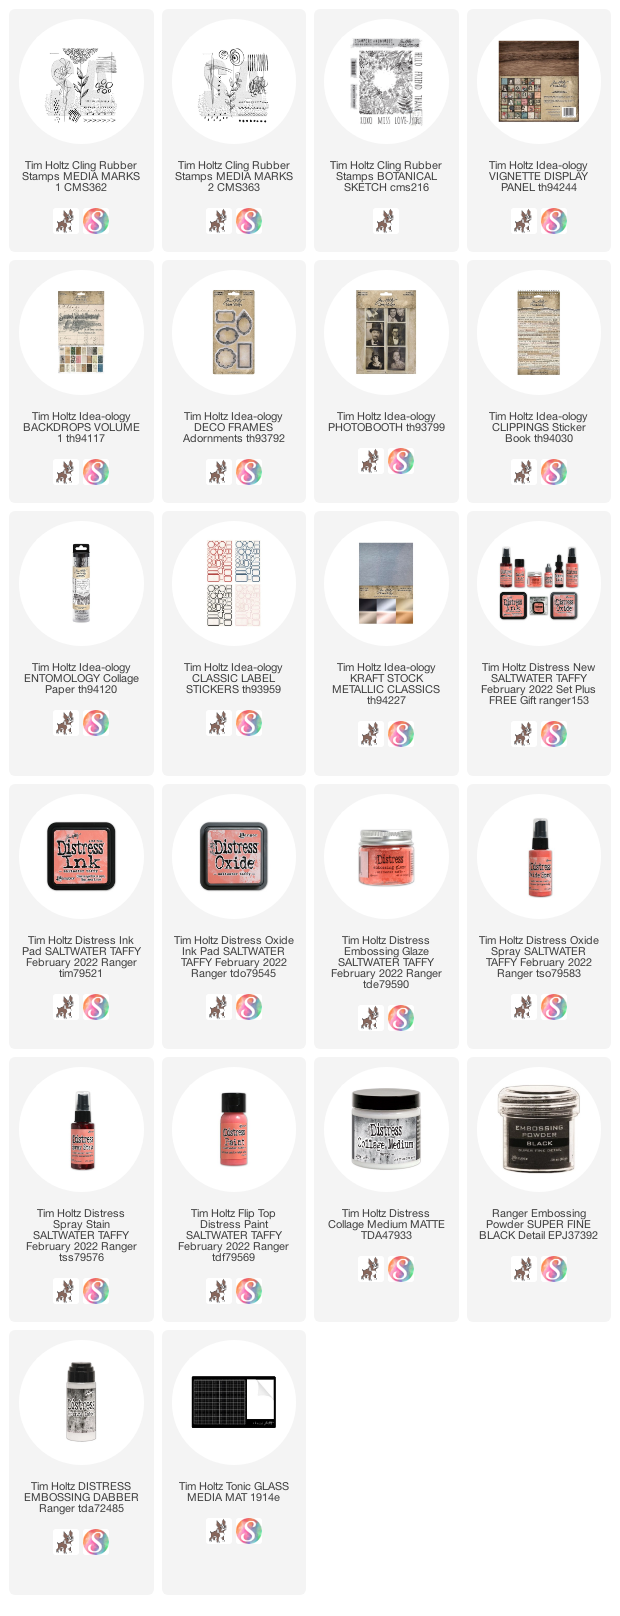
Stamped cards - I used an old stamp I had called Botanical Sketch (CMS216).  This stamp is very large with an open center.  I used my stamp platform to stamp the image in Distress Oxide, then cut it into smaller pieces.  I love the delicate botanicals of this image and was happy with how it turned out here.
Normally, I would just adhere the papers to the wood Vignette Panel with Collage Medium, but I wanted to add stitching, as if the pieces were stitched together to create the patchwork.  So I cut a piece of cardstock 9 x 9", the same size as the front of the Vignette Panel, and adhered the patchwork to the cardstock without overlapping.  You don't have to use much glue/tape runner since they will all be secured by the stitching.
*All other paper pieces are from idea-ology Backdrops 1.


I wanted to add Crayon to give it an aged look but if you like the clean lines, just skip this step.
To add the crayon, you need a slick surface which means adding Collage Medium.  Distress Paint dries permanent, but Oxide Spray does not.  It is still reactive to wet/water, even though it feels dry to the touch.  With that said, just be cautious when you drag the brush over the botanical images.  I have found that the longer they dry (say over night) they less they are likely to smudge.  So this is a great project to do the stamping one day and the "putting together" the next.
Once I had the surface covered with a thin coat of Collage Medium and it was dry, I added the crayon to the seams for more depth.  I always go back a pounce over the top with a wet wipe to remove the excess.
Next step is optional.  I love sewing on paper, so that is just what I did. I sewed most of the seams, either right on the edge or in the ditch between the papers.
Once I was done at the sewing machine, I used 1" wide Scor-Tape to secure the paper to the wood Vignette Panel.
I used a different set of stamps, Media Marks 2 to make the X pattern on surface.  I needed the X marks in black to tie the stem to the rest of the panel. This time I used black acrylic pant so it would look more distressed.  If you were going to use ink - you would need Archival since the surface is sealed with Collage Medium and of course you could used more embossing powder.
For the focal point, I placed a Photobooth Photo into a metal frame (Deco Frames).
I also embossed two sets of stems from the Media Marks 1, stamp set. Once embossed, I hand cut the stems, then pressed them into Saltwater Taffy Distress Ink (with a little Gathered Twigs added).
The text paper in the background is just Collage Paper that I pressed into the leftover ink puddles and dried with a heat tool. Once dry you can rip the paper into any shape.
Placement is up to you.  This one could have gone on the right side as well.  You could extend the collage elements, adding as many as you wish.


This is the last of the current Saltwater Taffy projects but there will be more in the future.  The color just resonates with my aesthetic!  If you missed the other projects, you can find them here:

now carry on,
paula


Thursday, April 23, 2020

Truest of Friends

Hello Friends,

What a fun time I have had working on this collage.  In fact, I cannot wait to start another!  This all began with one of the blank canvas boards I painted last week when I was in a funk and couldn't think of anything to make.  I'm now down to only one canvas from everything I painted, so I guess painting structures to challenge myself is working.  Today's post about this collage is informative but there are so many variations, from color to stamps, that I hope you take this as more of a jumping off point for your own work.
 
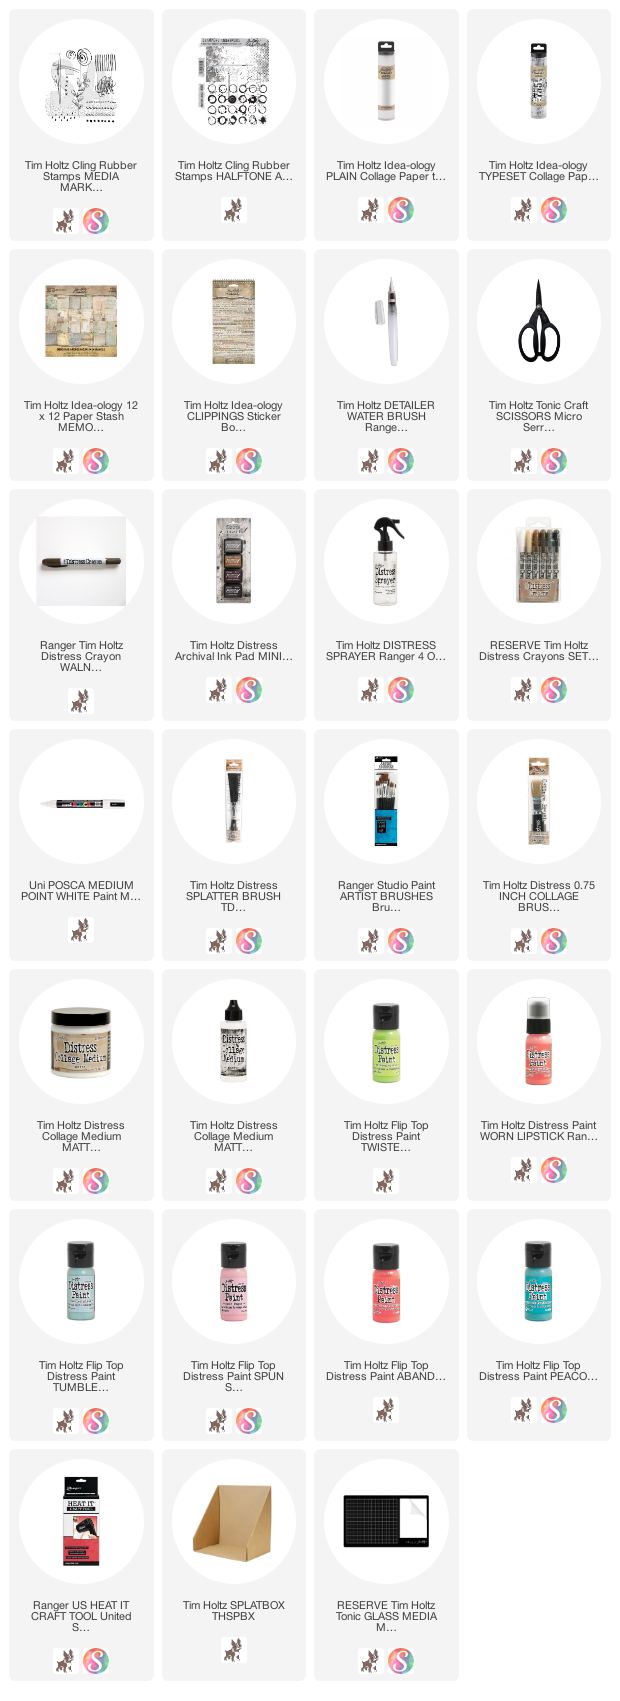
I gathered a few supplies for todays project.  I saw Cassie use this Media Marks 2 set (or maybe the smaller version - Mini Media Marks) on a card she posted and it really inspired me to use it today.
As I said, last week I painted a 9 x 12" canvas board along with a few other substrates.  It was easy to go into the craft room today and pick this up to start working.
I adhered a long strip of vintage ephemera across the center with Collage Medium.  This came from an old attendance book.
I used my rotary cutter to cut random sized strips of Memoranda paper.  I'm using the page at the back of the pad with four, 6 x 6" papers.  I chose this because you get different papers when you cut it into strips.
Adhered them above and below the ephemera.
I also painted a wash of Picket Fence paint over the Tumbled Glass paint.
Once it was dry, I used Hickory Smoke Archival Ink to stamp the image of rings from "Halftone and Rings" stamp set from Stampers Anonymous.  I could have gone with black ink but I don't really want the rings to be the stand-out.
Distress paint...haven't used it a while other than base painting but after Tim's Facebook Live on Saturday, I was inspired to get it out and use it.  I know I have picked some bright colors but many layers will be added so not to worry if that's not your jam.  I squeezed a little paint onto a piece of deli paper (easy clean up) then used my fingertip to add a large dot in each of the stamped images.
The hardest part is waiting for it to dry! uggg...you can't rush paint!
I decided to add a large Velum Scene to the canvas.  These are normally meant to be used with lights behind them to illuminate the velum but I decided to add it here to create a backdrop.

Please beware, the velum is quick to bubble over glue.  I've done this technique twice, once it was perfect and this time I went to dig in the drawer to find my brayer (novice move on my part).  When I came back, I had a bubble down the center.  90% of bubbles dry completely flat in 24 hours, but because I walked away from it I got a permanent bubble.  With that said, have your clean brayer out and ready to go before gluing.  If you don't have a brayer, I'd suggest a big heavy book or two.  Lest you think a bubble will stop me, it will not.
So I still had the painted space at the bottom of the canvas to work on but I didn't want to repeat the top "candy dots" so I went with stripes.  I hand cut small strips of paper and added them with Collage Medium in a random fashion.  I used stamps from Media Marks 2 to add details in between the strips of paper.  I thought I should add some color to match the top so I just painted some stripes with skinny paintbrush and used a cotton swab to add the dots of color in the stamped circles.
Can you see how small the print on the paper is?  I cut up paper at the back of the Memoranda Paper Pad which has 3 x 4" images of each paper.  Everything is scaled way down, which is great when you need small scale prints.
*Walnut Stain Distress Crayon was eventually added to match the top of the canvas.
So you know I couldn't leave the candy colors as they are right? 
1.  The first layer is Walnut Stain Distress Crayon.  Scribble it on and use a damp paintbrush to move it around.
Again, I always follow crayon work by pouncing over the top with a wet wipe.
2.  Picket Fence Crayon was added to each color circle on the center left and rubbed in.
3.  Walnut Stain Crayon was scribbled on the glass mat and picked up with the water brush and added to the right side to give the appearance that the dot is now a sphere.
*I will add more color and dimension once I finish the rest of the piece.
This stamp is also from the Media Marks 2 set.  I stamped with Archival ink onto Plain Collage Paper.
Then used the Detailer Water Brush to cut away each stem from the paper.
I added the leaf to the canvas with Collage Medium.
This is a great way to add images, especially when going over uneven surfaces where stamping could be a problem.  The added numbers came from Collage Paper Typeset.
I added a few more pieces of Collage Paper before moving on.
You could leave the stems as they are but I decided to color them with Peeled Paint Crayon and the Water Brush.
Use a Distress Splatter Brush to add flecks of white paint over the canvas.
Then the center piece...the three girls from Paper Dolls.  I created the pattern on the dress of the girl on the left by pouncing the tip of the Water Brush over the dress.  You know I love coloring the Paper Dolls and making patterns makes me even happier.  I used Dusty Concord for the dress and Fossilized Amber, Stormy Sky and Aged mahogany for the flowers.
The Paper Dolls were added to the canvas with Collage Medium.  I did not put Collage Medium over the top.  Clipping Stickers were added and well as marks using a white Posca paint pen.
You know I love the Clipping Sticker Book.  It's just so convenient to create short phrases using the stickers.  It's my favorite part of every project.
Now back to the candy circles.  I did two more things to the circles.
1. I still had lots of Distress Crayon colors scribbled on the palette of my Glass Media Mat.  I used a paintbrush to pick up some crayon and dry brush over each circle.  You can see that Aged Mahogany was used over the Twisted Citron and Peacock Feathers circles to add a contrast of color.  This is where working on a canvas surface is cool because the texture/weave of the canvas helps keep the contrasting color on top.
2. Use a Stabilo pencil to doodle and add pencil lines.
 They are not just candy dots anymore!
Because of Covid-19, I couldn't go out to get a frame so I used the next best thing, a frame I found when I cleaned out the closet in my office last weekend.  It had glass, which I disposed of.  I glued the canvas directly to the mat that was already in the frame.  Who knew a canvas panel I chose at random last week, would work with a frame long forgotten in a closet.  Perfect.  Like it was meant to be.


I hope you can glean some inspiration from todays project.  I'm grateful for the extra time to be creating more and sharing more!  
Now carry on,
paula