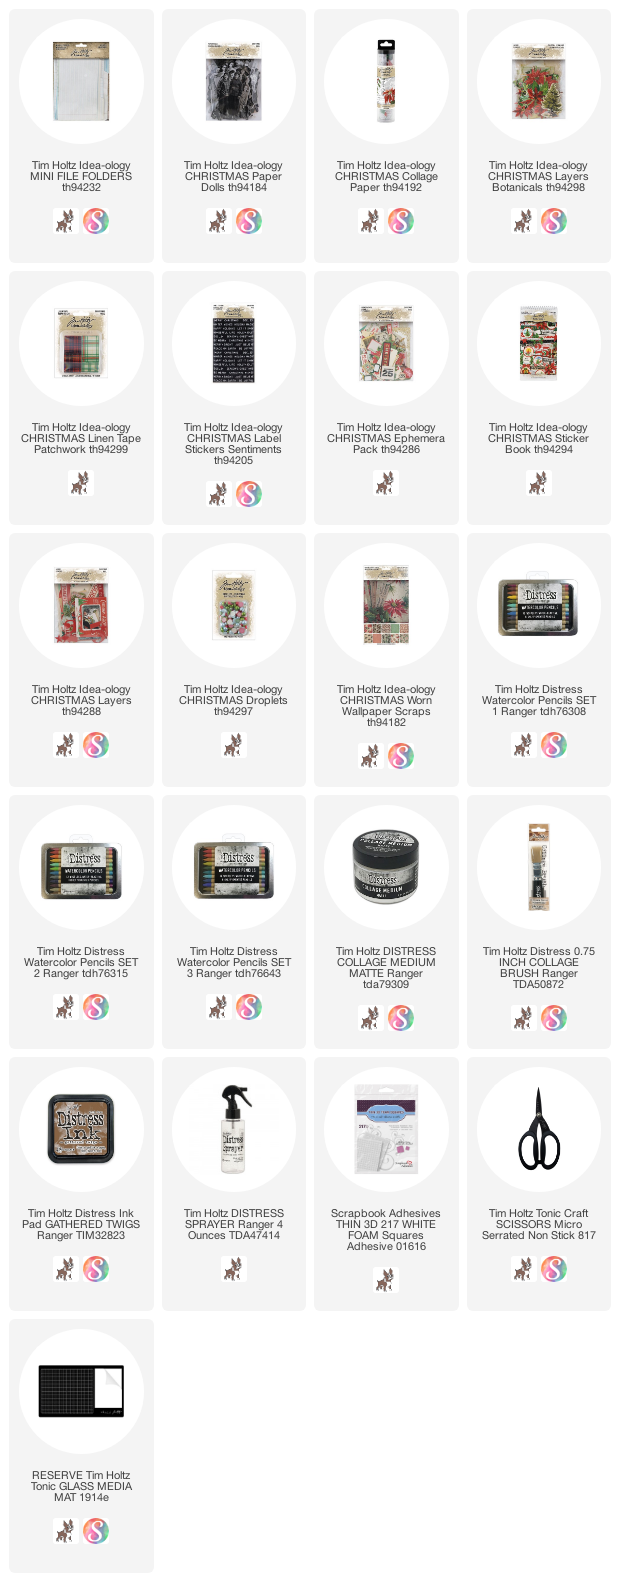
Looking back to last month when I created this small File Folder book. I had seen how Susie Heinz and many others were using our Linen Tape to bind books and I decided to try it with the Linen Christmas tape (love the plaid). I also used Christmas Collage Paper to make a regular inline product, like File Folders, look a bit more Christmasy. So lets get started...
Here is the fished book with the belly band - I made that by sewing two pieces of green striped Wallpaper together to create a band long enough to wrap around the little book. I added red stitching, eyelets, and some red ribbon to finish it off.

Once you slide the belly band off the book, you can see that there are file folders stacked up.
In the next few photos, I'll show you how I created the structure, followed by photos of the finished book.

Cut pieces of Linen Tape and use to connect two 6" File Folders.

I worked with the File Folders like this till the very end, then connected them with a piece of Layers ephemera (I'll show you that part later).

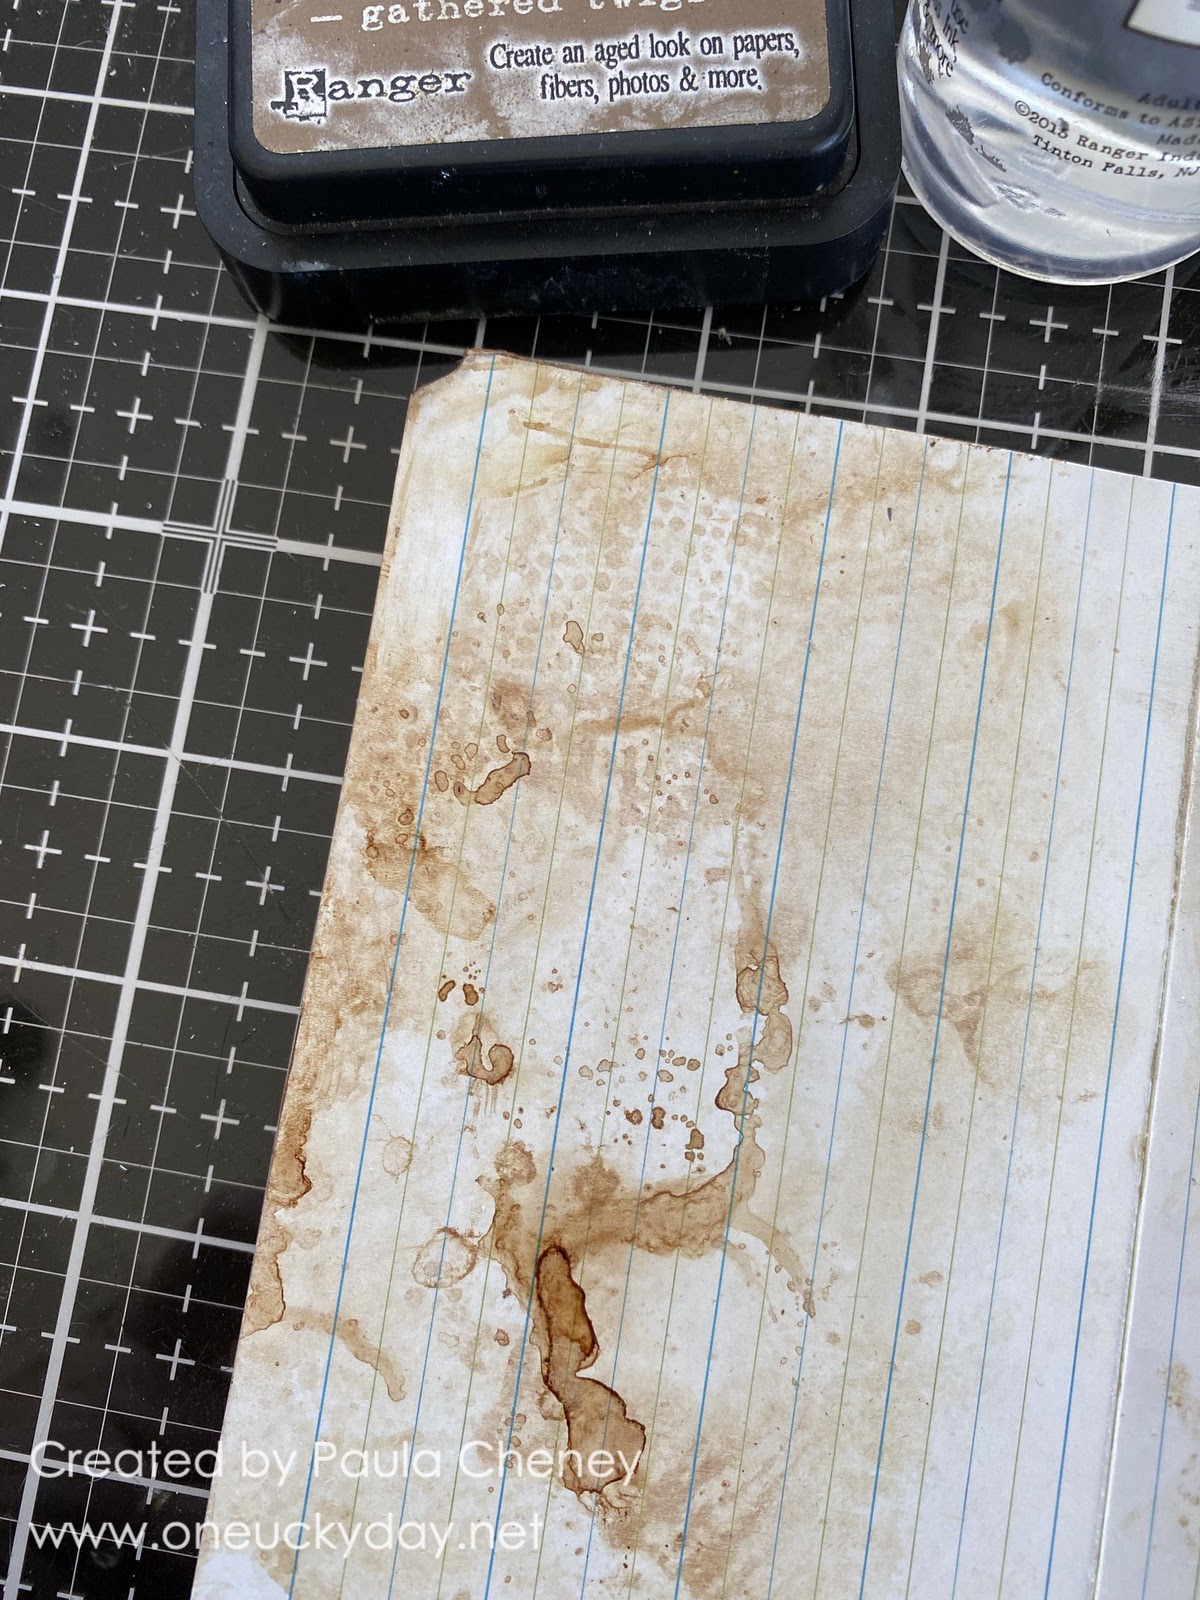
 The File Folders were too clean for the vintage look I was going for, so I began pressing each page into Gathered Twigs Distress Ink/water mix and drying with a heat tool. You might not think the ink would stick to a coated surface but it will (you just need to be patient in the drying process).

 Next, rip pieces of Christmas Collage Paper and add randomly over the pages of the book with Collage Medium. Remember, Collage Medium needs to be under the paper and a coat over the top to smooth it out. Once dry, it's very easy to remove the excess paper, with a sanding block.


 Page 1



I set the pages aside to dry while I worked on choosing Paper Dolls and Snapshots (they come in the same bag #TH94290) to use on my pages. I colored all but one of the images with Distress Watercolor Pencils. If you would like to learn more about working with Watercolor Pencils on Paper Dolls, you can read my blog post HERE.

Before I show the pages, I'll let you in on a little secret. I used Clippings stickers (found in the Christmas Sticker book) to create a poem that you can read as you turn the pages. It is one of my favorite things, to add poetry to something I make. Since I'm not very articulate, I know I can depend on the stickers to give me the words. Here is the poem I put together for this book.
Glowing red and Christmas green
Visions of delight
Our Hearts are now algow
Grace and light
Stand fixed in steadfast gaze,
Hear the carols sweet
With glad hearts, to you we say
of peace, good will towards men.
Pages 1 and 2
Watercolor Pencils on Page 1
Aged Mahogany Distress Crayon on Page 2. This was used because there is not (currently) an Aged Mahogany Watercolor Pencil.

Here is where the poem starts.
This Snapshot from the Paper Doll Pack was colored with Watercolor Pencils giving it a nostalgic feel.
 Page 2

Here is the Aged Mahogany Distress Crayon in use. The Crayon gives such a rich color of red and I needed their suits to be this color!
Other pieces from the Ephemera Pack and Layers Botanical pack + Label Stickers on the tabs.
 Pages 3 and 4


The card was sewn, then attached to the page with 1/4" Scor-tape.
Items in pocket are from Christmas Ephemera pack.
Round seal from the Christmas Sticker Book.
 Page 4

Polka dots on the girls dress made with a POSCA paint pen.
The round label circle behind her head is from the Classic Labels Sticker sheets.
LOVE how the Collage Paper typography looks on the background of this page!
 Pages 5 and 6

Stars from the Christmas Layers pack.


Pages 7 and 8
This is the center - 2 file folders on the left, 2 file folders on the right.
The card with the wreath on it is holding the two side together.

Because this is a small book, it is surprisingly stable with just the Layers Ephemera piece in the center. If the book was any taller it would need two pieces.

Added holly from the Layers Christmas Botanical pack with added green Droplets.

Poinsettias from Layers Botanical pack.
 Pages 9 and 10
 Page 9
 Page 10


The Linen Tape at the top is holding a card that flips up once you turn the page.
 Pages 11 and 12

Now you can see the card from the Layers Christmas pack.
 Page 11

Open to reveal a surprise.
 Page 12

Dresses colored with Watercolor Distress Crayons
 Page 13 and 14
 Page 13


Again, another Snapshot from the Paper Dolls Christmas pack.
 Page 14
 Back
Back
 And there you have it, one Christmas book complete. I love the ease of using the File Folders since they are printed. Only the added Collage Paper was needed to move them from everyday to Christmas. I like that kind of flexibility!


Now carry on,
paula