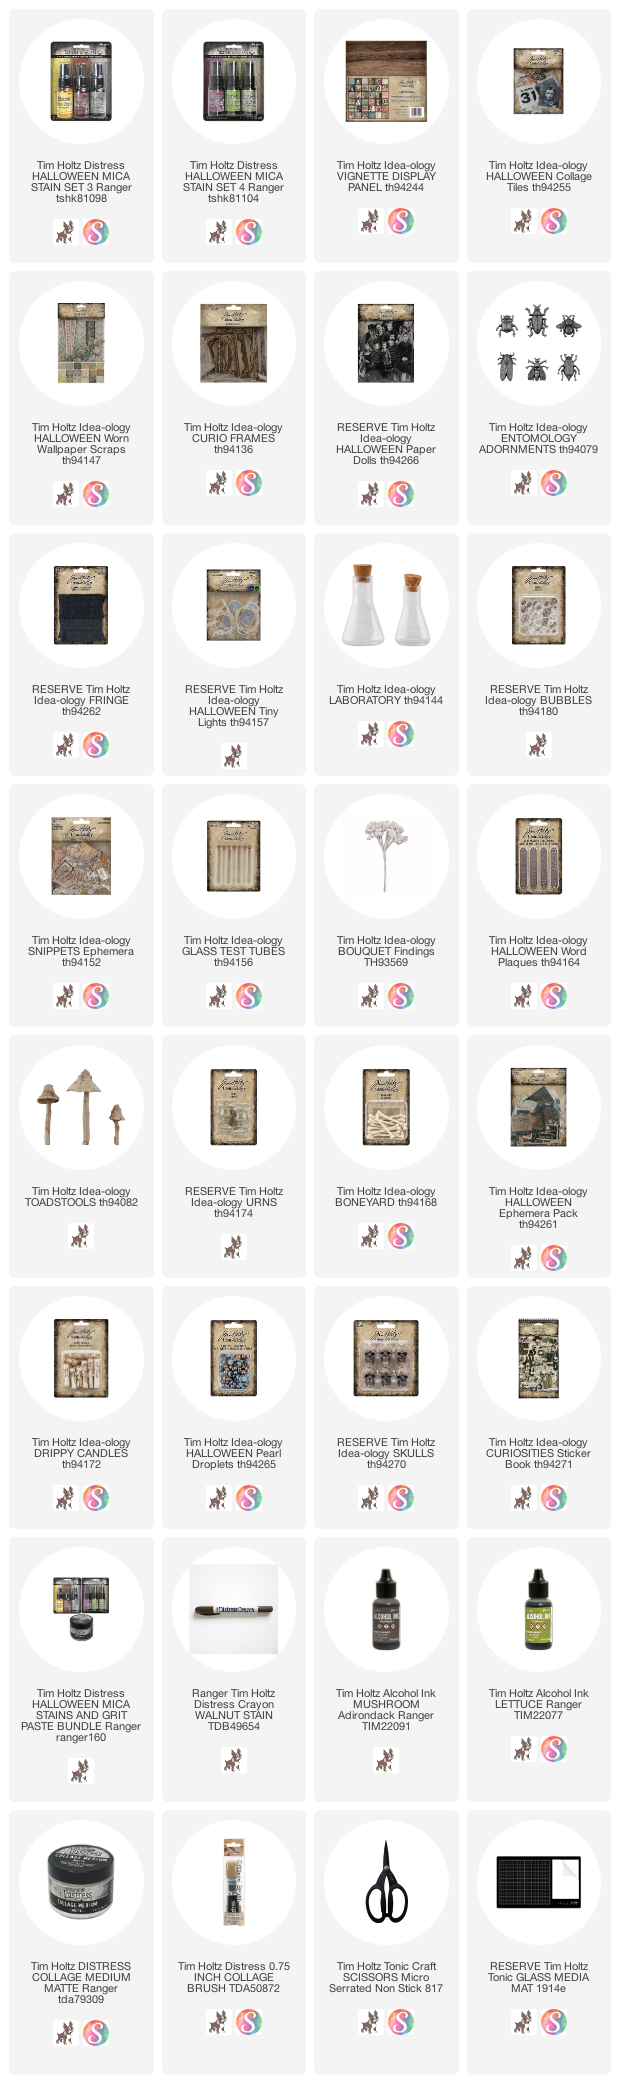
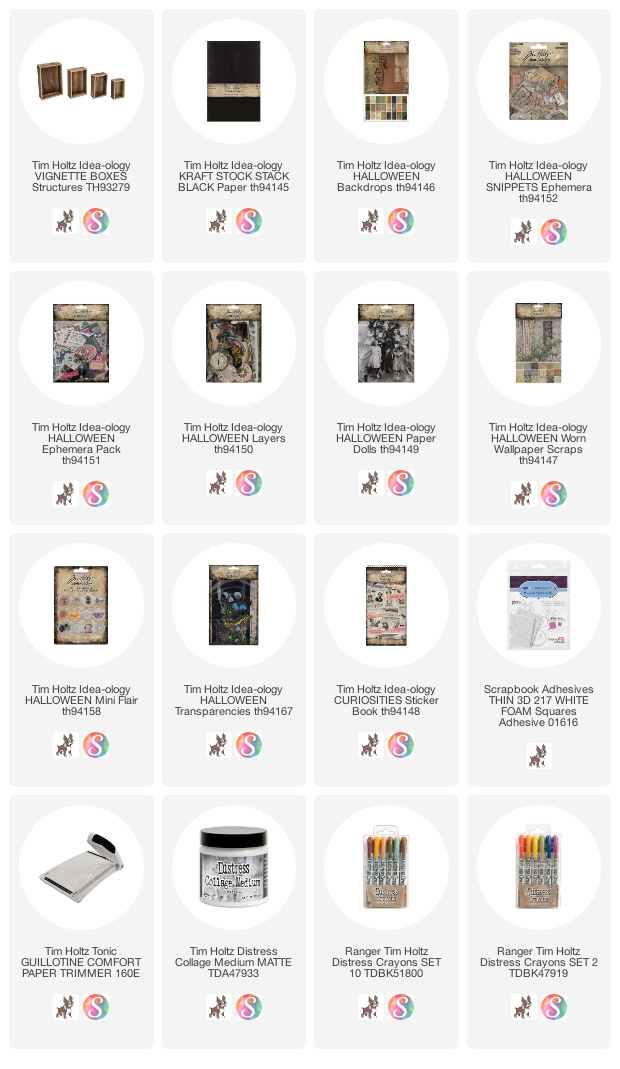
Hello Friends,
It is my favorite time of year to make samples! Something about Halloween and Christmas product always brings ideas to my brain. Today I am sharing a Display Panel I created with idea-ology. This project mimics one I did for Christmas in 2021 (you can see that one HERE if you are interested). The concept is the same, but the Halloween take on it makes it look very different. Lets get started and I'll talk you through how I created this.

Two are 3 x 3" and the bottom left is 4 1/2 x 3". You can do any kind of arrangement depending on how many Collage Tiles you want to use. Once you have decided, adhere the paper with Collage Medium, butting them right up against each other for a tight fit.
 Once the board was complete, I added a layer of Collage Medium over the top to seal and prepare for the next steps.

 Lightly spritz the entire surface with water, then brush over scribble markings with an old brush. Dry surface with a heat tool.
 Once dry, spray Decayed Distress Mica Stain over surface to create an aged look (but with a hint of gold). This is my favorite of the Mica Stain release - really should be an every day product, but it is seasonal. I circumvented that by buying more than I could use in year (which is good since it will not come back till Halloween 2024).
 Just look at that...yummm!


 Now to the left side of the ruler shelf...


First is Walnut Stain Crayon.
Just scribble along the edges of the paper squares.


I was able to build this project because I had a vintage folding ruler on hand (I glued it together so it would not shift). The folding ruler created a wide enough ledge to add many of the Halloween embellishments. I added a heavy dose of Collage Medium to the back, placed it on the panel and then set it aside to dry completely while I worked on the pieces that will sit on top of the ledge.

The main man is from the Paper Dolls pack. There are 5-6 small cabinet cards included in the pack and I picked this guy because his eyes are so mysterious.
I colored the background by masking off the face, then spraying it with Harvest Moon Distress Stain. Then it was a back and forth between drying, spraying, pouncing to get this result. I did use a bit of Fortune Teller (purple) at some point to get the darker spots. Really anything goes!
Once I was satisfied, I just needed a frame. This a Curio Frame...I used my finger to wipe back paint over the top. Then I just kept wiping away the paint till I could see the de-bossed pattern.
I added the photo to the frame, then shoved a couple pieces of mica under the frame edge to give it an eerie feel. There are two bingo chips on the back to raise it off the panel surface.

Starting on the right side, lets work our way from the shelf and move up since that is how I built it.
Test Tube:
The idea-ology Test Tube is filled with Mummy Cloth and bones from the Boneyard pack. I inked them lightly with Mushroom Alcohol Ink, then flicked black paint. Once dry, just fill the Test Tube (I think I only used 3 and one I cut in half). I also inked the cork to darken it and rubbed a little Mushroom on the Test Tube too. If it gets too dark you can remove the alcohol ink with hand sanitizer. The label is from the Ephemera Snippets pack - Curator.
Toadstools:
I used all 3 Toadstools that come in the pack (the 3rd is on the left side). I used my Tonic scissors to easily trim the back of the two larger Toadstools so they could lay flatter against the panel. Then all I did was paint them haphazardly with black paint and let them dry. You could sand them with steel wool once the paint is dry, if you want more of the base showing.

Now just add in the small flashcard from the Ephemera pack (foam squares on the back) and then the Entomology metal bug (crawling up the wall). NOTE: I did use my fingertip to wipe black paint over both bugs before adding them to the panel. Can you tell I use my fingers a lot instead of paint brushes?

Urn/Drippy Candle:
I painted the Urn with black paint then rubbed some away to reveal the undertones. Set aside to dry. I painted the candle black, then used a paintbrush to add Harvest Moon Mica Stain over the drips. Once that was dry, I added a glob of hot glue into the Urn and pushed the Drippy Candle down into it. Once the hot glue was dry, I just painted the glue with black paint so it looks like the candle is melting into the Urn.

Flowers:
I sprayed 3 or 4 Bouquet Flowers with Black Soot Spray stain and dried them with a heat tool. Then I sprayed the black flowers with Decayed Mica Spray to make them look old. I also sprayed 1/4" rayon ribbon with the Black Soot Spray Stain and crumpled it while I was drying it. I tied the ribbon around the cluster of flowers so the flowers extended upward so they could wrap around the bottom of the urn.
Laboratory:
The Laboratory glass beaker is filled with idea-ology Bubbles I colored with Lettuce Alcohol Ink. I added another label from the Curator pack and a bit of Mummy Cloth and string (yes, it's just that easy).


The last thing I did was add the Fringe. This is a new SKU this year and it is made with real crepe paper - and I love it! Cut the Fringe the same length as the ruler. Lay it on a craft sheet and spray with Decayed Mica Stain on both sides. Dry with a heat tool, then roll into a ball and rub back and forth between your hands to fluff it up. Once it was fluffed up, I folded it in half along the stitching line and glued it to the panel (I only put glue on the panel, not on the ruler).

Metal Word Band:
I love the word bands with this new font. I chose The Apothecary but there are 3 others in the pack to choose from.
I rubbed black paint into the Word Band, then once dry, I sanded it lightly to bring back the silver of the words. The little dots on the ends are also new. They are called Droplets and come in different colors in the pack. And there is something like 8,000 in the pack...or so it seems.

This is a terrible photo but I painted the sides of the panel with Hickory Smoke Distress Paint. It looks blue here but in reality, its dark gray. So much for good lighting.

I hope you like this Halloween panel as much as I do. I created it in once afternoon but admittedly my desk was a disaster once I was done! Something about speed making, where there is no time to think about the process, you just do it and if it works it works! I'm glad this worked (and I would do it all again!)
paula