Showing posts with label christmas project. Show all posts

Friday, December 13, 2019

Winter Vignette Box

Hi friends,

Today I am sharing a cute winter scene I made with a handsome guy from the Christmas Paper Dolls pack.  This is an easy project (my favorite kind at Christmas) that can be done in an afternoon.  Follow along and I'll show you how I made it!  
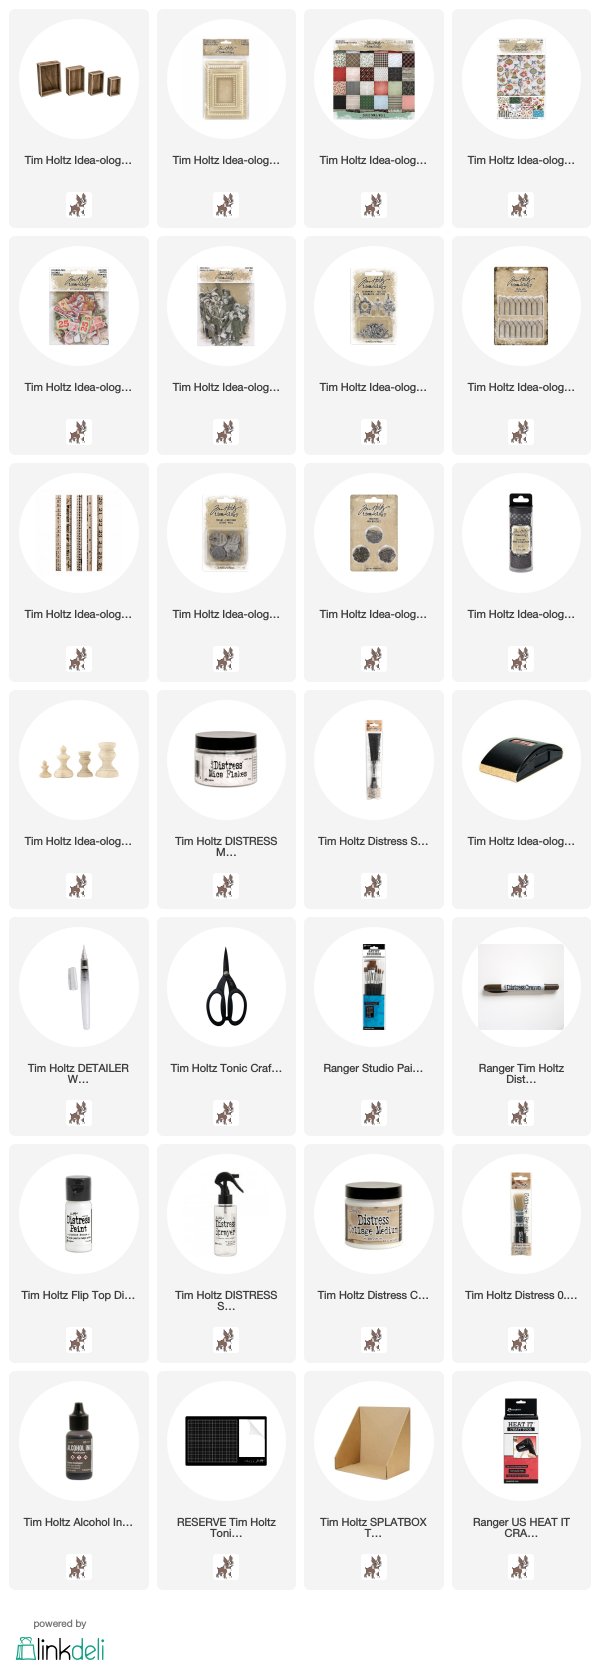
I painted the interior walls of the largest Vignette Box with white paint.  Once dry, I added a piece of paper from the Worn Wallpaper Christmas pack.  I love this one with the winter scene.  If you add a layer of Collage Medium it will seal the paint and the paper and you will be able to create a wash over the surface using Distress Crayons and damp paintbrush.
NOTE: What you can't see in the picture is that the outside of the box has been covered with brown plaid paper from the Christmas paper stash.
Paint the matching size Vignette Frame with Candied Apple Distress Paint.  Once dry, sand the frame just a bit then seal with Collage Medium to create a slick surface for the Distress Crayon.  When the crayon was added here, I scribbled HEAVILY over the frame then wiped away the excess with a wet wipe to remove the top layer, exposing the red paint underneath.  This allows the dark crayon to remain the intricate design of the frame.  I also used a Splatter Brush and Picket Fence Distress Paint to splatter over the frame surface.
So here is the basic steps:
1. paint
2. sand
3. seal with CM
4. scribble with crayon
5. wipe away excess
6. splatter
As you know, coloring Paper Dolls is my favorite thing in the world.  Remember, to color over a dark surface (like his coat), use the crayon directly on the surface rather than with a damp cotton swab.
 He is just so cute!
I created a fence using a Metal Gate and Ruler Piece.  I rubbed white paint over the Metal Gate.  Once dry, I added Mushroom Alcohol Ink over the top to age.  If you bend the Gate it will break (which is what I did) so that the fence will fit into the box.  I wanted the Metal Gate to have more weight so I glued a broken Ruler Piece to the bottom to raise it up.  Once it was set, I added it to the box with Collage Medium then set it aside to dry!  I also adhered the painted red frame to the front of the Vignette Box and a stick to the background (seriously my signature this year).
Adornments Yuletide pack has this perfect little wreath.  I painted it with Distress Paint and rubbed Distress Crayon over the top to age.  I did tie it to the Paper Dolls hand, but I also added glue to the left side to adhere to his leg for stability.
I'm not sure if you can see or not but I use yet another skinny stick as a sign post in the background.  This time I tied an old piece of string around the tip of the stick.  Then I picked a piece of ephemera (the 25 card) from the Mini Ephemera Christmas pack, roughed up the edges and adhered it to the stick (right up to the string) so it looked like the string was holding the card in place (in reality its only glued on).
The Christmas Tree was added (sprayed with Bundled Sage Distress Stain) to the corner after I added Distress Mica Flakes.
I also used a wood Final (that I painted black and sanded) to the top of the Vignette Box.  A Christmas Token was aded to a piece of chain from a dish on my desk (I have no idea where it came from, lol) and I pinned it to the green ribbon with a Mini Pin.
 I used Mini Foundations to add feet to the box - they are tiny but I like the look.

I added polk dot Design Tape to cover the break between the Vignette Box and the red Vignette Frame.  I always love a good polka dot!
This was an easy little project that would make a great little gift.  I hope you will give it a try!
Now carry on,
paula

Monday, November 4, 2019

Cathedral Window Tray

Hi Friends,

One of my favorite projects I've created this season is my Vignette Tray using the new Cathedral Windows from Stamper Anonymous.  I have had so many questions about this project that I thought I better post a tutorial to show how I made it.  Enjoy!
This is what the windows look like right out of the package.  I used two large windows to construct the background in todays project.    
Cathedral Windows come in a package that contains two large windows (4" x 6 1/2"), and four small windows (2 5/8" x 4 1/4"). 

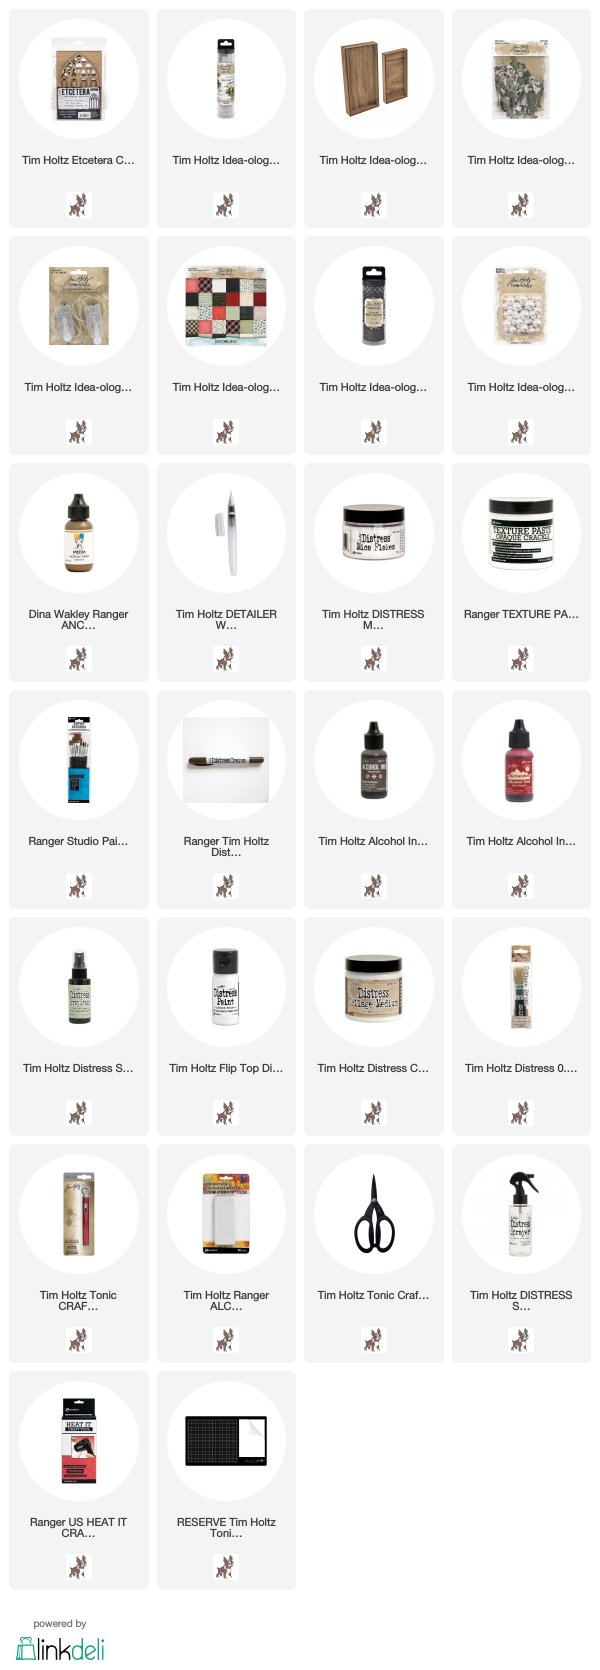
I painted the window with Opaque Crackle Texture Paste.  The Texture Paster dries very fast so you have to work fast!  It takes a bit of patience to get the brush in and out of the small areas at the top.  No matter, it will be fine in the end.

 Once dry, it has such great texture!  I really looks like paint peeling off an old window.
The second window I painted with white acrylic paint (one coat coverage of an acrylic paint is best in this case).  I also cut a piece of Collage Paper to fit the window.
Starting with the painted window on the bottom.  Use Collage Medium to not only glue the Collage Paper to the window, but also add a thin layer over the Collage Paper to strengthen.  Don't worry about the patch job at the top (where the paper did not reach), when you add the window to the top you will never see the patch.
Use a Heat It Tool to dry the Collage Medium.  This step is important because the heat shrinks the Collage paper as it dries and it becomes taut across the window frame.
 Cut away the excess paper.
I used College Medium and clips to hold the frames together while they dry.
Once dry, remove the clips and wash over the parts of the frame with Distress Crayon and a wet brush to age.
I built a shelf using Etcetera Trims: two 5" scallops to make a thick top and two bracket pieces (4" + 5").  I glued everything together then painted with Picket Fence Distress Paint and let it dry.  I came back and added Opaque Crackle and let it dry again.
Just like the window, I came back a used a wash of Distress Crayon over the crackle to age the finish.
I am using a large Vignette Tray as my substrate so I used an awl and hammer to create the needed a hole in the tray for the lights.  Make sure you have a a piece of wood or a self-healing mat board underneath so the awl does not damage what is underneath when you are hammering.
Next up is the paint - I love the "Ancient" color that Dina has in her Media paint line.  The paint is thick, with one coat coverage and leaves a wonderful metallic glow.  I painted the inside edges before I put the paper into the tray.
Add Design Tape to the edge of the tray.  I picked this cute houndstooth that I thought went well with the pine/holly paper from the Christmas Paper Pad.
I threaded the new Tiny Lights from the back of the tray to the front.  From there I wound them around in a circle and used scotch tape to adhere them to the tray.
You will need 5 bingo chips (or some kind of riser) for the window and shelf.  Three of the five bingo chips were added to the back of the window frame and set aside to dry.
Once dry, adhere the window over the lights.  Add the last two bingo chips to the back of the shelf made from Etcetera Trim and add it to the tray. This does create a gap between the tray and the shelf that is easy disguised with some batting.
Next up is the Woodland Tree!   What you can't see here is that I gave the tree a bit of a haircut on the back side so it would sit on the shelf better.  Test your tree placement before you move onto the next step.  Once it was the right size, I sprayed the tree with Bundled Sage Distress Spray Stain and dried it with the Heat It Tool.

To color the Baubles, I placed a variety of sizes into a small plastic bag.  I dripped Crimson Alcohol Ink into the bag and rolled the Baubles around.  Once I could see they were all coated in ink, I dumped them out into a disposable plastic tray and threw away the plastic bag.  I added Mushroom Alcohol Ink to a Blending Tool with a felt pad, then pounced over the red Baubles to age.
Use a hot glue to add the Baubles to the tree.  I like to add the glue into the tree and then push the Bauble into the glue/branches. 
A small Collage Brush works perfectly to paint on Collage Medium.  Start at the top of the tree and pull down the tree with the brush so the glue stays on the top portion of the ornaments.  When the Mica goes on it will only stick to the glue portion, leaving the bottom half of each ornament red (like snow has fallen from the sky).
 Sprinkle Distress Mica over the tree (do not press down) and let dry.
Adhere the tree to the shelf/window with hot glue.  Use a Tonic Craft Scratcher to fluff up the batting around the tree.
Use Distress Crayons to color a Paper Doll.  Because the girl I chose has a dark jacket on you cannot color her with the method I normally use.  In this case take a dark color and rub the crayon directly onto the dark surface (her coat) to color.  For the cheeks, hat and muff you can use the water brush to color.
 Add a small block or some other kind of riser to help the Paper Doll stand out from the back.
 Then simply glue her to the block next to the tree.
 I did add a bit of glue at the bottom of the tray for some added Distress Mica.
Thank you for taking the time to read my tutorial.  This has been a favorite project when people see it displayed in my classes so I hope you like it too!  I love the Cathedral Windows - such a beautiful addition to the Etcetera line of tags and trims!
Now carry on,
paula
Thursday, December 12, 2013

Good Times...

I'm home again after being gone for almost a week.  I left very early (so early it was still dark) last Thursday for Whim So Doodle to teach my last classes of 2013.
On one hand I'm happy to be home, and on the other, I will miss being in stores and meeting new friends.  I will also miss teaching these three classes, especially the Gilded Christmas Box.  It is almost magical how it starts from a plain configurations box and turns into a little wonderland.  Although I have to admit, the best part is at the end when they each plug in the lantern.  Everyone is delighted!
I have never been to Whim So Doodle before although I have known the owner Jill since we met way back in 2010 at Ranger U.  Her shop is quite amazing.  I have never seen this many Stamper Anonymous sets in one place.  Wow!  I sure wish this was my local scrapbook store, as they have stamps...
 and dies,
 idea-ology galore!  And stencils - they had stencils...so hard to come by.
And art supplies.  From Ranger to Catalyst to Faber Castell all in one place.  You can see it, read the label, talk to someone about it and take a class or two using it.  That's a great store.  This is a must stop for anyone flying in or out of Tampa (about 30 minutes from the airport), in St. Petersburg, just a few blocks from the marina.
 Oh and I almost forgot, giftware too! Amazing, amazing store.

As I said, I taught 3 classes at Whim So Doodle.
The Live Configurations Book, Christmas Burlap Panel and the Gilded Christmas box.  So many nice ladies in the classes...Sue, Fay, Pat, Lori, Cindy and Carol, Suzette and Rachel, Jan and Jenny, Angela, Heather, and many more.   Thank you for being so kind and great to work with! 
We moved along at a good pace and everyone went home with a finished project in every single class.  I love that!
I thought I would share the Burlap Panel we made.  If you are interested, the products needed to make the panel, they can be found at the end of this post.  Easy to make - you just need a bit of chipboard for the foundation and the squares.
The tutorial for the little door can be found here.
Again, thanks to Jill for inviting me to Whim So Doodle.  I am sure I will be back in 2014!

The second half of my trip involved a stop over in Arizona for a production meeting at Tim's house (thank you Mario for the ride up the hill - always a pleasure to be in your company!).   I always love coming here, but especially at Christmas time when the house is decorated.  How lucky am I?
 
We had our meeting, planned the CHA make and take, worked on our plans for the CHA booth, ate some great food, and shopped for some wacky presents (when school gets out next week, my nephew and I will be making Ninja-bread cookies).  I have learned to never underestimate Walgreens for kooky presents.  Thank You Tim for this valuable lesson, lol.
 Mario even made me some lovely hot apple cider - seriously, who makes a drink that looks so good?
We also did a little junk shopping in downtown Prescott with friends.  That's my feet on the right.  And yes, that is snow on the ground.
Favorite stop?  Cortez Street Emporium.  They had an amazing wall of letters at very good prices.
 So that's it for this trip.  Again, glad to be home for a few days to get some work done.  December is always a challenging month to keep up with everything - projects for the blog as well as secret CHA stuff going on right now.  It's like you need two work spaces...one for things to show now, and one for things to show later! What a great problem to have!
One of the highlights of my job is working with the designers who create the show samples for us.  The 2014 release is amazing and they are really working hard to make samples that will show off the new paper and products.  Only a few more weeks till the sneak peaks start.  Exciting times!

Now carry on,
paula