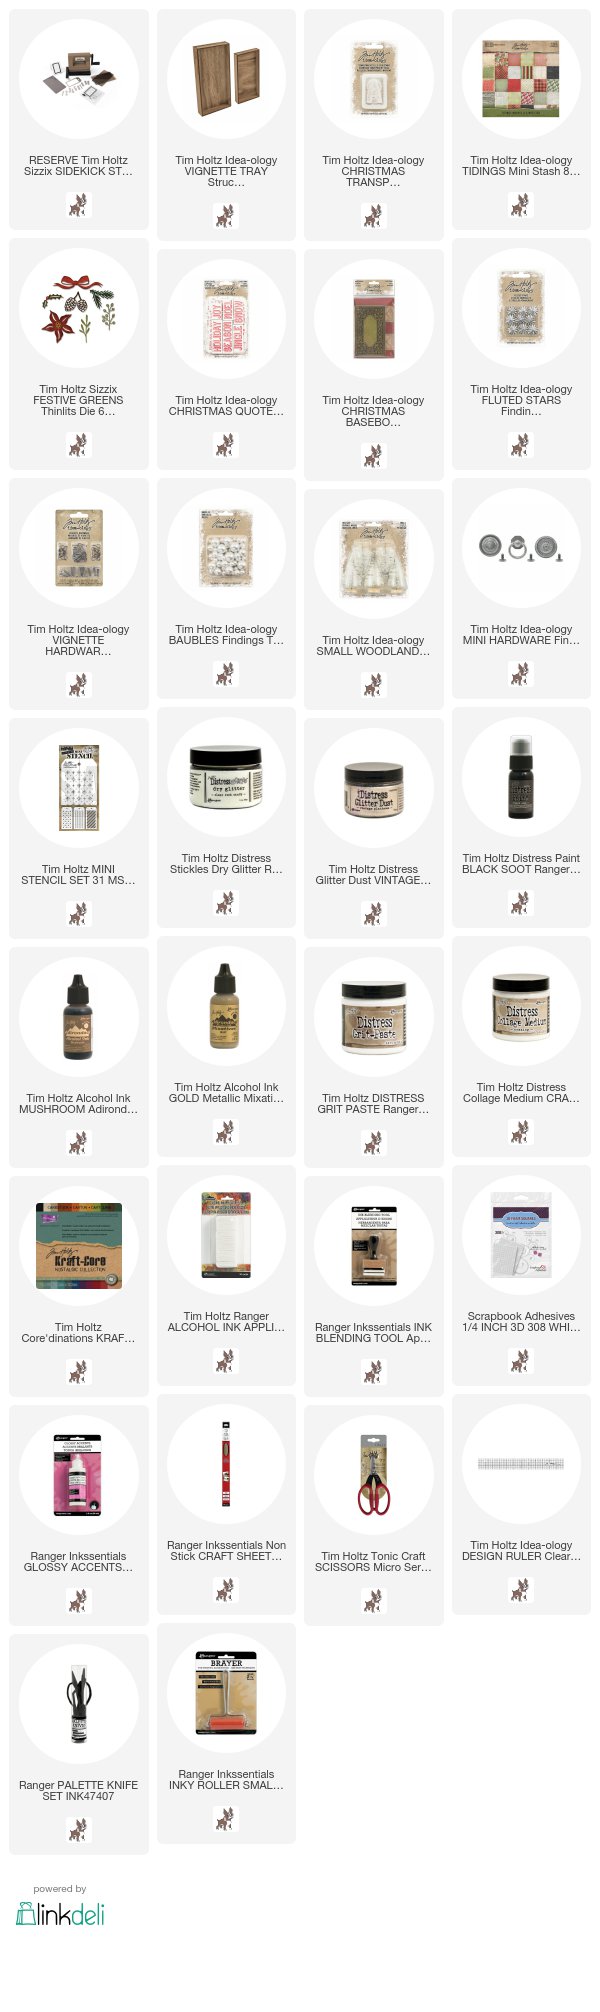
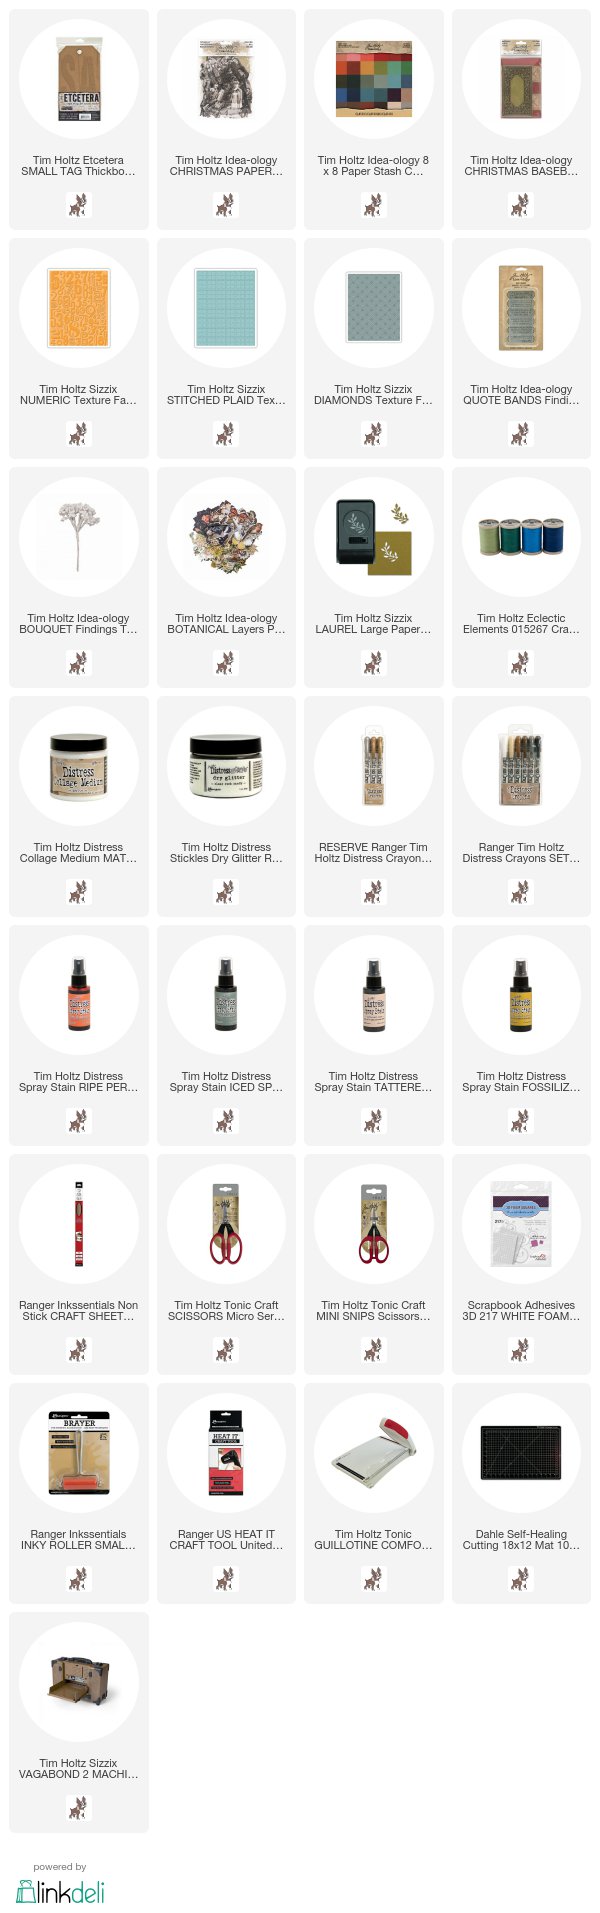
Hi everyone! Glad to be back here on the blog with an easy Count Down Calendar for the Tim Holtz Holiday Inspiration series. Follow along and I'll show you what I made!
Start with the small size Vignette Tray (they come two in a pack - one large one small). Turn it over and paint the sides and up onto the back with black soot Distress Paint. Let dry.
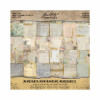
Adhere paper from the idea-ology Mini Paper Stash Christmas (8 x 8") with Collage Medium. The paper is cut smaller than the wood front because I wanted the black edge to create a faux "frame" for the pretty paper. A brayer ALWAYS helps to smooth out the paper on a hard surface.
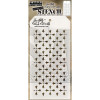
I used a stencil from the Stampers Anonymous Mini Set #31 and Distress Grit-Paste to create a great pattern for the background.
I also wanted to give the Grit-Paste a little shine, so while it was still wet I poured Distress Glitter Dust over the top. You have to work fast since the paste dries rather quickly!
It leaves a bit of shine over each star which I thought was fun. Remember to leave it to dry for at least 30 minutes (and do not use a heat tool).
While the Grit-Paste is drying I thought I'd work on the numbers for the count down calendar. I'm using the Transparent Tiles Christmas for this project. They come in a pack of 48 pieces - alpha and numeric. The pack has two sets of numbers, which is perfect since you need two of the number 1 and 2 for a calendar. The pack also has a star card I thought could used on single digit days (you will see later).
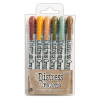
To turn them gold, I pounced gold Mixative Alcohol Ink over the BACK of each card and let it dry. Again,
do not use a heat tool as it is VERY easy to overheat the plastic card, which in turn will curl up like a Pringle potato chip...and we don't want that to happen! Just walk away for 10 minutes to let completely them dry!
You may not of seen this great little pack of hardware that was released in the summer. It is called the Vignette Hardware pack and it's like one stop shopping for the hardware we all need when working with Vignette Boxes or Trays. The pack comes with screw eyes, hooks, nails, and long screws (long screws are used to convert idea-ology wheels and knobs so they can be used with Vignette Trays and Boxes).
I decided the small hooks would work perfectly for this project.
I placed the numbers on the tray to get the spacing needed, then used a nail to start the hole (
I just tapped it a couple times with a small hammer). I pulled out the nail and inserted the hook, screwing it into place. Super simple.
This is how it looks from the side.
To hang the numbers they need to have a hole. Just mark the center point (easy to do with Tim's ruler) and punch a small hole. I made sure I kept the hole near the edge since my hooks are small.
I guess you could hang all the numbers on the hooks, but realistically if you are going to count down, I'd rather keep them in dish nearby or in a envelope on the back of the tray.
To build the focal point of the tray, I started with the Quote Chip "Believe", adding it to the bottom of the green Baseboard. Foam squares were added to the back and it was added to the tray front.
I thought a Small Woodland Tree would be cute in the center of the Baseboard, but before you can add the tree... you need to give it a haircut so it can sit flat against the surface.
Using your fingertip, tap Collage Medium on all the bristles. Sprinkle Clear Rock Candy over the tree to create faux snow. Let dry.
My tree needs some ornaments! I picked the smallest beads from the Baubles pack, coloring them with Mushroom Alcohol ink. Using a Blending Tool with felt allows you to pounce over the bead to get different tones of brown and thereby creating a great vintage look. Quite the difference in the before and after!
I like to squirt a little Glossy Accents directly into the tree, then push the bead into the glue.
I also wanted to add some color and texture to the Baseboard so I cut a few pieces using the Festive Greens Thinlit and the new little Sidekick machine. These are the perfect kind of dies for this machine - thin and small in scale! I can set the small machine on my work surface, lower the lever that creates suction to my table top and I'm ready to die cut these tiny pieces. Just that simple.
I added Clear Rock Candy over the bow and the tips of the berries for a little sparkle.
NOTE:
I cut the bow twice and glued it together to give it a bit more weight before adding the Clear Rock Candy.
I used hot glue to add the tree to the Baseboard. I also tucked a bit of Warm and Natural batting right above the Quote Chip to mimic as snow below the tree. I added one of my favorite Christmas embellishments, a Fluted Star to the top of the tree (
it's really right behind the tree - glued to the Baseboard).
I wiped some red paint onto the Mini Hardware knob and let it dry. I took out the screw that comes with the knob and replaced it with the longer one from the Hardware pack. I used a drill to create a hole at the top of the tray and add the knob.
I love the way it turned out! Definitely a project that could be done in just a few hours once all the supplies are at hand.
I think my favorite part is the way the Transparent Tiles turned out with the gold Alcohol Ink. The gold really did transform them into something special.
Hope you will give this project a go!
Carry on,
paula