Showing posts with label matchboxes. Show all posts

Thursday, March 31, 2022

idea-ology Matchbox Tray

Hello Friends,

Today I am sharing one of the projects I created for the new idea-ology release.  This is a project that I created on a whim! I had a basic plan in my head, but was not sure it would work or not till I really got into the project.  I wanted to use the house (I cut it out by hand) from the Snapshots pack as my centerpiece, since I was envisioning the lives of the people who had lived in the house surrounding it.

TRAY
I started by painting the large size Vignette Tray black. I painted the entire outside and the inside walls of the box. This gave me a good vehicle for the pink map paper that is in the new Backdrops 3 paper pack. The black paint makes the pink map really pop! I knew that I was going to be using neutral photos so I needed the pink as my backdrop.
The black tape that wraps around the lip edge of the tray is from the new tape pack that has 12 different, 3/16" tapes.  This was specifically made to fit the lip edge of Vignette boxes.  You can see the one I used right at the top.

MATCHBOXES
I used the idea-ology Matchboxes for the collage. I wanted something that I could open and add things to the drawers. The size worked perfectly with the large Tray to so this. I used all 6 Matchboxes that came in the package. The arrangement of the Matchboxes came from testing what worked. I knew I wanted the house in the center, resting on top of a Matchbox...everything else went in around it. I had the arrangement in place BEFORE I started cutting the Snapshots since I needed to know if a photo should be cut vertical or horizontal.

I removed the drawers from each box, painted the inside of each with 2 coats of Weathered Wood Distress Paint and set them aside to dry.  Once dry, I wrapped the outside of each drawer with Marbled Tape.

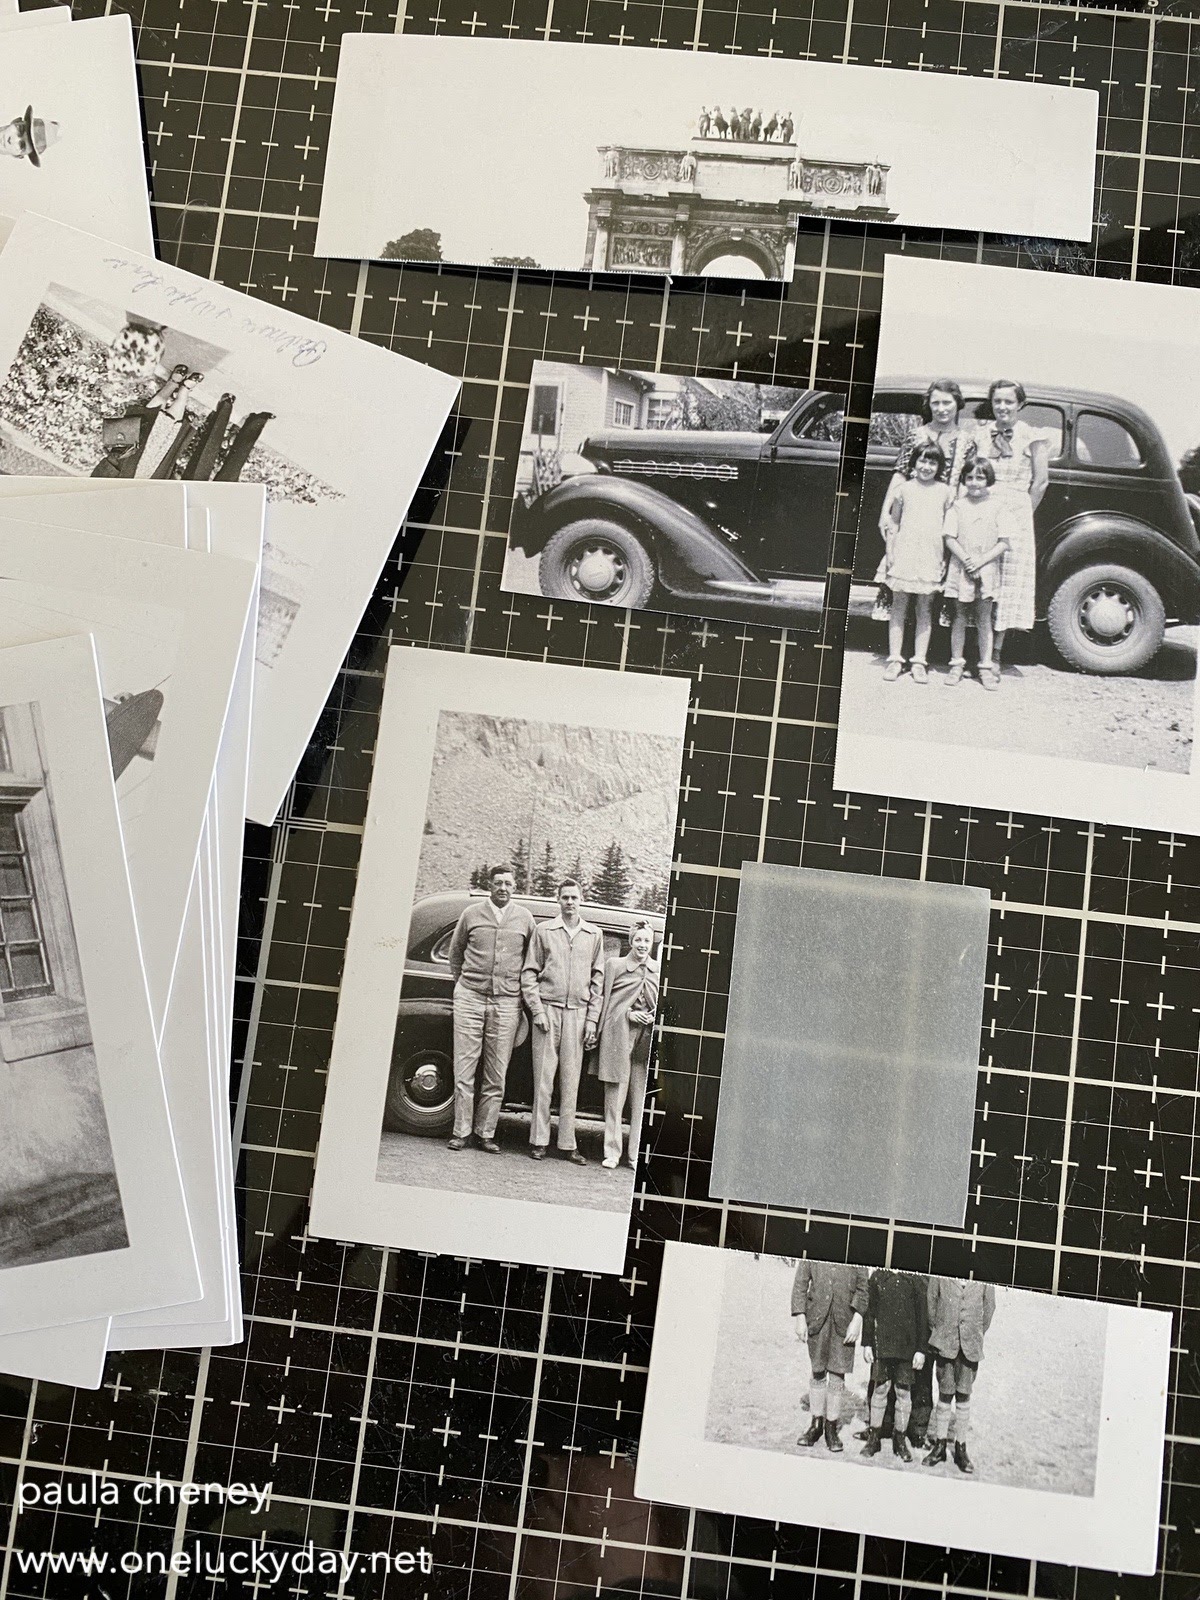
Snapshots are a new addition to the idea-ology line.  It is an entire bag of snapshot photos.  The paper is the same as Paper Dolls - thick and slick to the touch.  You can color them with Distress Crayons if you wish and they are very easy to stitch through if you were wanted to sew them to a surface.
For this project, I decided to add the photos to the Matchboxes, but of course they are way too big for a Matchbox.  That wasn't going to stop me.  
I cut a piece of velum the size of the front of the Matchbox.  I used the velum to help me find the part of the image I wanted to cut out.  I could move it around and up and down till I found the right place.  Then I just hand cut that part of the photo with scissors.
I had a vision of old photos found in a box so I decided to only color with Gathered Twigs Distress Ink. I pressed the ink onto my glass mat and spritzed it with water. Once I decided which photos I wanted to use (and cut them to fit the matchboxes), I pressed each into the ink and dried it with a heat tool. Just that simple.
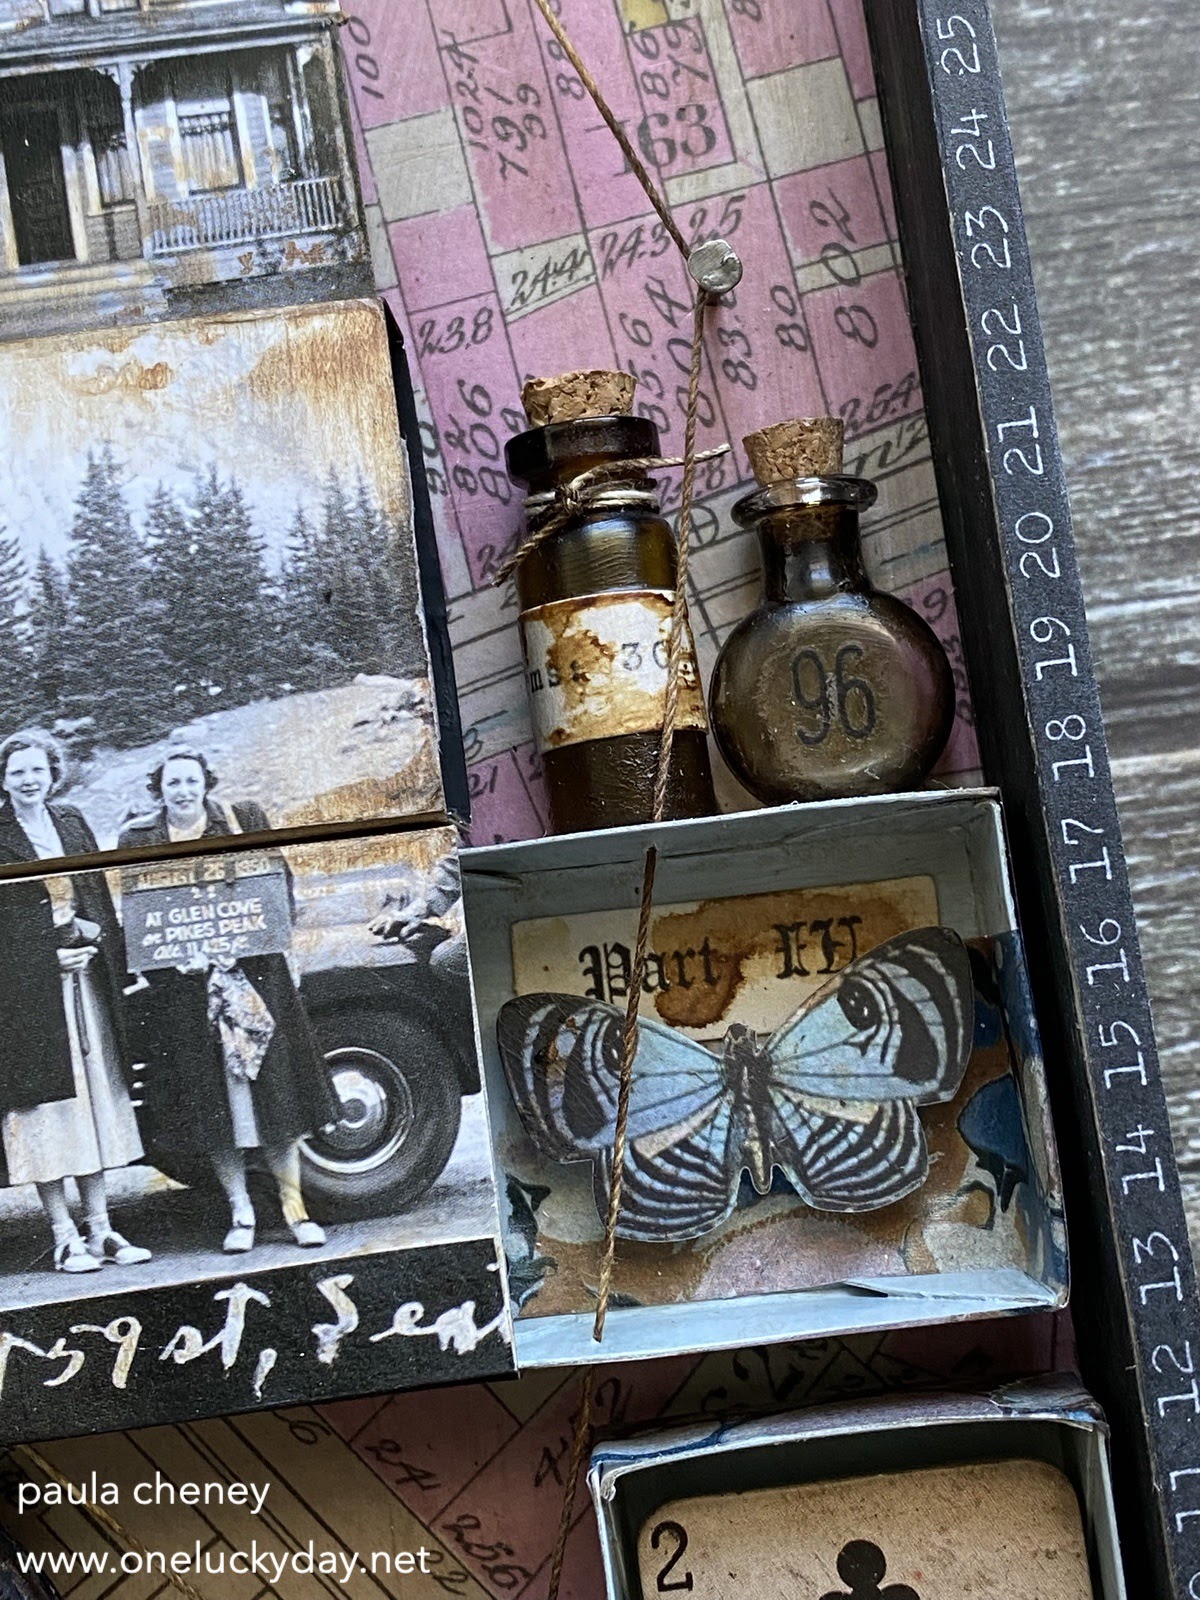
You can see that I have added things to the drawers.  You can use whatever you have in your stash.  New or vintage...it does not matter.
I used Collage Medium to adhere all the parts and pieces, from Flashcards to bottles to Number Bocks...all Collage Medium.


All the string work was done after the boxes were in place. I started with the nail at the top, then worked my way around the tray till I came back together. I used a needle that was big enough for the string.  It would be helpful to have a thimble (if you have one) to push the needle through the boxes. The tray could also be created without the string.

I blackened the Pocket Watch with black paint, then sanded some if it off again.  The center is from the new Gauge Dials pack.  It fits perfectly, you just have to open the back and pop it in.  I added some chain from my stash and a tag from the new Ephemera Snippets.

DRAWERS
Word Keys
Number Block
Apothecary Bottles
Junk Drawer Baseboard pack
Gauge Dials and Pocket Watch
Flashcard


I hope you like my Matchbox Tray!  I know it is kind of an unusual piece but I love it.  The new idea-ology products are so fun to work with and I can't wait to use the Snapshots in more projects.  
now cary on,
paula

Saturday, December 12, 2020

Christmas Matchbox Tray

Hello friends!

I happy to be here today sharing one of my favorite makes for the season.  I first created the Matchbox Tray for Halloween and I loved it so much that I wanted to make another one for Christmas.  The Matchbox Tray is made with a large Vignette Tray and one package of idea-ology Matchboxes.  After that, you can really make any kind of tray you want...any theme or color and any product you wish.  It could be personalize for one specific person or for a family.  The only parameter is keep things in scale, meaning balance the boxes (visually) so the tray is not heavier on one end or on the top or bottom.  For instance, the flair button on the top right is heavy and needed to be balanced by the larger poinsettia on the bottom left.  So even though I made the boxes as individual little "windows" I always aware of how it fits/or balances with the group.  

Separate the Matchboxes so the outside (the box) and the drawer are in two groups.
Cover the first group (or the outside) with paper from the 8 x 8" Christmas Mini paper stash. There are so many choices of patterns that it can be daunting trying to choose the right combination of papers. I just went for a mix of colors and patterns, with the one in the top center repeated as the background paper. If you pick a busy background paper like I did, the boxes can be plainer/simpler patterns.
Once you have covered each box with paper, use your fingertip to wipe Crackle Texture Paste over the edges of each box. The boxes will eventually be glue together on the sides so it's best to keep the Crackle Paste on the top of the box. Set aside to dry for at least 30 minutes (timing depends on how thick you put the texture paste on).
The second group or "drawers" were painted on the outside with Picket Fence Distress Paint and the inside with Gilt, one of my favorite metallic paints from the Dina Wakley's Media Line. You do not have to paint the back of the box since it will be glued to the tray.
As for the Vignette Tray itself...I used Collage Medium to adhere red woodgrain from the paper pad on the outside of the tray (you can see the outside it in the last photo) and my favorite holly paper on the inside of the tray.  You can cover the entire inside or cover just the edges like I did (the matchboxes will cover the center).  I added a layer of Collage Medium over the paper on the inside as well as the outside to seal.
Once the paper was dry, I added "A Merry Little Christmas" Tape on the edge of the Tray.
I like a nice wash of Distress Crayon over the sealed paper to age it, especially in the corners.  So I scribbled on some Walnut Stain Distress Crayon and used a damp paintbrush to move it around till I was satisfied with the result.

Please Note: I created each box BEFORE I glued them to the tray with Collage Medium.
Box 1 - Paint the inside of the box with Collage Medium.  Lightly sprinkle some Distress Mica Flakes in the box to create an appearance of snow. I had some idea-ology wood slices left form last year so I split the wood slice in half (with an awl and hammer), gluing one half to the back of the box and the other half to the bottom for the deer to stand on.  I used Walnut stain Distress Crayon to color the white deer.  I also added a metal Christmas Token in the background with a Thin foam square.

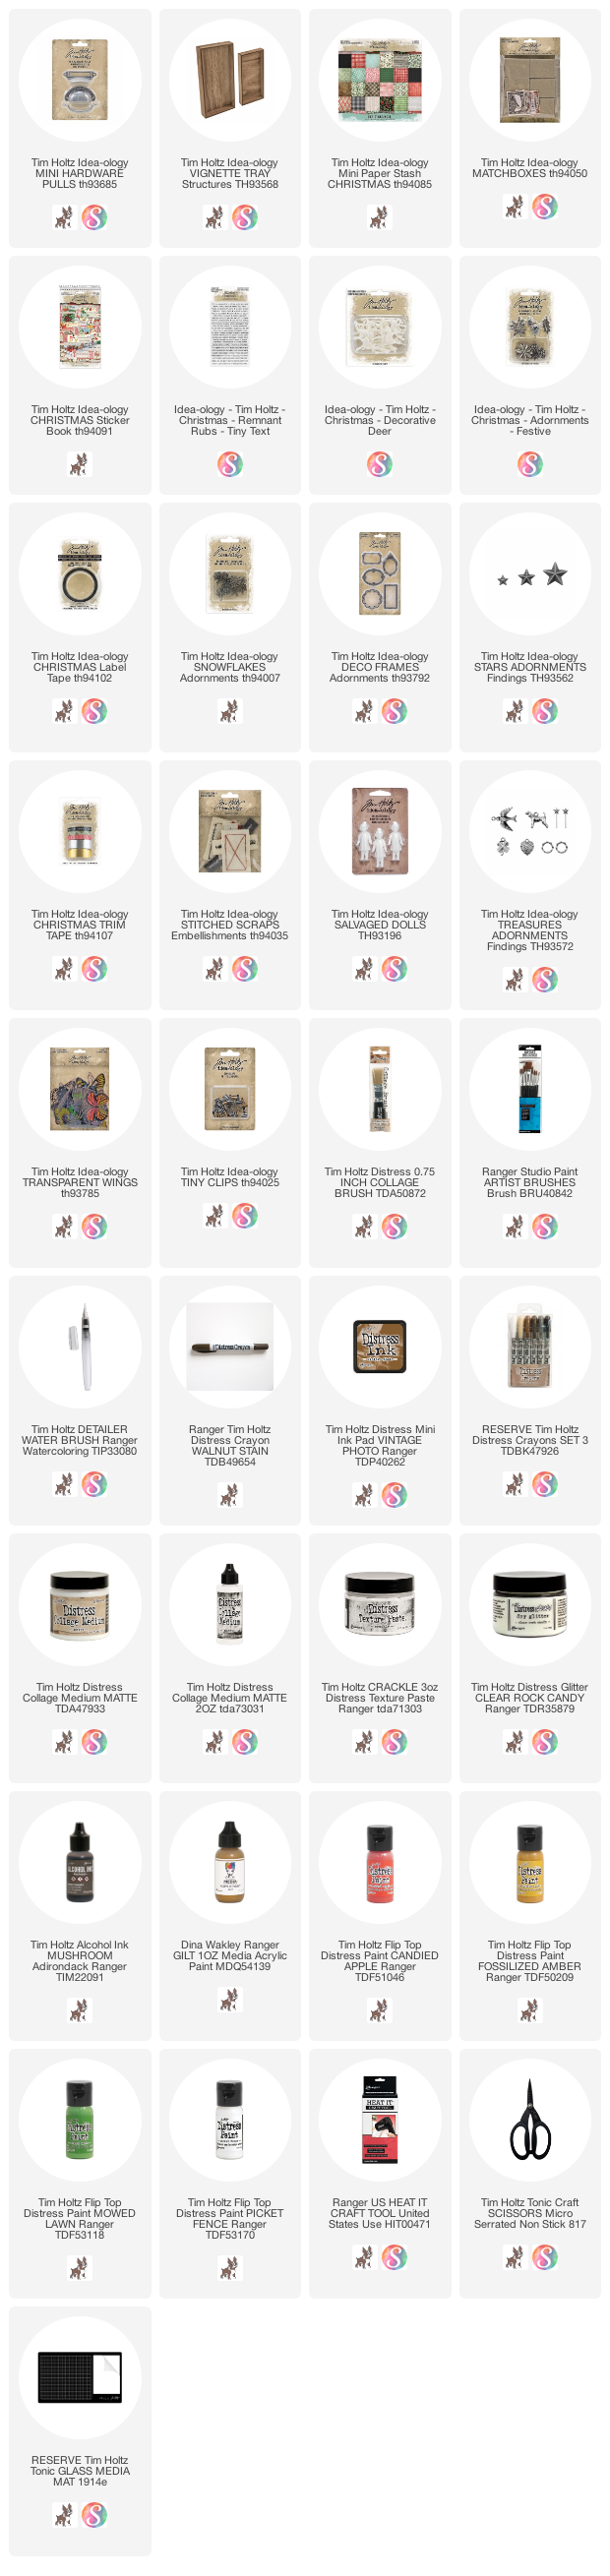
Box 2 - Paint the poinsettia charm with Distress Paint in Candied Apple, Mowed Lawn and Fossilized Amber. Once paint is dry, paint on Collage Medium.  Use the Glitter Duster to add Rock Candy Glitter over the top.  Wrap red and white string around the box a couple of times, then add the poinsettia charm.  Secure with a bow.  Add a Thin foam square to the back of the poinsettia to secure to the box.  Using Collage Medium, wrap a Stitched Scraps piece around the side of the box (super easy to use when you don't have the time or patience to make your own).

Box 3 - Using Thin Foam Squares, add poinsettia ephemera (all ephemera is from the 2020 Snippets pack - smaller than the regular ephemera) to the top of the box.  I did trim away the stems and some of the background so it fit better on the box.  Cut the word PEACE from the Label Tape.  Cut the right end in a V and add directly to the box.

Box 4 - Repeat the idea of the snowy background (box 1), but this time with Rock Candy Glitter.  The Dog Ephemera is on a double stack of regular Foam Squares.  Because foam squares do not like to stick to glitter, I created the double stack and added it to the box, but did not remove the top paper.  Then I painted  the Collage Medium in the box and added the Rock Candy Glitter.  Once I was ready to add the little dog, I just peeled the paper off the top foam square and added the ephemera.

Box 5 - Background is the same as Box 1 but I made sure there was no Mica on the left so I could add the Special Delivery Snippet.  The tree is the smallest of the Woodland Trees.  I painted the base with Candied Apple Distress Paint, sprayed the tree with Bundled Sage Distress Spray Stain, then added Collage medium to the branches and rolled it in Rock Candy.  I love the trees with red bases!

Box 6 - The frame is frame the Deco Frame pack.  It fit perfectly on the top of the box.  All I had to do was rub Picket Fence Distress Paint over the top of the frame and let it dry.  Then I pounced Mushroom Alcohol Ink over the top to bring back the detail.  I added the smallest star from the Adornments Stars pack (painted with gold Mixative Alcohol Ink).  The words are Clippings from the Sticker Book.

Box 7 - The easiest box ever...Add Snippets ephemera to box with Thin Foam Squares. Done.

Box 8 - The snowballs are Baubles I coated in Collage Medium and rolled in Rock Candy.  I actually coat them with the glue, then plop them in the jar of glitter and shake the jar side to side till coated (don't let it get buried in the glitter).  I just leave it in the jar till I complete 3 snowballs then remove them with tweezers to the craft mat to dry completely.  Once the snowballs are dry, I added them to the box with Collage Medium.  I left enough room at the top for the clipping sticker.

Box 9 - I used two tiny wood blocks to secure the silver "C" Stencil Chip in place.  You could also use foam squares but you would probably have to stack at least 4 to make it work.  The word Christmas is from the sticker book.

Box 10 - Add Snippet ephemera to the box with Collage medium.  Add the Tiny Clip at the top to appear as if it is the only thing holding the ephemera.  Adhere the small Flair Button to the box.

Box 11 - Rub Picket Fence Distress Paint over the Snowflake.  Once dry, add Collage Medium and Rock Candy Glitter, let dry again.  Punch a small hole in the box. Thread the red and white string through the hole, adding the large Snowflake to the string before tying in a bow.  Secure Snowflake with a Thin Foam Square.

Box 12 - Use Collage Medium to add a crown (idea-ology Treasures), tiny lace collar (vintage lace) and Transparent Wings to the Salvaged Doll.  Set aside to dry.  
Cut a piece of acetate to fit the top of the box. Add a Christmas Remnant Rub to the lower right side. 
Using a Foam Square or even hot glue, add the Salvaged Doll to the box.  Add a small amount of Rock Candy.  Add Collage Medium around the lip of the box to adhere the acetate you cut previously.  Let dry.  Add the gold pinked edge Tape from the idea-ology Trim Tape pack to the edge of the box.  This will cover any excess glue on the edges of the acetate. 


And for good measure, add a Mini Hardware Pull to one end of the box, as if it is an old library drawer. I added Hardware Heads to each end so it looks like the pull is screwed to the box. And lastly, I added a Clippings sticker from the Sticker Book, "Season to be Jolly" (which it truly is).

Thank you for stopping by. I hope you like this piece as much as I do.  I swear I could make one for every season (maybe I will).

carry on now,
paula
Sunday, August 9, 2020

Halloween Matchbox Tray

Hi Friends!

We have been secretly working away on samples for the release of the 2020 idea-ology Halloween product.  Today i'm sharing a fun project made with Matchboxes that are part of the everyday idea-ology line.  The foundation is a large Vignette Tray which is 6 x 12".  It is the perfect size for the six Matchboxes. So follow along and I'll give you all the details!


Start by painting a Large Vignette Tray with Black Soot Distress Paint. I painted the entire tray except the inside background that will be covered with paper in the next step.  Once dry, I sanded the surface inside and out to bring back some of the natural wood, then painted on a thin coat of Collar Medium to seal and give it a smooth finish. I used paper from two packs, the new Mini Stash, Departed + Wallflower (for the perfect bug paper). First I cut a piece of Wallflower to cover the entire back of the tray (adhering with Collage Medium). Then I ripped paper from Departed to add over the top. The entire center will be covered by the matchboxes so no need to worry about what that looks like.
The bug paper had an interesting tiled pattern on the back so I ripped small pieces and added that over the Departed paper.
Once the paper was in place I added a thin layer of Collage Medium over the top and let that dry completely.  Then I scribbled Walnut Stain Distress Crayon on the surface and used a damp paintbrush to work it into the corners and around the rips in the paper.  If you scroll back two pictures you can really see the difference the crayon makes.
I decided to add our new Trim Tape with the pinked edge to the box.  So I squeezed out a bit of Antique Linen paint and used my finger to rub it along the edge.  It was good that I had painted the tray with back paint because it sealed the edge so the creme paint stays on top, instead of soaking into the wood.  Once the paint was dry, I added the tape to the edge and then rolled the remainder over the edge and down the outside of the box. The last thing to do was a just a bit of crayon to take away the brightness of the paint color.
Matchboxes (1 1/2 x 2") come in a pack of six which fit PERFECTLY in the Large Tray.  I cut six, 2" strips (six different papers) from the Departed paper stash. Then used Collage Medium to adhere the paper to the boxes. I added Collage Medium over the surface to seal (so I can use crayon later).
Once I had the boxes covered and the Collage Medium was dry, I used my finger to add Distress Crackle Paste to the edges.  Not too much that it covered the design of the paper, but enough to make them look old.  I waited for the crackle to dry, then colored with crayon.  I scribbled Walnut Stain crayon on the Glass Mat and picked it up with a damp paintbrush to push it into the cracks. Followed by scribbling both Walnut Stain and Forest Moss crayon directly on the crackle to get darker spots.
For the drawers, I simply painted three black (be sure to paint the outside) and covered the other three with vintage book paper (again, adding collage medium and crayon to age).
Just a little tip before I show you the details of the tray.  When I was done creating all the boxes and ready to move them into the tray, I cut a thick piece of book board (1" wide) to use as a jig .  It fits right between the bottom of the tray and the bottom of the matchboxes.  Then when I glued each Matchbox to the tray they were nice and even.  Once I was done gluing, I removed the jig.

Before creating the interior of the boxes I lined them up in the tray to see how I wanted to arrange them.  The balance of color and texture is important to me, especially when I know I will be combining all the little Matchboxes into the tray.  As I went along, I tried to balance the "weight" of the three visually "heavy" boxes: the filled dome, the Toadstools, and the glass bottles in the bottom left.

The first quad of boxes are:
1. Red tag from the Snippets pack.
2. Black box - Hitch Fastener added for drawer pull.   Transparent Wings: I held the center of the smallest wings with a wood screwer and heated it with an embossing tool until the wings curled.  I swear I could do this all day long if I had the time!
3.  The Apothecary bottles were the same size so I decided to break one.  I just put the bottle in a plastic bag and hit the bottom of the bottle with small hammer to break it.  I rubbed Mushroom Alcohol Ink over the bones then tied them to the bottle with green string.
4.  The metal bug has been painted with Speckled Egg Distress Paint.  Once dry, I pounced Mushroom AI over the top.  Then I just wove the bug into the Mummy Cloth and glued it to the box.  The number came from the clippings part of the Halloween Sticker book.
box 2
box 3
box 4
5. Before adding the Peculiar Things token to the box, I threaded a needle an sewed two X's into the right side of the box.  My favorite little detail.
6. This is another of the black boxes.  I scribbled Distress Crayons onto the glass Mat and picked up the color with a Detailer Water Brush and just painted the Toadstools.  I adhered the tiny frame from the Baseboard pack to the front of the box then added the Poison, cut from a poison label.
7. The orange pumpkins have been painted white, Distress Crackle Paste added and dried, and a crayon wash over the top.  Words from the Halloween sticker book.
8.  Box is left plain to show off the crackle paper from Departed.


box 6


box 7


9. Another bug from the Adornments Entomology set.  This time I glued Mummy Cloth to the underside of the bug, then wired the bug to the box (poke the holes first and then thread thin wire).  Heavy crayon added to the wire to look like dirt build up.
10. Pack cut up Boneyard and Spooky Eyes in Corked Dome.  Pack the bottom with Mummy Cloth then glue the dome to the Cork.  Add a Remnant Rub (Field Notes) and tie with string.
11. Color a Paper Doll with Distress Crayons.  Cut her to fit into the small box.  Glue a wood block behind her to bring her forward in the box.
12.  I placed a wood block inside the Matchbox so I could hammer a carpet tack into the end of the Optical Lens.  These Lenses are from the regular idea-ology line and can be use for many things.  The Remnant Rub was added (Field Notes) and a tiny spider from the Adornments Halloween pack.
box 10
box 11
box 12
just a couple more photos...


I used a Mini Hardware Pull on the end of the tray to make it look like a drawer that had been pulled from a cabinet of curiosities.  The words are from the Halloween Sticker book.
Well I hope you liked the tray as much as I did making it.  I'm happy to be part of the makers creating these Halloween pieces.  I am in awe of the magical things my fellow maker put out there!  I also love cooking up these products with Tim.  We have a fun time imagining what would work for Halloween each year and helping it come to fruition!

now carry on,
paula