I have an easy tutorial for you today all about pumpkins! I got a couple packages so I could experiment with color, because pumpkins don't always have to be orange! There are nine pumpkins in a package with three different sizes. They come in a great color of orange which I love but I thought I could change these up a bit! Follow along and I'll show you what I did.
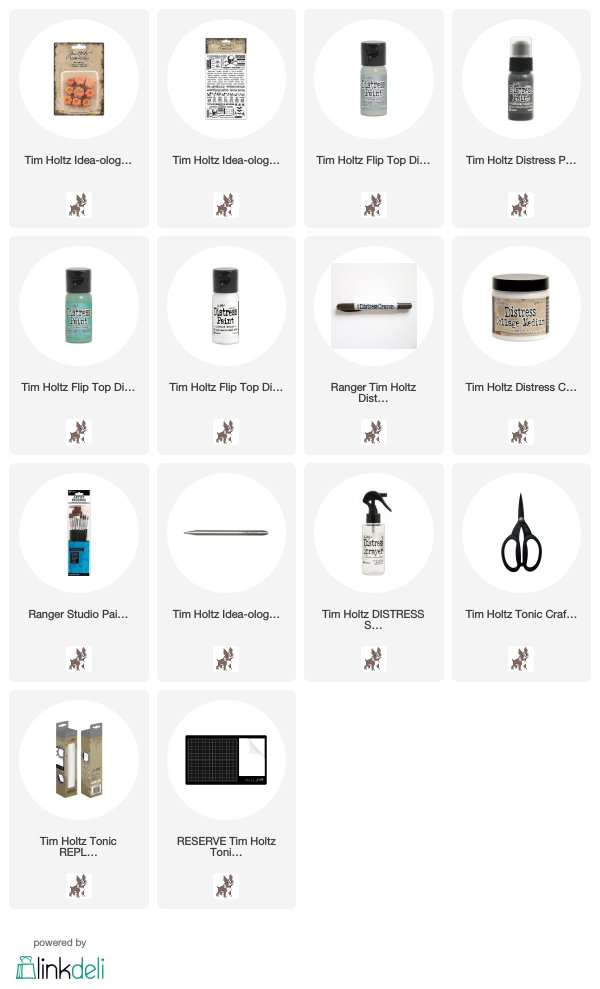
I was totally inspired by pumpkins that I saw recently at a local antique fair. Scanning my choices for Distress Paint colors to use, I gravitated towards Hickory Smoke, Evergreen Bough, Iced Spruce, and Picket Fence. I used a small paint brush and added two coats letting them dry in-between.I found that if I rub a thin layer of Collage Medium over each pumpkin that the paint stays nicer in the next step since it has been sealed. Totally worth the 3 or 4 minutes it took to do it.
I used a combination of techniques to get the pumpkins to look the way I wanted. First I scribbled Walnut Stain Distress Crayon on my Tonic non-stick mat. I also spritzed some water on the mat to wet my paint brush. You are really looking to make more of a paste rather than brown water so the less water the better.
Using the brush, you are able to paint right down the cracks in each pumpkin. I like this method but it was not grungy enough for me so I scribbled directly onto the pumpkins and then rubbed it in with damp fingers. You can see the result in the next photo.
Now thats enough grunge to make them look vintage! I still used the damp paint brush to break up any larger pieces of crayon that were left after rubbing it in.
I cut up small *twigs with my Tonic scissors then used Collage Medium to glue them to each pumpkin.
*my husband picked these up for me at the golf course - plenty of twigs there!
I added a small amount of moss to some of the pumpkins and then just waited for the Collage Medium to dry.
I just love how they came out! So fun and just the right colors for me.
Here you can see how I used white pumpkins in my Found Objects Halloween kit.
Now if you're not into painted pumpkins, maybe you'll like some with funny faces! The faces are from the Halloween Remnant Rubs. I thought maybe they would be hard to put on but nope, they rubbed on very easily (I hardly had to use the Remnant Rub Tool). I did go over the face with Collage Medium - it gets rid on the slight halo around the rubs and it secures any edges to the surface. An easy fix.
There are even faces on the sheet for the smaller pumpkins!You can see I used the same Distress Crayon technique (shown previously) to add crayon over the pumpkin so it fits in with the group.
I decided to stack them up using dollop of Collage Medium in-between. It might seem like its not going to keep them together but just leave it alone to do it's magic and they will be glued together for life!
They fit right in with the group!
I hope I have temped to you to experiment with pumpkins! I didn't even show black painted pumpkins and I know that would be a great addition to any Halloween Project!
Just for fun I am having "The Great Halloween Giveaway" to celebrate the fall season! To enter the giveaway, leave a comment here on the blog -
I want to know what was your favorite Halloween Costume?
I know what mine was!
I will post the winner on Thursday evening so be watching to see if it's you!!
now carry on,
paula


