Showing posts with label christmas cards. Show all posts

Wednesday, November 3, 2021

Cozy Christmas Bow Tutorial

Hello friends,

I thought I would start off the month by sharing a couple Christmas cards I created with the new Cozy Christmas stamps from Tim holtz/Stampers Anonymous.  This is such a fun stamp set and very easy to color with so many mediums, from Distress Ink and Oxide to Distress Crayons!


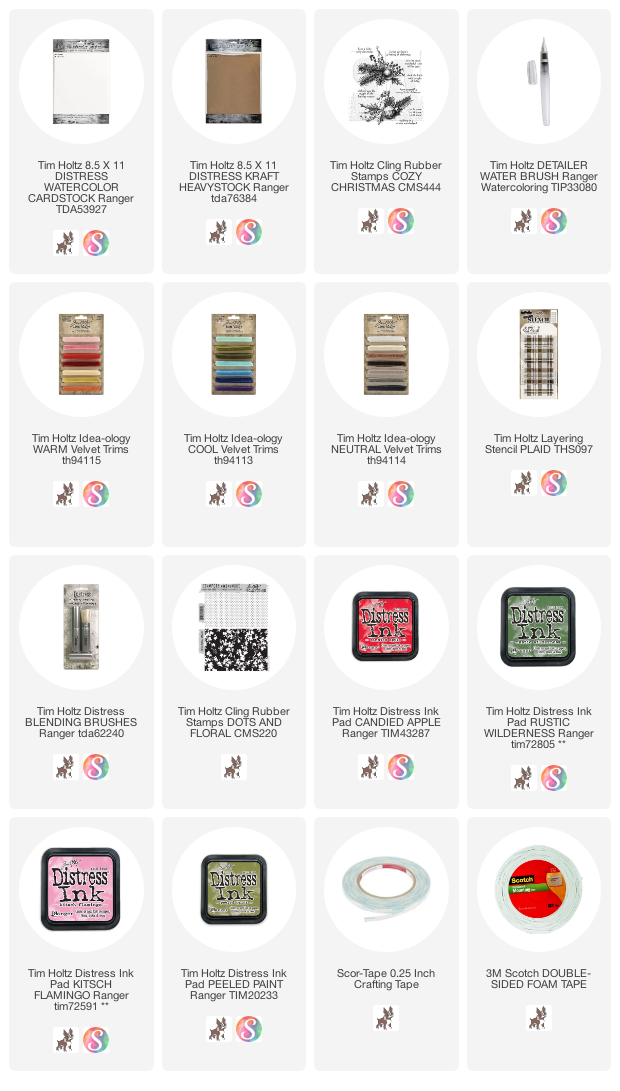
I used Distress Watercolor paper for the card fronts (3.75 x 3.75").  I stamped the images in Hickory Smoke Distress Ink which gave it a softer tone than if I had stamped in Black Soot.  I used my Detailer Water Brush with Candied Apple, Peeled Paint, Rustic Wilderness and even a bit of Kitsch Flamingo to color the images.
Then I chose a background stamp and a stencil to add a little detail to the corners of each card.  I love a polka dot for every holiday, but the plaid stencil looks good too!  Use what you have!
I did not use a block, but rather inked and pressed the polka dot where I wanted.
For the plaid stencil, I added the Rustic Wilderness with a Distress Brush so I could get into all the nooks and crannies of the stencil.
I stamped each card with a sentiment, using Archival Ink.
Next comes the stitching...I think I should have stitched it in red though!
Then a little foam tape before adhering each front to a Distress Kraft Stock foundation (4 x 4").
To create the little bows, I gathered some Velvet Trims (we have great colors to choose from).  You will also need a hot glue gun and 1/4" Scor-Tape.
Step 1: cut two pieces of Velvet Trim 2 1/2" long (3" for a larger bow).
Step 2: Add a small piece of Scor-Tape to the center of one piece.
Step 3: Fold the ends toward the center, securing on the Scor-Tape.  You should have an open loop on each end.
Step 4: Wrap the second piece of ribbon around the loop and pinch the center.
Step 5: Open the ribbon (but maintain the pinch as much as possible).
Step 6: Add a bit of hot glue and quickly pinch together.
Your bow should look like this...
Step 7: Press down on the "knot" bow so the "pinch" is at the back.  Cut ends to desired length.
I swear it only takes a couple tries to get a perfect looking bow!
Add bow to your card with hot glue.  

now carry on,
paula
Friday, December 20, 2019

Stampers Anonymous Holiday Cards

Hello friends,

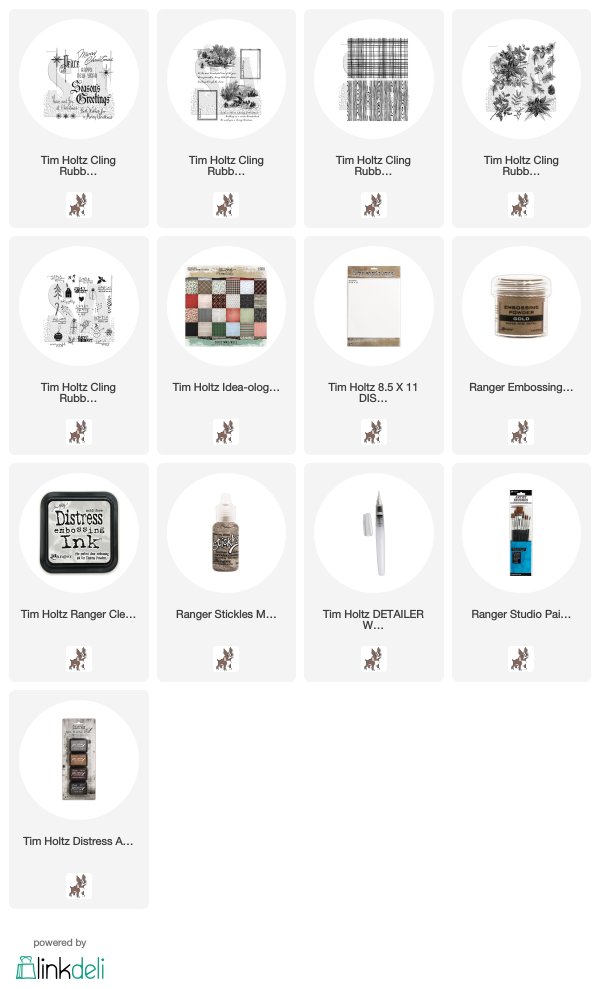
Today I'm sharing a few cards I made using Tim Holtz/Stampers Anonymous Christmas stamps.

Scenic Holiday
I love this winter scene from the Scenic Holiday set so I stamped it on Distress Watercolor paper (smooth side) and then colored it with a Detailer Water Brush and Distress Inks that coordinate with the plaid paper in the background (one of the favorites from the 2019 Christmas Paper Stash).
Seasonal Scribbles
Lumberjack (background)
For my second one, I started with the whimsical Seasonal Scribbles to create the small center card.  The background was stamped using the woodgrain stamp from the Lumberjack set then cut to size and stitched to a green card base.
Yuletide Gatherings (floral)
Christmastime 2 (sentiment)
The last card was again created on Distress Watercolor Cardstock.  I used a wide paint brush from the Ranger set of brushes to hand paint stripes across the cardstock in Festive Berries Distress Ink.  When the ink was dry, I stamped the sentiment in the center with Embossing Ink and added Gold embossing powder.  Once the embossing powder melts, the sentiment comes to life in the rich gold color.
For the floral images, I stamped over the stripes with the Yuletide Gatherings stamp and Black Soot Archival Ink.  Then colored the image with the Detailer Water Brush and Distress Ink.
As an added touch, I squeezed dots of Mercury Glass Stickles onto the dots of the embossed image.
Hope you like the cards and they give you inspiration for your holiday makes!
Now carry on,
paula
Monday, July 21, 2014

Christmas Blueprint 4

Today post is the first of the small group of cards I made for Stamper Anonymous with the new stamps and stencils that were released this past weekend.  I always love holiday stamps so it was quite fun to be able to get the new sets.  Hope you will like what I have created.

I cut a piece of Ranger Watercolor paper.  I used three colors of Distress Stain and water to create the background, then dried it with a Heat it Tool.
 I stamped the image of the Poinsettia from the Christmas Blueprint 4 set in Archival ink.

 Then cut it out.
Next I created a monoprint of the new Layering Stencil "Christmas" on another piece of Watercolor paper using Distress Ink in Pumice Stone, Tumbled Glass and Crushed Olive (both in kit #8).  Pumice Stone mini is in kit #5- i just happened to have the larger pad on my desk so I used it instead.  That is the reason why I ended up with so much gray in the monoprint.  Using the mini size allows you to get much smaller doses of color.
 I stamped the poinsettia image over the monoprint background of the card front.
 Then used Distress Markers to color the green leaves.
 The Detail Water Brush helps blend the colors together.

I also used Pumice Stone Distress marker to add in a drop shadow around the flower and box with the flower name.
 I cut a card from Core'dinations Kraft-Core Cardstock,
 then stitched it to the cardstock.

Then I simply used foam squares to add the cut poinsettia over the image.
You may notice I went back and added more red Distress Marker to some of the smaller shapes for a bit more detail.

I also colored a piece of Linen Ribbon with Iced Spruce (you know I had to work it in) Distress Stain.  Once dry, I inked the linen with Crushed Olive Distress Ink.  I used the Linen Ribbon to secure the Christmas Word Band to the card front.

One additional detail...a bit of Ice Stickles - Christmas Red to add dimension to the center of the poinsettia.

 And there you have it...first Christmas card of the season!  I sure love the coloring process.  I find it very soothing working with the Distress Markers and Water Brush. 

FYI:
For those of you in the Dallas area, I am teaching three classes at Stamp Asylum in Plano on Aug 15th and 16th.  You can contact the store for more details.

carry on,
paula