Hello friends,
I've been busy creating new projects in preparation for Tim's YouTube LIVE all about idea-ology Halloween 2025! I'm excited to share the four new pieces I made over the next couple weeks, starting with my favorite, Trick or Treat! The whimsical Halloween theme truly shines with the harlequin paper from the Halloween Backdrops 2025 pack. The star of the show is a little witch, perched next to a giant, sparkly pumpkin filled with candy!
This is a very easy project. You can basically see everything in this shot. The boxes covered in paper, the fringe, the pumpkin and the Alpine trees.I took the planks from the Baseboard pack and nailed them to the top box to make a "floor" of sorts. I had previously painted them following this easy technique (explained in a previous post).
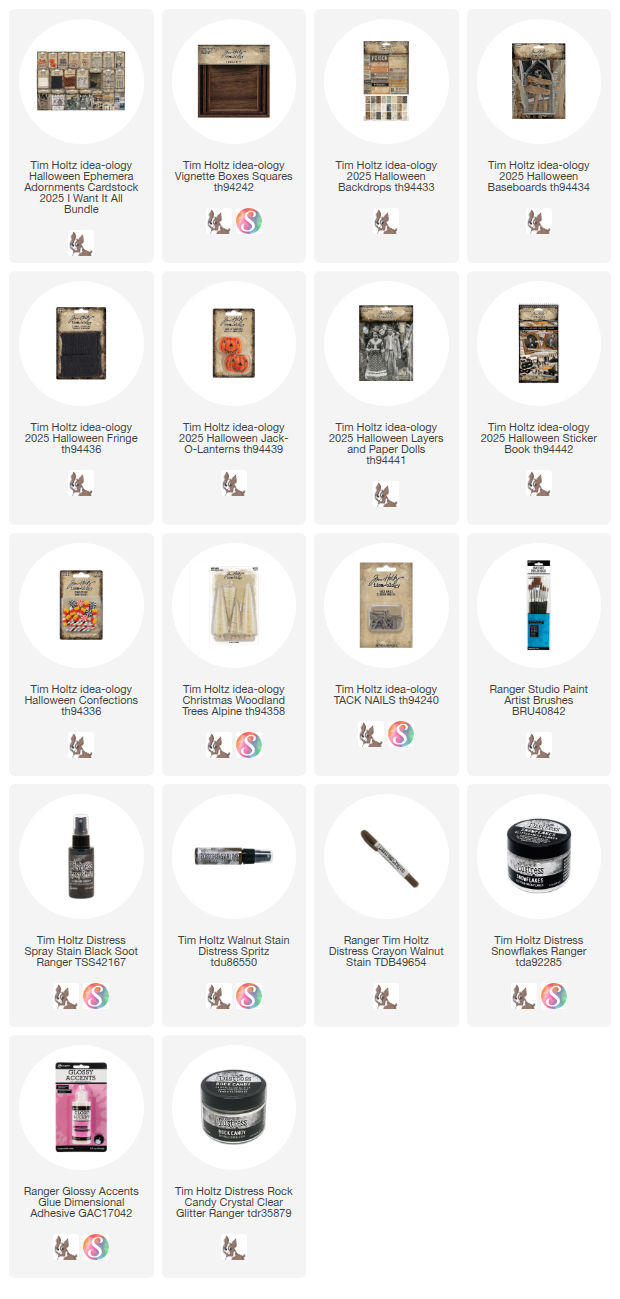
Three Alpine trees were sprayed with Black Soot Distress Spray Stain, then sprinkled with Distress Snowflakes (a combination of twinkling glitter + mica flakes). I dried the trees with a heat tool then set about to adhere them to the surface.
Three Alpine trees were sprayed with Black Soot Distress Spray Stain, then sprinkled with Distress Snowflakes (a combination of twinkling glitter + mica flakes). I dried the trees with a heat tool then set about to adhere them to the surface.
There are lots of ways to use the new orange and black fringe. I started by spraying it with Walnut Stain Spritz to give it a more vintage feel (just dry it with a heat tool before moving on). On the project, I used hot glue to glue the fringe to the surface. I glued the tallest Alpine Tree (with the base cut off) to the fringe.
ps) if you have never used fringe before - you just cut off a piece and rub it between your hands. Like magic, it just comes out all crazy and fringe like! It is surprising every single time!
Then I moved on to the small tree on the right and repeated the same steps by gluing a flat portion of the fringe to the surface, then adhering the tree on top. Just make sure some of the fringe is showing from under the tree.
The third tree (it's about half of a small Alpine tree) was placed in front. The fringe I used here is another piece that I cut just for this tree, so its only about 2" long. My first piece was about 4-5" long.
I added the sign post and the Paper Doll to the center before adding the completed pumpkin I made a day earlier.
I used a dollop of Collage Medium to add the pumpkin and the loose candy since that is the best glue for longevity.
I made the Trick or Treat sign using a sticker from the sticker book and one of the signs that are in the Baseboard pack. I just added the sticker over the words of the sign, cut off the ends, then used Scorched Timber Distress Ink on the edges. And now I have a sign with the perfect saying for this piece.The back (I like how the fringe pokes through the trees).
The right side.
The left side.
This was a really fun one! I love the pumpkin and confections covered in Rock Candy...and that fringe, it is the perfect addition for these kinds of whimsical pieces!


Love this! Thanks for a great tutorial. It’s a keeper
ReplyDeleteLove this. Thanks for the tutorial
ReplyDeleteI’m loving the fringe! Your tutorials are great for someone new like me. THANK YOU!!
ReplyDeleteWhat is the delightful starry, round box you used for presenting this wonderful piece? Spill! ⭐️✨🤩
ReplyDelete