Hello Friends,
We have been very busy putting together the last kit of the year! Thank you to all who bought one...they are almost gone! Which means I can go back to making Christmas things (and that makes me very happy).
Today's post is all about the Etcetera Tray I created using Etcetera Tiles, both the solid and Cutout Tiles. This really is a easy project and to be honest, I'm ready to make another one!
Lets get started!
First of all the substrate is a large Vignette Tray. It can be covered in any type of Christmas paper. Here is use the black check pattern that came in the 2022 Christmas Backdrops pack. I liked the black check because it makes the other colors pop. Also, as a rule I never cover the center of the tray because it will be covered up with the Etcetera Tiles!
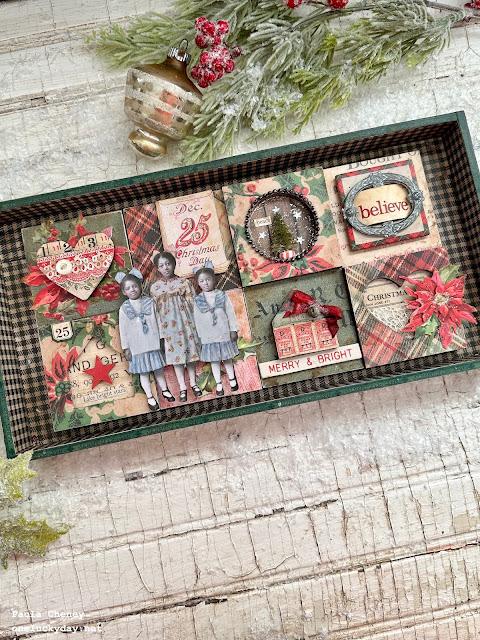
I covered the inside of the tray with the black check, then use Design Tape, Trims to cover the lip edge of the Tray. This dark green tape was perfect with my color scheme.
I cut a scrap piece of cardstock 4 1/2 x 9 1/2" to give myself a template to work on. The paper will be used when setting up the tiles, then discarded before adhering the tiles to the tray with foam squares.
I also added paper to the outside of the tray...again, this is a paper from the 2022 Backdrops. Also, don't forget about using Ranger products like Crackle Paste or Distress Crayon. Both would look great over the paper once sealed with Collage Medium.
I sorted all the tiles into a basic design of how I thought it might work out. I wanted different levels so I had to make sure that part would work out before I started adding the paper to the tiles.
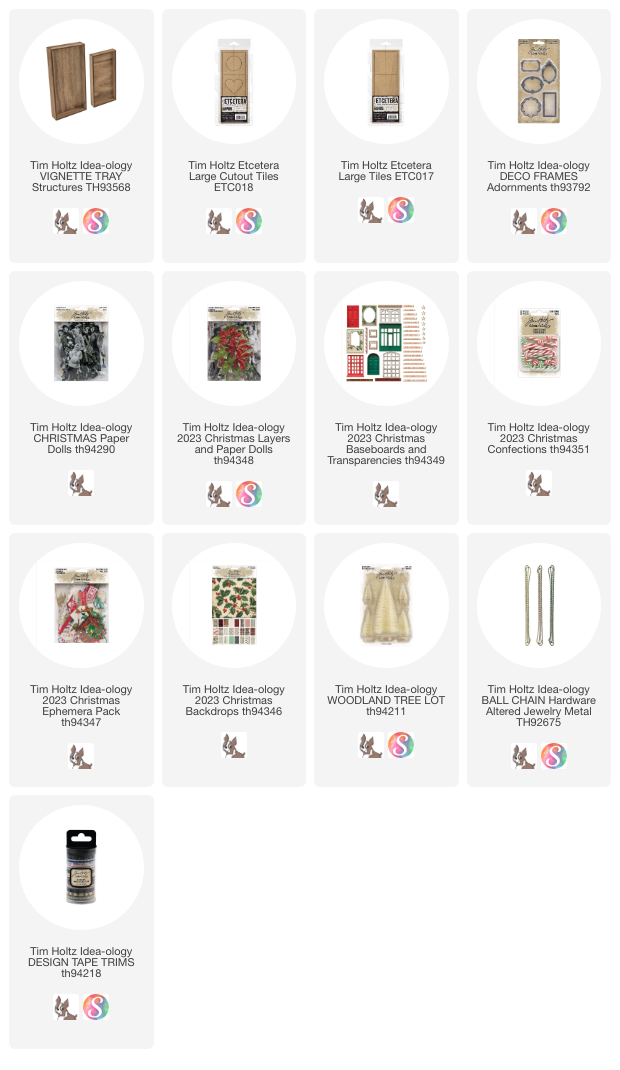
There are 8 solid tiles and 2 cut out tiles + the shapes from the cutout tiles. You would need one pack of each: Tiles and Cutout shapes.
Once the paper was adhered to the tiles using Collage Medium, I was able to start placing them in the tray (still no glue or foam squares yet).
1. HEART - single solid tile with cutout heart on top.
Green paper with layers poinsettia (I had to trim a bit of leaves to get it to fit.)
The heart has been covered with ephemera, vintage lace and a vintage button.
2. CHRISTMAS BANNER - Solid tile with plaid paper
25 Sign is in Ephemera Pack. Added Stickles to the number 25. Foam squares raising it off the surface.
3. HOUSE w/ STAR - double tile (one solid and one with cutout house shape)
Ephemera on solid tile and patterned paper on cutout house shape.
Star from Layers pack.
Green label in ephemera pack with stamped 25 (Stampers Anonymous Department Store stamp set)
4. TILE w/ GIRLS - single tile covered in red woodgrain paper
leaves from Layers pack.
Three girls from Christmas Paper Dolls 2022. Any Paper Doll could be used (or a family photo).
The Paper Dolls are adhered with foam squares.
5. TINY TREE - double tile (woodgrain on one and repeated floral on the other)
Ball Chain glued on with Collage Medium (dries clear)
Confections candy used as a tree base.
Tiny Mirrored Stars and Clipping Sticker from Sticker Book.
6. BELIEVE - single tile with ledger Backdrop paper
Added Slide Frame from Baseboard Pack (foam squares).
Deco Frame (on foam squares) with a flashcard (ephemera pack) slipped inside to make it look like a belt buckle.
7. MERRY AND BRIGHT - single tile with green paper + house cutout shape.
House is covered in Ephemera pieces + 1/4" ribbon and jingle bell with added Rock Candy Glitter.
Merry and Bright (Baseboard pack) cut to fit under house.
8. HEART - double tile. One solid with ephemera and one heart shape covered in plaid paper .
Poinsettia from Layers Pack.
Vintage lace inside the heart.
Once all the pieces are ready to go, they can be added to the tray using standard foam squares so all tiles are raised up off the tray. You know with foam squares, you only get one shot so use your template wisely to visualize where the tiles should go.
Hope you will give this EASY project a go! I think I will e making another one of these using a Display Panel. I love how easy it is to take the random pieces and marry them together to make something beautiful! Stay tuned for more Christmas related projects!
Now carry on,


No comments:
Post a Comment