
May has been a very busy month - most of which has been behind the scenes work. Some of you may have "seen" that I was at also Tim's in May for a production meeting that collided with a Saturday Live about the Tonic Media Mat. I say,"seen" because I actually stepped in front of the camera a couple times to to "Hi and Bye" to the audience. It was a fun experience to see what happens behind the scenes when Tim is on Live. He has a true gift for thinking on his feet and being able to intelligently speak at the same time. That is not something I was blessed with.
Any-who! this post is on the 9 x 9" Display Panel I created for the Embark release. This is just so simple that you can see exactly how it is done without me telling you, but I will attempt to at least tell you about the basic things I used to create it.

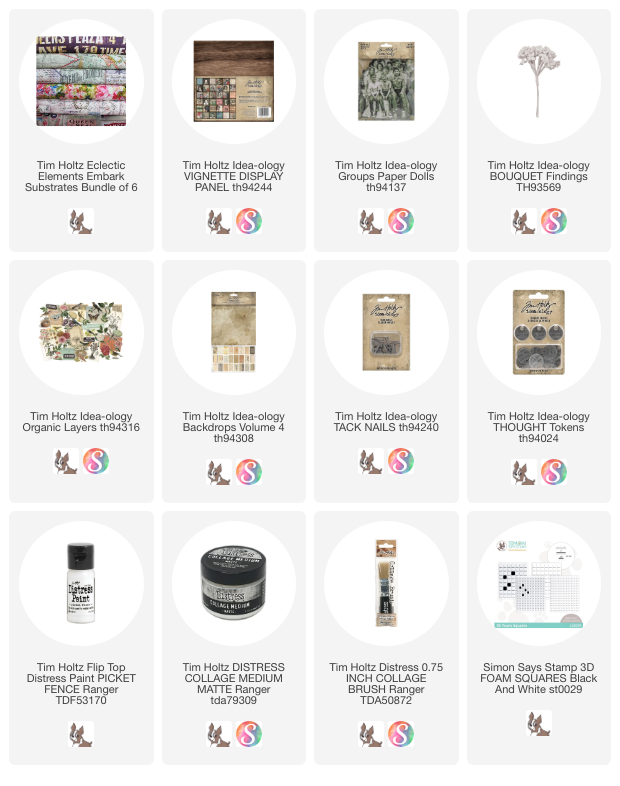
Gather these products or something similar:
idea-ology Display Panel
Backdrops 4 (the neutral pack)
*wood squares (1-1/2" tall x 1-1/2" wide x 3/16" thick)
Embark Fabric
Collage Medium
*Purchased at craftparts.com (pack of 25 is $4.50)
1. I covered the front of the Display Panel with a couple sheets of Backdrop paper. I picked two neutral pieces so the fabric squares would stand out. I left the sides just plain wood but you could paint or cover with paper.
2. I cut random pieces of 4 different Embark Fabric for the squares. I cut the fabric larger than the wood piece, then once glued, I trimmed away the excess fabric.
3. Once the squares were ready, I tried different patterns on the panel before deciding on this simple one.


While the Collage Medium dried, I colored some Paper Dolls ladies (from the Groups pack) with Distress Crayons. If you are wondering about the stripes I created on her coat, it was done by removing the Crayon...meaning, color the coat with the crayon of choice, then use a damp Detailer Water Brush to remove the color, thereby creating the stripes.


The Thought Token was nailed right into the square with an idea-ology Tack Nail.


And that is it! So simple to make and fun to add the texture of the Embark fabrics. Simon Says Stamp sells an Embark pack of 10 x 10" squares, so if you don't already have yardage, you might think of purchasing it in small pieces.

now carry on,
paula
No comments:
Post a Comment