Today I thought I would share the three cards I made using Wonderland Fabric.
To start I cut three card bases 4 1/2 x 6 1/4" from Distress Watercolor paper. I love this paper as a base because the weight of the cardstock makes a great base to build on.

For the first card, I cut another piece of Watercolor Cardstock slightly smaller than my base so I could use the new Sparkle 3D Embossing Folder. It worked perfectly as a backdrop for the flannel fabric strips.
I mounted the embossed paper to the card base using thin foam tape.
To prep the flannel, I added heavyweight iron-on interfacing to the back, then cut the strip with my rotary cutter. The flags at the bottom were hand-cut with scissors that have a sharp tip. I topstitched each strip, then added them to the card front with wide Scor-tape (only at the top half).


I cut a couple sizes of circles for the focal point. One in Watercolor cardstock and the other in silver metallic Kraft Stock (I also sanded it lightly). I stamped the sentiment with Archival Ink then sprayed the circle with Frozen Fog Mica Stain and drying before slipping it under the strip.

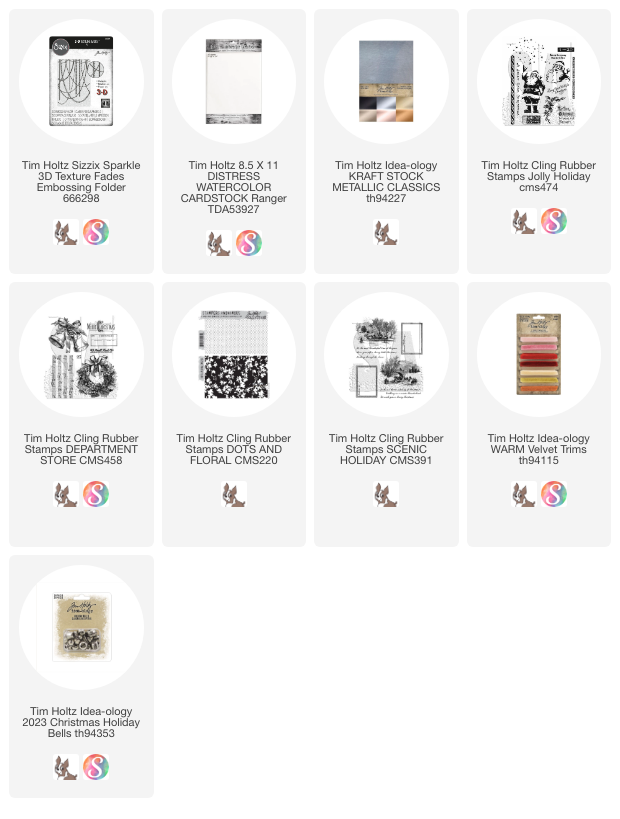
CMS 474 Jolly Holiday


I adhered each square to gold metallic cardstock with a light coat of Collage Medium (the interfacing helps to keep it from soaking through the flannel). I did all the machine stitching before adding the red layer and mounting it on the card front that I had already stamped with a saying from a favorite stamp set, Scenic Holiday.


And for the last card, again, I went back to the "25th" fabric, repeated the interfacing and the cutting before adding the blocks to the stamped card front. I stitched around each block to add some interest, then added the ribbon and tag.

The small tag is from my junk drawer. I just stamped my very FAVORITE #25 from the Department Store Stamp set. I just love this card!
ps) If you open the card, there is a sentiment on the inside.


I hope you have enjoyed these cards as much as I did making them. It is amazing to me how even just a hint of fabric can make such a difference. Maybe it's the texture of the flannel or the colors of Christmas...whatever it is, I love it!

CMS458 Department Store

If you missed the Wonderland Fabric live, you can watch the replay HERE
Now carry on,
paula
paula
No comments:
Post a Comment