Saturday, July 12, 2025

Christmas Panel

Hello friends,

I'm happy to be here today sharing a make I created using the Simon Says Stamp Christmas kit. You may have even seen yesterday's live with Tim and Heidi where this project was shared. As was mentioned in the Live class on YouTube, I created a tutorial for this Christmas Panel project that is being shared on the Simon Says Stamp blog today. 
If you are saying, well I didn't buy the Christmas kit...not to worry. Simon Says Stamp still has many of the components you might need. Or maybe you are just someone that has lots of Tim Holtz Christmas products waiting to be used! You might have them on hand! Either way, I hope you will stop by the Simon Says Stamp blog to see the easy tutorial and make your own Christmas Display Panel!
You know it's great to have some Christmas makes started in July! Now is your chance!
LINK to tutorial in case you missed it above!
Carry on,
paula
Friday, July 11, 2025

Christmas Card File

Hello friends,

If there is one thing for sure, it's that I love to make Card Files. I've made many over the years and I still enjoy making all the cards, pockets and adding the details. One of the things I love about a Card File is that you can finish one set of cards and walk away. Then come back to start another set when it's convenient for you. This kind of set up feels easy and less stressful to me. 
When I was asked to create a few things using the Christmas kit from Simon Says Stamp, I knew a Card File would be perfect for all the idea-ology Christmas Product in the kit. You also may have watched the free class with Tim and Heidi on the Simon Says Stamp YouTube channel today and seen this very Card File! Maybe you might be interested in making your own? If so, lets get started!

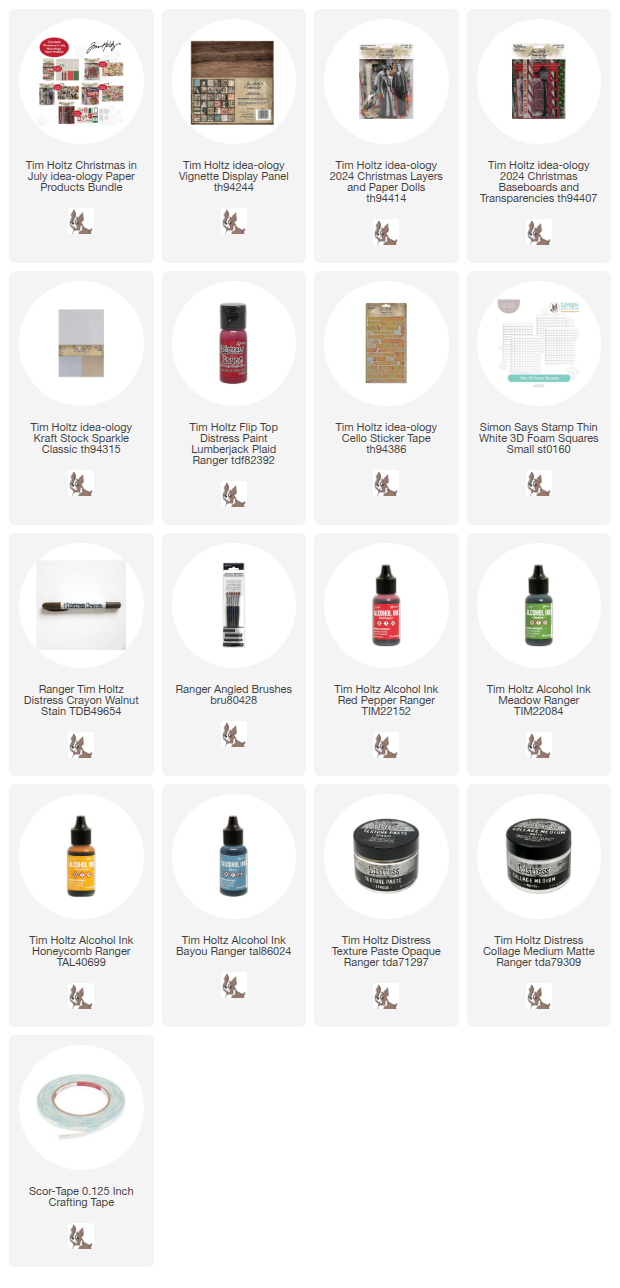
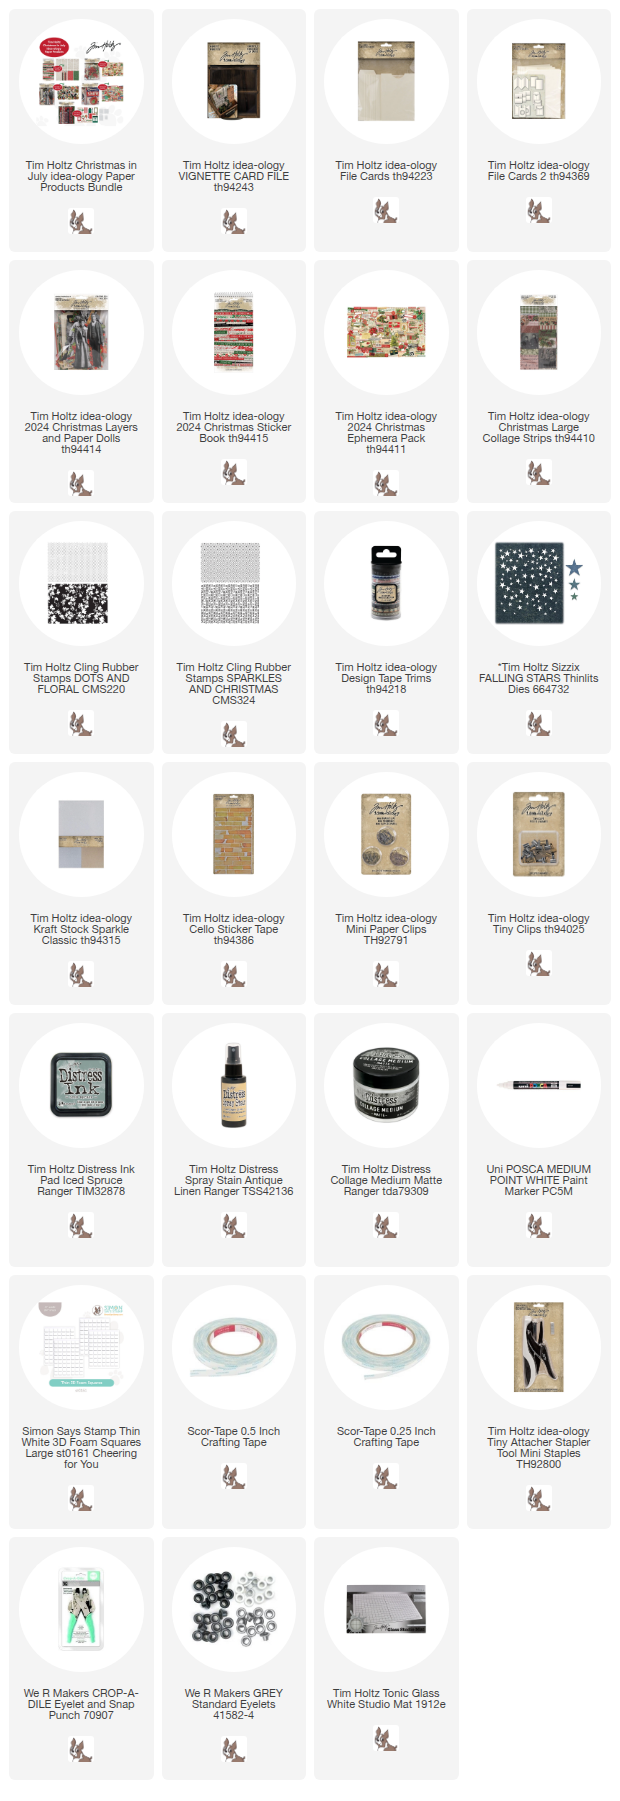
I have made a list of what I used from the Simon Says Stamp kit, just in case you purchased it. At the time of this posting, Simon had put together a group of the Tim Holtz products from the kit that you might check out if you don't have the kit or you may just have many of the things in your stash.
I have also listed below what I ADDED to create the Card File, since of course the Card File and its cards do not come in the kit.

Here is what I used from the kit:
Christmas Layers and Paper Dolls
Christmas Ephemera
Christmas Sticker book
Kraft Stock Sparkle
Cello Tape Stickers
Paper Clips
Tiny Clips
6 #8 white tags + 9 #5 tags
red and white string 
red ribbon 
Iced Spruce Distress Ink (all the stamping was done with this ink)
Collage Medium
Distress Crayons (colors from the kit + Fossilized Amber)
Snowflakes (but only a bit on some ephemera)
Rounded Slots Die

What I Added:
Card File
File Card packs 1 and 2
Christmas Collage Strips
Christmas backdrop paper (random leftovers I had on hand)
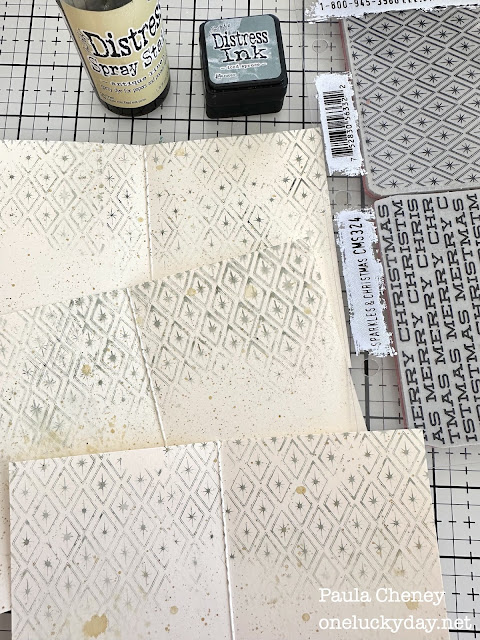
Stampers Anonymous background stamps- dots CMS220 + Sparkles and Christmas CMS324
Antique Linen Distress Spray Stain
Design Tape Trims (on the box)
Falling Stars Thinlit

STAMPING
All stamped cards/pockets were created the same way (much less confusion this way). 
  1. Ink the portion of the stamp needed with Iced Spruce Distress Ink. 
  2. Use a wet wipe to randomly wipe away the edge of the ink so it will look like the ink has faded along the bottom edge.
  3. Mist stamp with water from the Distress Sprayer.
  4. Stamp on surface (no block needed).
  5. Dry with heat tool, then spritz lightly with Antique Linen Distress Spray Stain. Dry again. Use a paper towel to remove the excess ink.

I'm going walk you through the cards/pockets made with the basic File Cards and then the cards/pockets made with the File Cards 2 pack. I did not use the pockets from the basic pack. 
There is no "correct" order for working the cards. I usually start with the Tabbed Cards and work my way to the zig zag which take the most thought. Cards can be put into the Card File in any order. 

FILE CARDS 
(TH94223)
Tabbed Cards: Made with Collage Strips, Paper Dolls, Ephemera, Clippings, Christmas Sticker Book.
Notes: the dresses were colored with Distress Crayons. I added polka dots with a POSCA paint pen. The stars on the second dress were cut with the Falling Stars Thinlit die. I added them to the dress with Collage Medium (you just need some tweezers). It might seem tedious, but it was actually my favorite part of the entire project!
I clipped part of the left end of the banner to make it just a bit shorter so it would fit on the card.
Flat Cards: Made with Christmas Backdrop paper, Ephemera, Paper Clips, Christmas Sticker Book. 
Notes: These flat cards are so basic that little details make all the difference. The top card has a red stamp that has been stapled with a Tiny Attacher. The other two cards have Paper Clips with red ribbon.
Folded Cards: Made with both Collage Strips and Christmas Backdrops + Paper Clips, ephemera, Cello Tape and red/white string.
Notes: Same as the flat cards - detail matter on these folded cards. I started with the Collage Strips on each card then added a strip of Backdrop Paper to the side. 
On the inside, I just looked for ephemera and layers that fit the space. I started with the boy and added the wreath around his neck. Then the Santa went perfectly with the telegram from Santa ephemera. The last card is just a combination of small ephemera pieces. I just figured out what combination fit on the card. 

FILE CARDS 2 
(TH94369)
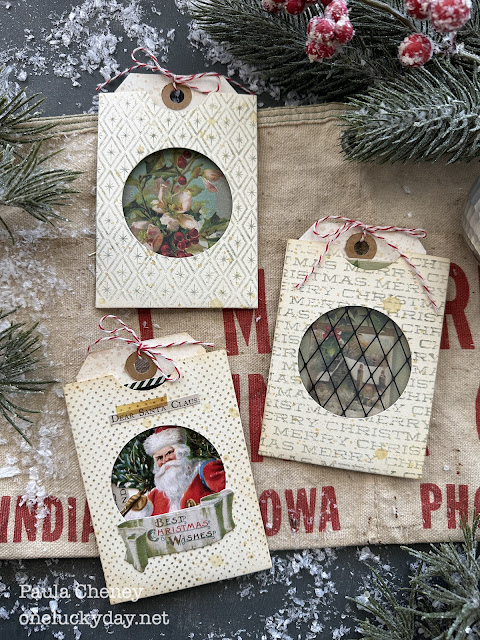
Window Pockets: Stamping, Ephemera, Clippings, Cello Tape
Notes: The window pockets can be tricky - if you cover them with paper then you have to cut out the circle (which is the tricky part). I think stamping is the perfect solution - slip a post it note into the pocket, then stamp. Remove the post it and you are good to go.
The transparency in the one window is from the Baseboards pack. I used Scor-tape to add it to the inside.
Window Pockets with added #5 tags: Ephemera, Clippings, Layers Santa, Sticker book
Notes: the ephemera was a easy pick for the window and the Santa was just a little fun. I admit, I had Santa in the pocket with the transparency and he looked like he was in jail so I changed him out, lol!
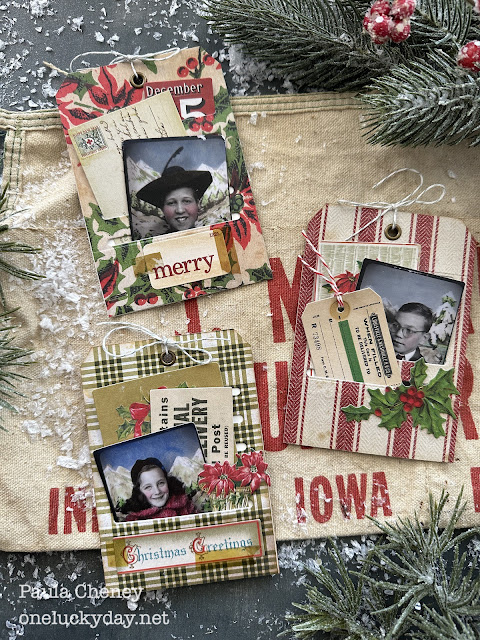
Library Pockets: Backdrop Paper, ephemera, Paper Dolls, Clippings, Cello Tape
Notes: I added the Backdrop Paper to the front of each pocket and then added a piece of ephemera. Cello Sticker Tape always adds a little something by making it appear vintage!
The length of the #5 tags had to be trimmed jut a bit  - you can do this before stamping or after. The Paper Dolls were colored with Distress Crayons. I did spray the colored Paper Dolls with a Spray Fixative to seal the crayon. I do that when something will be handled a lot, like pulling the Paper Doll in and out of the pocket. Spray Fixative can be found at any art supply (like a Hobby Lobby or Michaels). 
Tall envelopes: Collage Strips, Backdrop Paper, ephemera, kraft stock sparkle, Falling stars die
Notes: These were so fun to make! First I added the Collage Strip to the fold at the top. Then I filled in the space on the side with Backdrop paper and strips from the ephemera pack. There are so many strips in the pack that there are plenty to choose from! I also added a few stars to the outside (with more on the inside).
#5 tags: Ephemera, Layers, Classic stickers, Clippings, Kraft Stock Sparkle, Falling stars die
Notes: I cut the bow from the largest wreath, then replaced it on top of the wreath so it hangs on the side of the wreath. 
Stars!! I just love all those little stars!
Zig zag book: Layers, Ephemera, Tiny Clips
Notes: These zig zag books can be challenging - first you have to decide how you want to open them (pull to the left or right?) I decided to have them open by pulling them to with my left hand (the flashcard works like a tabbed pull. 
I only "decorated" one side of the zig zag. The other side was just sprayed with Antique Linen Spray Stain. Tiny Clips were added to keep the little books closed while in the Card File.
Book 1: Portrait (from Paper Doll pack), Ephemera, Collage Strips, Clippings, Cello Tape
Notes: When adding a wide Portrait to the zig zag, it's best to score it so that it will fold easily. I also find that using wide Scor-tape along the bottom edge is best to keep it in place.
Book 2:  Portrait (from Paper Doll pack), Ephemera, Collage Strips, Clippings, Cello Tape, Paper Clip
Notes: I added a piece of holly ephemera to the head of the Portrait. I trimmed off a few leaves to make it fit. All the coloring was done with Distress Crayons.
Book 3:  Paper Dolls, Ephemera, Clippings,  kraft stock sparkle, Falling stars die
Notes: The small pieces of holly I added to the top hat and the ladies lapel came from a long holly strip found in the Layers Pack. I just clipped off what I needed and then carefully fussy cut the leaves I wanted. More Kraft Stock Sparkle stars were added to the tree.
Large Tags: SSS new Rounded Slot die, Backdrop paper, Ephemera, Layers, Cello Tape Stickers, eyelets, string
Notes: I used the new Rounded Slot die to create these large tags. I covered the #8 tag with Backdrop Paper, then ran the tag through my Vagabond with the die. I love the 5 little slots that it cuts! I added Scor-tape to the edge of the tag and added it to another (or you could use any cardstock if you don't have another #8 tag). I added the eyelet to give it a finished look, then started adding ephemera and the photobooth photos that come in the Paper Dolls pack (yes, I tinted them with Distress Crayons).
rounded Slot die tags
I guess I should mention the Card File itself. I used Collage Strips to cover the box and Design Tape in a dark green print on the top edge. After the Collage Strips were adhered to the box, I added Cello Tape  over some of the seams or what appear to be seams.
The word "Greetings" was cut from one of the Collage Strips. 
Hope you like my Card File as much as I do!
And I'll see tomorrow with another Christmas project!
Now carry on,
paula

PS) if you missed the LIVE you can watch it on replay on the Simon Says Stamp YouTube Channel!

Thursday, July 3, 2025

Stamped Cards

Hello Friends,

Just a quick post today to share a set of cards using multiple stamps as well as the matching wafer dies from Simon Says Stamp.
I used a lot of stamps and dies for these two cards but I figured I had them, so why not? The first card features the Ornate Trims that I stamped and die cut using the new wafer dies. I colored the trims with Distress Ink before adding them to the card. The background was stamped with Oxide Ink and the butterfly was an extra from the small tray project (I colored more butterflies than I needed).
Card 2 was fun to make with the right side cut short so the Ornate Trim could really be seen as it hovers above the pink embossed paper. 
I love this loop 'd loop trim - it's so fun!
Blush Spellbinders Cardstock was embossed with the Dotted Diamond Embossing Folder from Simon Says Stamp, then cut to fit the card. It's only about 2" wide so you can still write something on the inside of the card.
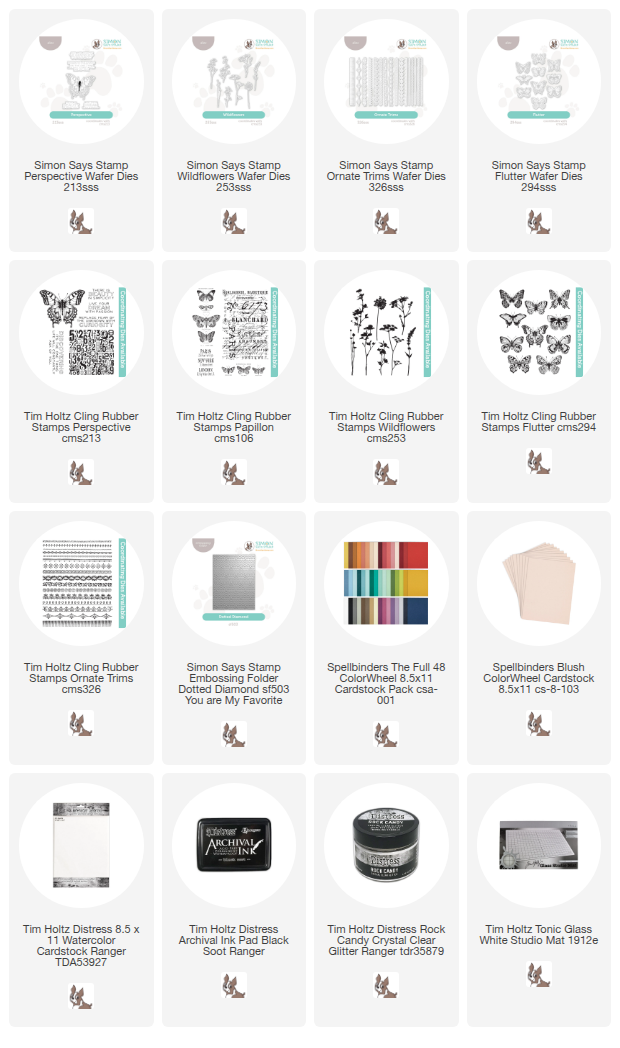
I used the three stamp sets seen below
Perspective - sentiment on card 2
Flutter - card 1
Papillion - stamped background on card 1
Wildflower - card 2
Ornate Trims - both cards
And here are the matching dies that I used: Perspective, Flutter, Ornate Trims and Wildflowers.


I'll see you soon with more makes and ideas!
Now carry on,
paula

Tuesday, July 1, 2025

Palette Blue Tag

Hello friends,

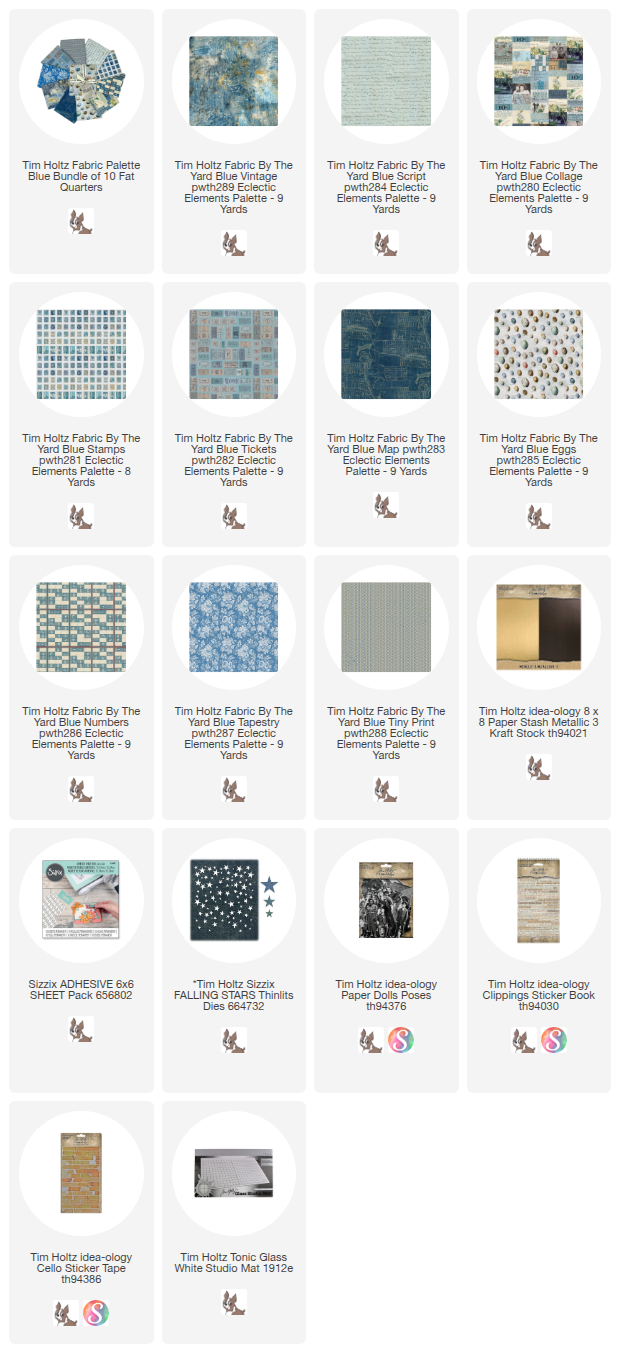
Today is the first of the month and that means a new Palette Collection tag. July is blue! 

I could not pass up the chance to use the 'Vintage' Palette print for this tag. I was recently in Paris at Museum Orsay and once again had the opportunity to see the Van Gogh painting, "Starry Night over the Rhone" that he painted in 1888. The 'Vintage' print fabric took me right back to standing in front of the painting! 

I hope you can see how art can influence us and how your thoughts can translate into ideas using that inspiration. 
To make the stars, I adhered half of a 6 x 6" Sizzix Adhesive sheet to the back of a piece of Kraft-stock Metallic (champagne) and used my Falling Stars die to cut a lot of small stars.
They pop out easily and you get a variety of sizes that are perfect for this tag.
I also added a ripped strip of the Palette Script fabric under the wheels of the car. It is rumpled and a bit bunched up in a few places. I wanted to represent that life's road is never easy, with lots of bumps in the road. Many times, even with our best efforts, things don't turn out as planned. On the other hand, there are so many good things that make this life wonderful! Seeing what is ahead and putting one step into the darkness so the light can appear before us. 
I love that she looks ready to take the first step in her journey!
I'll have a second Palette Blue make on the 15th (it's a no-sew project) so stay tuned for that.

Now carry on,
paula

Monday, June 30, 2025

Perspective Butterfly Panel

Hello friends,

I would call the project I am sharing today, experimental! At one point in the process something out of the ordinary happened and I just decided to just keep going. Nearing the end, a few ideas popped into my head that made everything come together (that made me happy) and made me feel like I had made the right decision to move forward. I hope you enjoy the process of my Perspective Butterfly Panel!
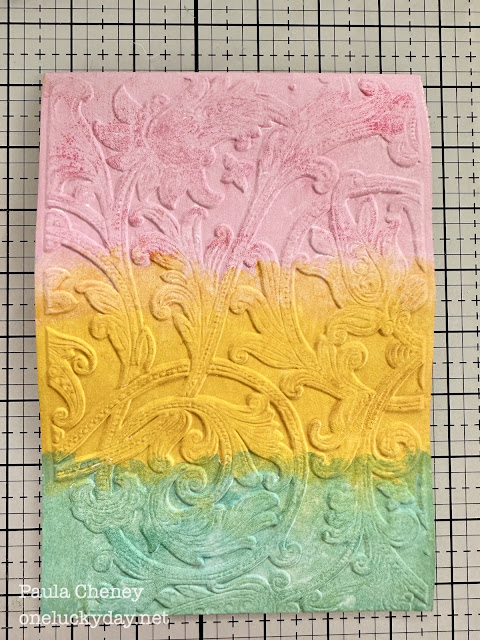
I thought I'd start by showing the ingredients to the background since they are not pictured in the step-out photos. Distress Paint and Distress Embossing Powder are the key ingredients to the transformation of the Embossed Watercolor Cardstock. I used the 3D embossing folder Entangled, that was released earlier this year, to make the impression. These A5 folders are large and fit perfectly on a small rectangle Etcetera Panel. With that being said, lets get started!
Paint the Watercolor Cardstock with Distress Paint. I painted in bands of color, but you can paint however you wish.
Once the paint was dry, I randomly pressed Distress Embossing Ink over the raised pattern (as best I could).  I sprinkled Embossing Glaze over the pattern with my fingers, then used an embossing tool to melt the glaze (it melts fast so watch it carefully).
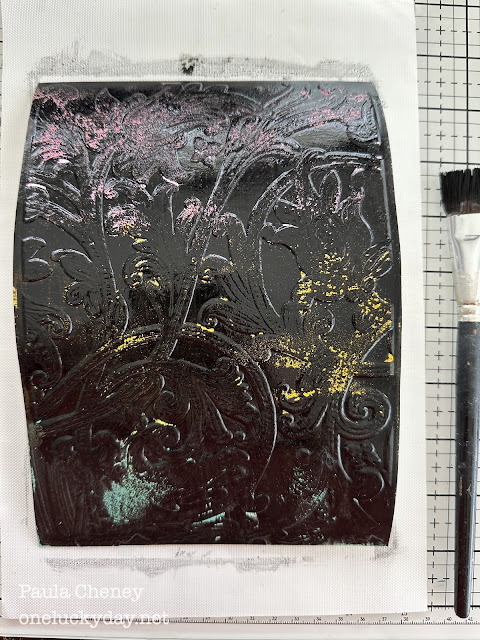
Now a bit of crazy. I painted over the entire surface with Black Soot Distress Paint. You can see how some of the embossed portions resisted the black paint.
Then I laid a paper towel over the surface and pressed down to remove some of the paint.
And this is the result (that is wasn't expecting).
The paper towel pattern transferred to the surface. I have had that happen before, but the pattern usually disappears with ink...but with paint, it stayed. Hummm. Do I spray it with water? Wipe it all away and start over? What to do when things go awry...that's always the question!
Well, I decided to go with the flow and finish cleaning up the black paint from the edges then setting it aside. What you can't really distinguish in the photo is how much the Embossing Glaze added to the overall look. I'm glad I added that step so I could get more variance to the individual colors of paint.
Once dry, I sanded the edges of the panel and added a layer of Collage Medium to give it a finished look before moving on. 
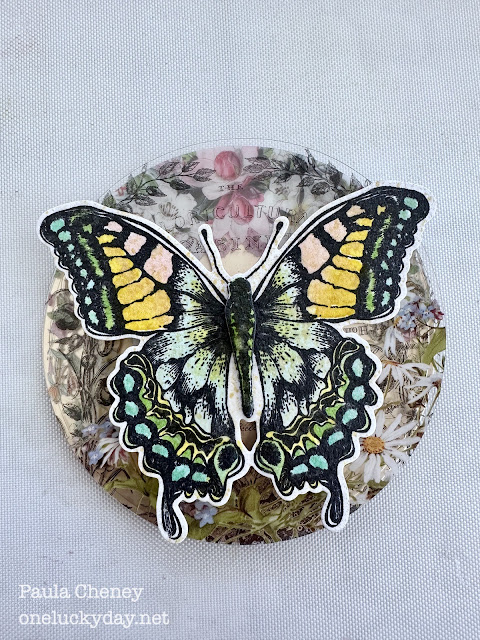
I'm using Perspective Butterfly CMS213 stamp and the matching wafer die from Simon. The Perspective die set is so good because not only does it cut out the big butterfly, it also cuts the four sentiments. Truth be told, I could possibly cut out a butterfly, but I would never, ever attempt the sentiments. The dies really make this stamp set even more valuable to me.
I colored the butterfly with a Detailer Water Brush and Distress Inks. Then put it in a Splat Box and sprayed the butterfly with Resist Spray which gives it a beautifully shiny surface (photos do not show how good it looks in person).
Another thing that is hard to see in last photo is the die cut center of the butterfly. If you stamp the butterfly a second time, you can use the "body" die to cut out a second body and add it over the first. I used a THIN 3D foam square so it is raised for dimension.
Okay, the butterfly is done so lets work on the backing. Stay with me...this is a layering process!
I used two round transparencies from the Transparent Layers pack. The top transparency has been spun around so the flowers are at the top. You will also need about 10 standard 3D foam squares for the next steps.
Add five squares to the transparency (notice they are in a butterfly configuration?).
Now add the transparency with the daisies to the one with the flowers (now you have flowers all the way around the circle). Don't worry, the foam squares in between the transparencies will be covered up by the butterfly.
Add more 3D foam squares to the back of the butterfly, then adhere to the transparency sandwich.
So here is what it should look like from the side...
butterfly
3D foam squares
transparency
3D foam squares
transparency

Now cut a circle (I used a circle die I have had forever) from metallic cardstock. This time I used THIN foam squares to add the gold metallic circle. 
The metallic gives off a great glow under the transparent layers.
I used my clear Tonic Media ruler to find the center of the Etcetera Panel and placed my sentiment 1" from the bottom of the panel. This clear ruler comes in very handy!
I covered the sentiment with a post it note, then splattered white paint over the surface. That added a pop of bright color that I really like. Even though I was late to think to do this, it was worth it. Post it notes come in very handy in the craft room! 
Now add the layered circle to the center. Again, the white splatter of paint helped to tie everything together! 
I am happy I kept going on this piece because I love how it turned out in the end.  But look, it took all the way to the splatter part to make it work for me. And the transparency idea didn't come till I finished the butterfly and then let it sit for about 3 days. I don't know what made me think of it, but I love that layered transparent look! I hope you do too!
Now carry on!
paula