
Hello friends,
Glad to be here today sharing another project using the new Distress color, Lost Shadow. It quite possibly is the perfect foil for every other Distress color! Meaning, it goes with every other color!
Foil: a person or thing that contrasts with and so emphasizes and enhances the qualities of another

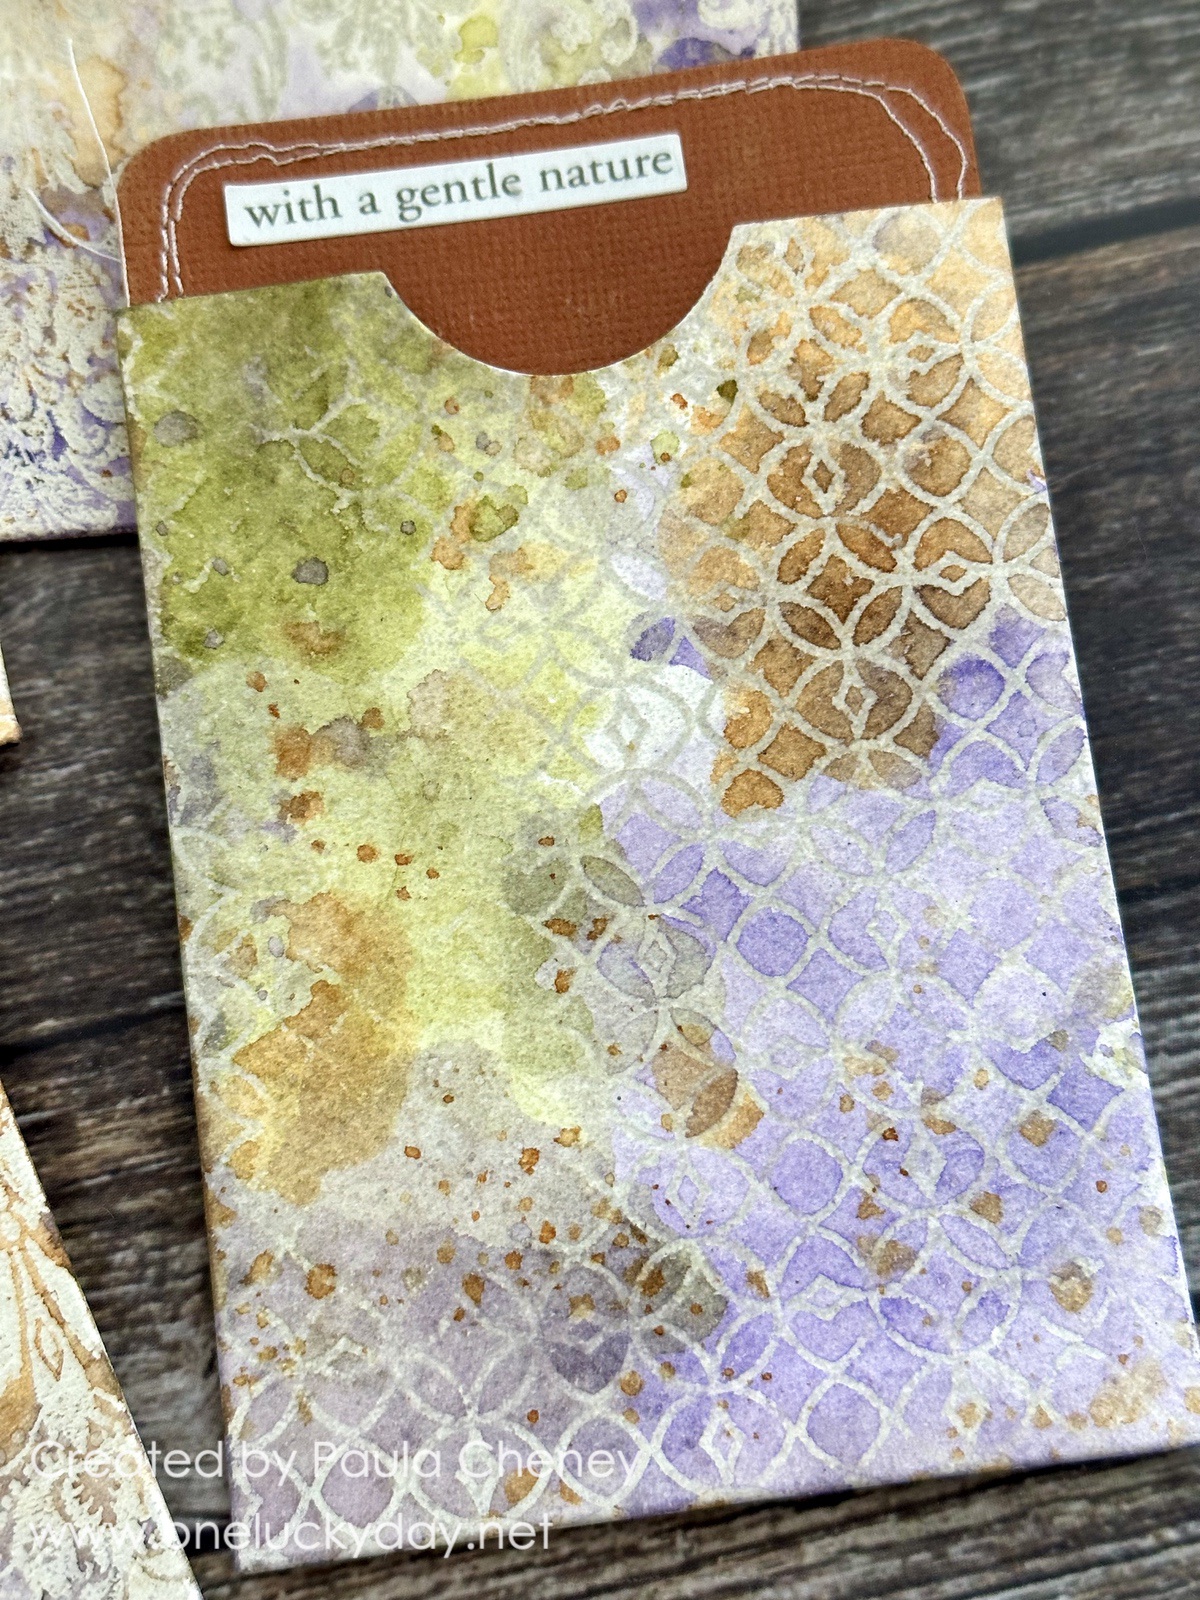
Two stamp sets were used on the pockets. Lattice & Flourish + Tapestry.
I used embossing ink to add the stamped impression to the pocket, then added Lost Shadow Embossing Glaze.


File Cards also come with 4 tabbed cards. I had some extra in my stash left from another project, so I decided to add another because I was having fun making them.

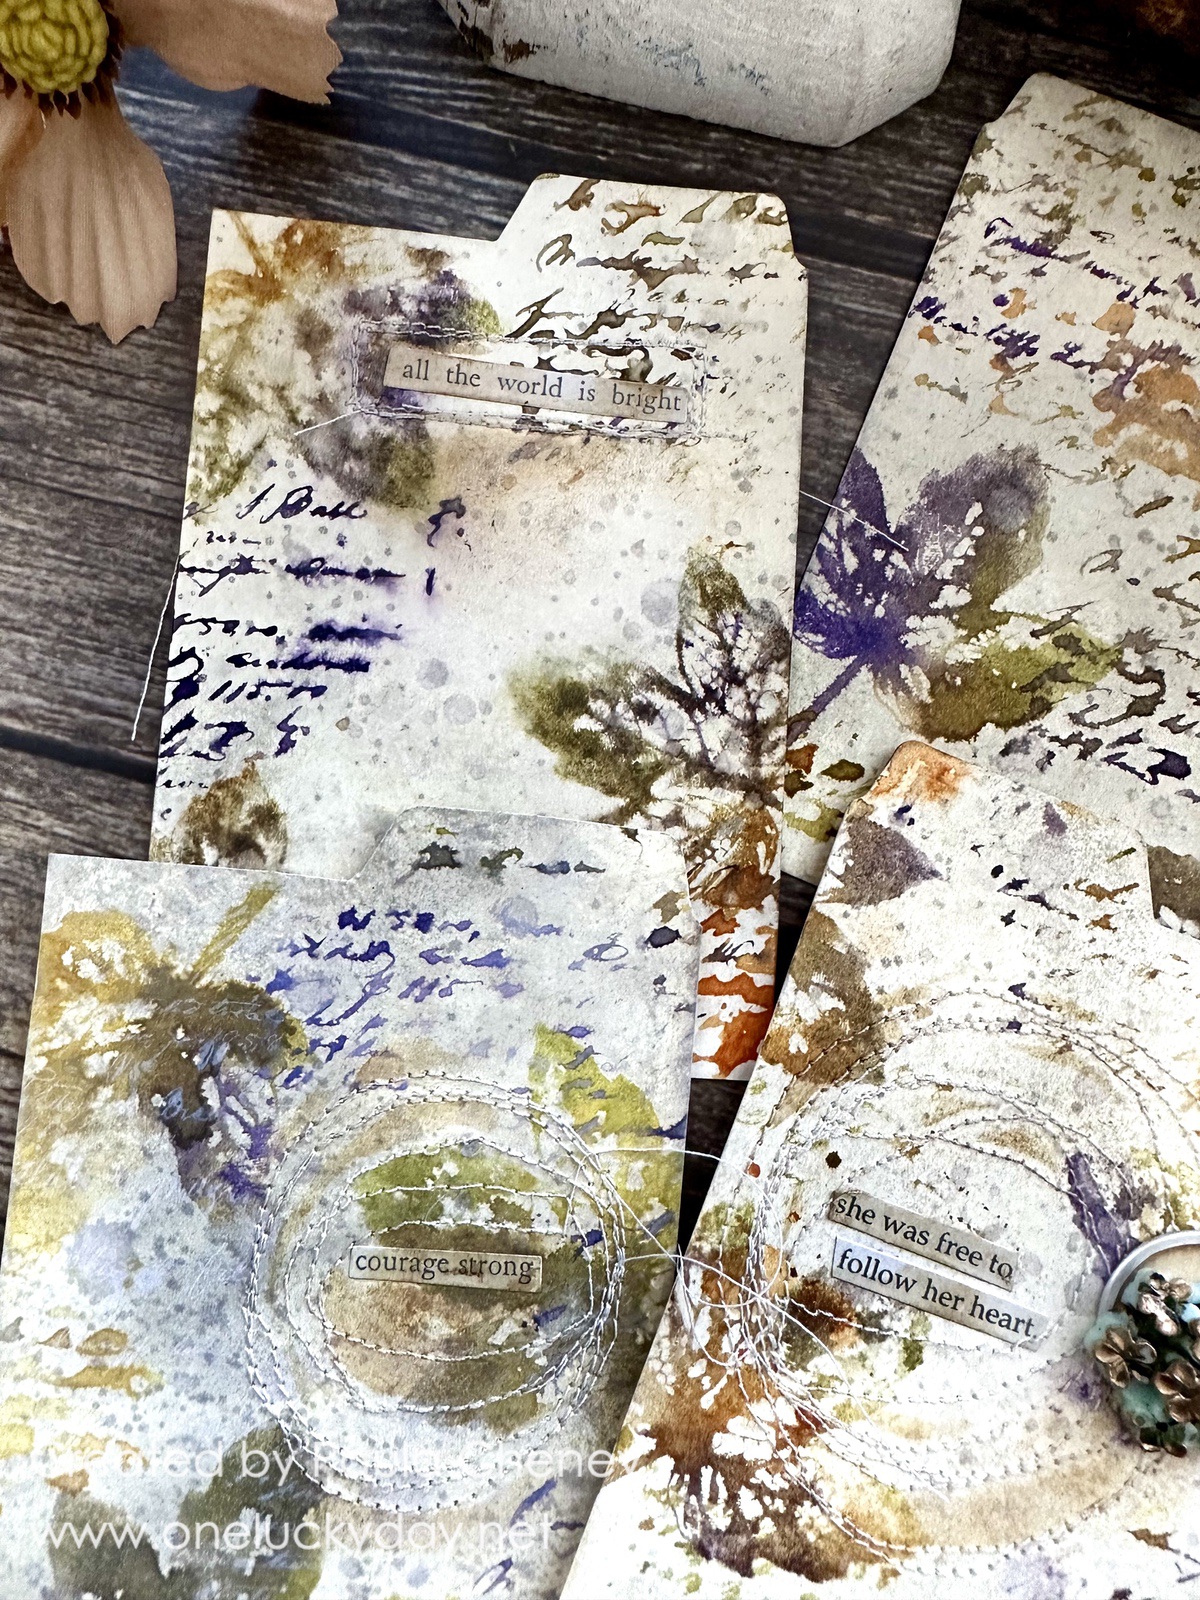
Stamps used on the tabbed cards
Nature's Wonder and Ledger Script


1. Lightly spritz the background of each card with Lost Shadow Distress Ink. Blot-off excess. Dry with heat tool.
2. Choose a stamp from Nature's Wonder stamp set. Mount the leaf stamp on a grid block.
3. Ink the stamp with multiple colors of Distress ink (Wild Honey, Peeled Paint and Villainous Potion).
4. Spritz inked stamp with water from the Distress Sprayer and stamp card to get the watercolor look.
5. Repeat Process adding at least 3-4 leaves (or partial leaves) on each card.
6. Once all your cards have leaves, change up the stamp set to a script stamp. Using the same watercolor technique, randomly stamp each card.
6. And finally, using Lost Shadow Spray Stain, slowly push down on the nozzle to get ink larger droplets randomly over the card.


NOTE: This link to a previous POST includes tips on how to add Foundry Wax to Heirloom Roses
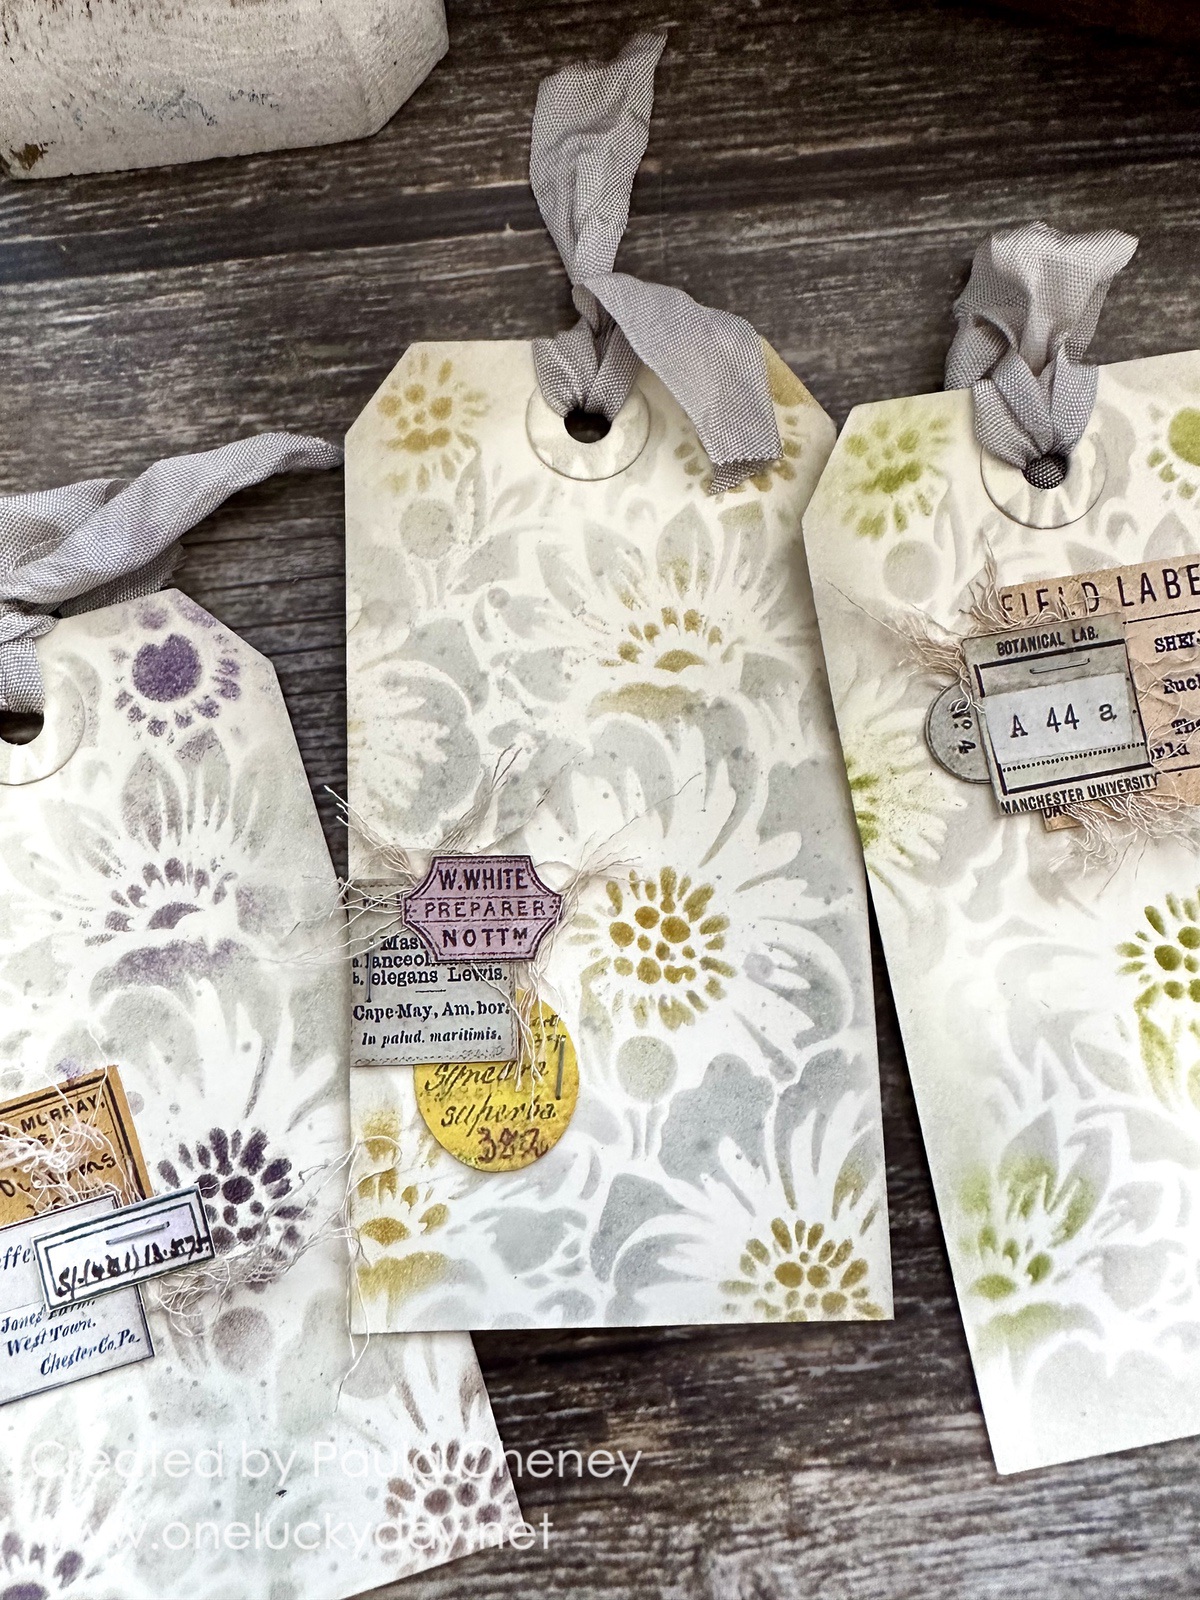
 For the #5 Mixed Media Tags (made by Ranger), I used Lost Shadow Distress Ink + Blending Brush over Mini Stencil set 47. It's easy to use the Blending Brush through the stencil to create a pattern. I changed colors of ink to add the center details of the larger flowers.


I finished the cards by cutting colored cardstock using my Vagabond and the Sizzix "Wildflower Stems 3" Thinlit die.

Once the Wildflower shape was adhered to each card, I added a Number Strip (one of my very favorite idea-ology products) over the stem and stitched them down. I like the texture the stitching brings to the flat front card.

Using Backdrops paper to collage plain cards is nothing new, but I can't seem to get away from it. It is such a great way to use up left-over scraps, which I keep in a clear plastic envelope for a project just like this.
 I used a a combination of Backdrops 1 and 3 but that does not really matter, any Backdrops paper will work together beautifully.

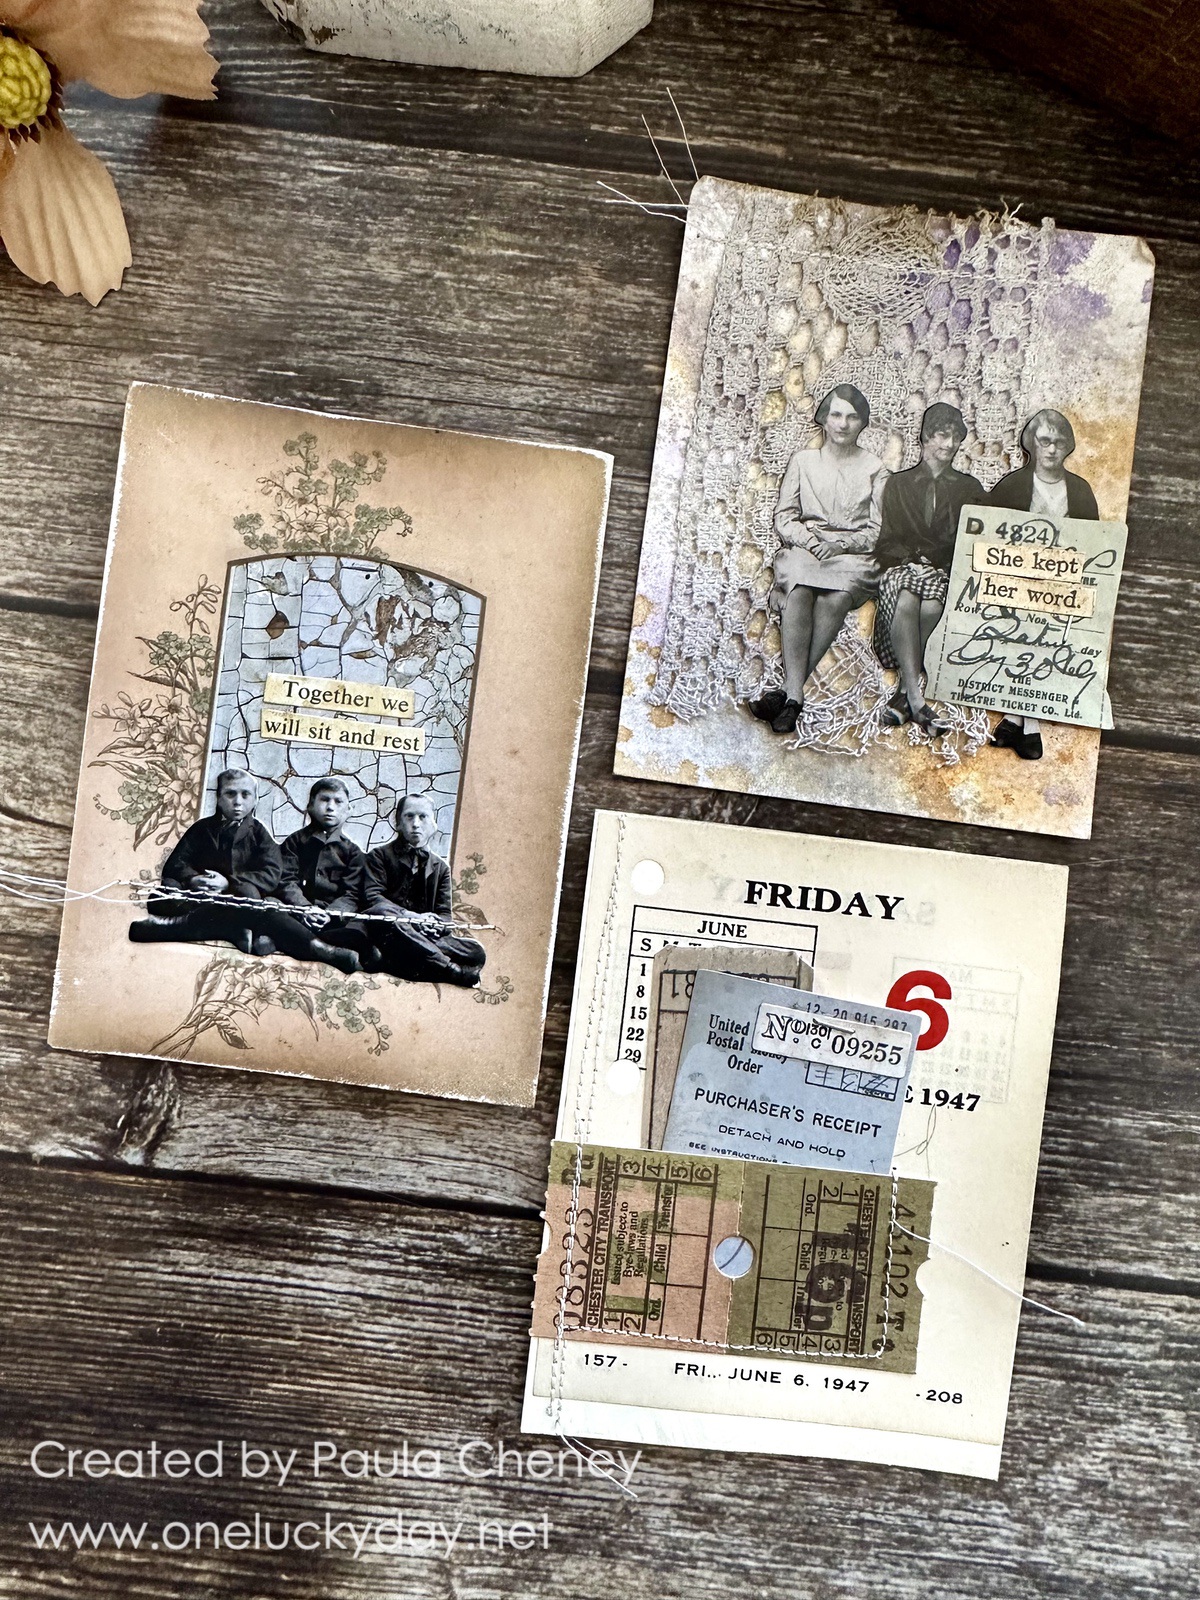
Once the paper was secure, I stitched along the seams where the paper meets, leaving the strings long. I used a combination of Paper Dolls and Portraits, because why not?
Another one of those Heirloom Roses was added to the little boys lapel.
All coloring was done with Distress Crayons.
 I wanted to make some random cards using the Mini Paper Dolls + Ephemera Memoir + vintage. No rhyme or reason, just made what I wanted. The big piece of vintage lace was sprayed with Lost Shadow.
 This frame is from the Memoir Ephemera pack.
 I had the idea to make some quick and very random tags using a pack a Salvaged Tags as the base.


Each tag was done very quickly, using whatever was on my desk already or that I could reach quickly. Mini Paper Dolls are perfect for this size tags!
I added glue with my fingers as needed or just secured things with my Tiny Attacher. All Distress Crayons were just scribbled on and rubbed thin with my fingertip or a cotton swab. The vintage lace and ribbon was sprayed with Lost Shadow Spray Stain and most tags were spritz with the same color.


To cover the Card File itself, I needed to remove the metal pull. It's very easy to do if you have a tiny screwdriver, similar to the size you would use for eyeglasses. Set the tiny screws and pull in a safe place (like a plastic zip-lock bag) until you are done with the box.
I used the new Sizzix "Entangled" 3D folder to emboss 2 pieces of Mixed Media Cardstock. I cut the embossed sheets into strips and adhered them to the Card File, cutting away the excess paper.
NOTE: you MUST poke holes through the paper on the front BEFORE gluing so you know where to put the screws back.

I squeezed out about a dime size circle of Foundry Wax on my craft sheet. Then used my finger to spread Foundry Wax over the raised areas (one side at a time). I heated the Foundry Wax with my embossing gun and it quickly changed to a shiny gold color.

I finished the box by adding Design Tape Trim to the top lip of the box and the cross bars. I also added the label pull back onto the front of the box with the same screwdriver.

I love making Card Files because the cards are small and easy to create. In no time at all, you will have a full box of creativity! Hope you will give it a go!


now carry on,
paula
Dear Paula
ReplyDeleteThis looked amazing on Tim Holtz's live last weekend - it (and you) are so inspirational!
Thank you.
Best wishes
Ellie
Just beautiful, as always! You make me LOVE that new color!!!
ReplyDelete